by Ariel Garaza Diaz

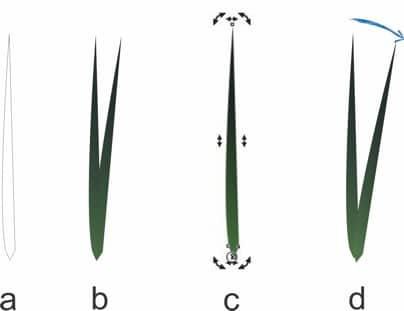
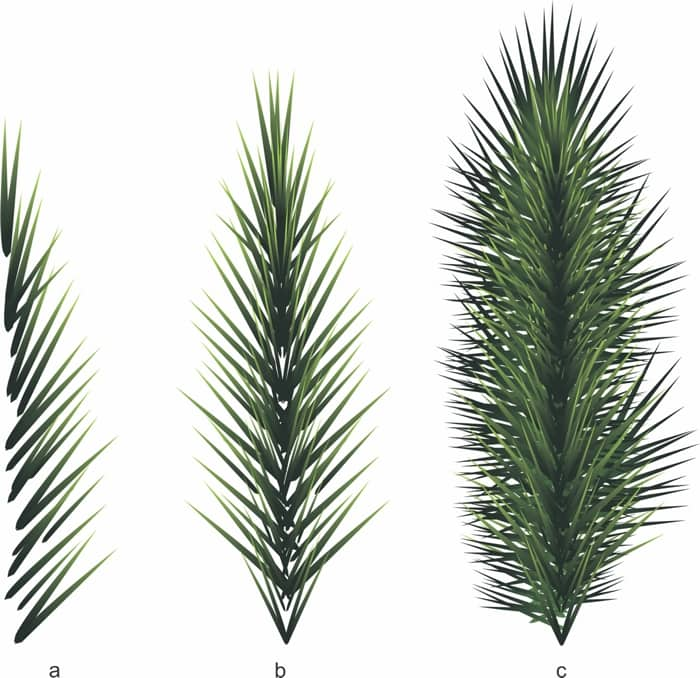
The first step is to create the pine leaves, starting with a single pine needle. You can use the Freehand tool or the Smart Drawing tool. The shape of the pine needle doesn't need to be precise, it should be fairly irregular (see Figure 2a).
Next, fill the pine needle with a gradient, from dark green to medium green. You can adjust the gradient colors by using the Fountain Fill dialog box or the Object Properties docker (see Figure 2b).
Click to select the filled pine needle and activate its bounding box. Then click again to activate the rotation handles, and drag the rotation center to the bottom of the needle (see Figure 2c).
Drag from the top of the pine needle to rotate it, and right-click while rotating to create a duplicate (see Figure 2d).
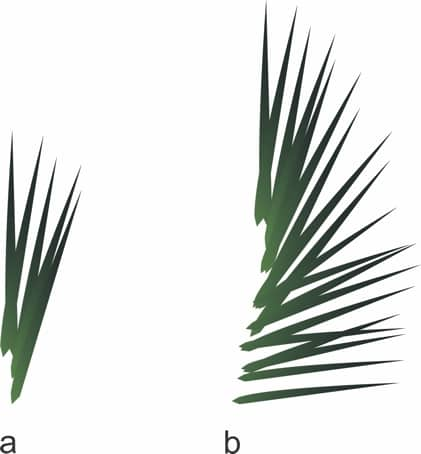
Repeat the previous step, and change the angle and size of each object (see Figure 3a).
Then, continue adding pine needles to the cluster so that they follow an imaginary path (see Figure 3b).
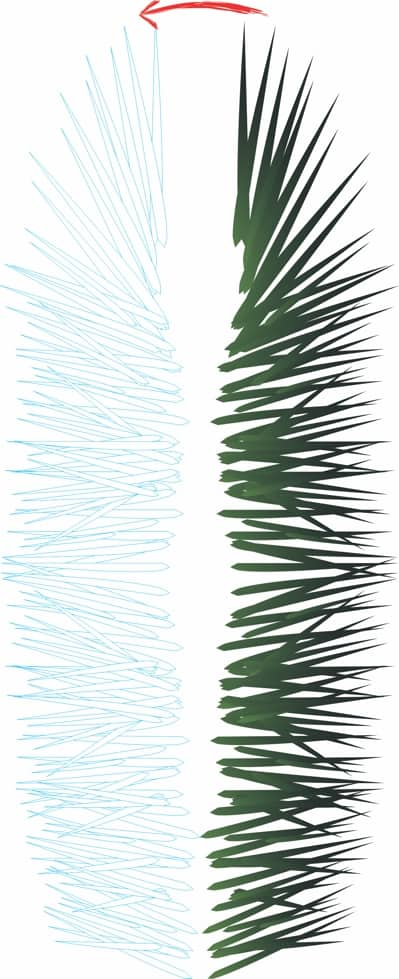
When you complete a half leaf, select all of the pine needles in the cluster, and group them by pressing Ctrl + G. Then create a mirrored copy. Press and hold the Ctrl key, drag the right center handle to the left of the original cluster, and right-click before releasing to create a copy (see Figure 4).
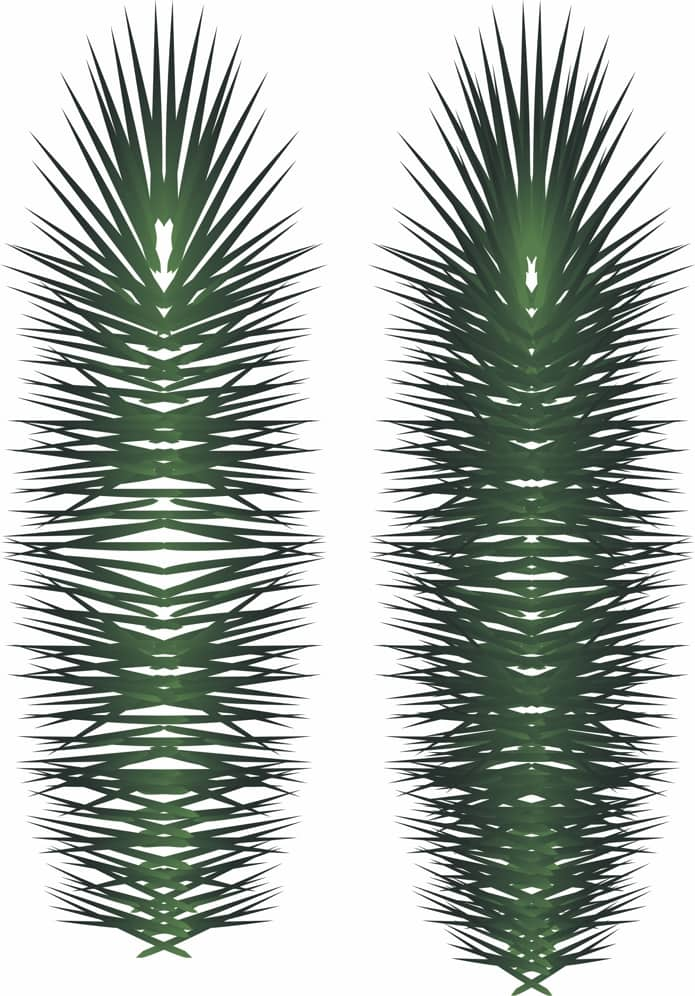
Move the copied cluster closer to the original cluster, so that the two clusters give the appearance of being a single pine leaf. Press the + key on your numeric keypad to create a duplicate, and stretch the duplicate to thicken the cluster of pine needles (see Figure 5).
Note: If you hold the Shift key while dragging the center-left handle, the stretch will be symmetrical.
Draw a new pine needle and fill it with a lighter shade of green gradient. Repeat this process, without copying each needle, until you have a new cluster (see Figure 6a).
The varying sizes of pine needles will give the branch a more realistic appearance (see Figure 6b).
Position the new, lighter pine needles on top of the original, darker pine needles. Now, we have a realistic branch of pine (see Figure 6c).
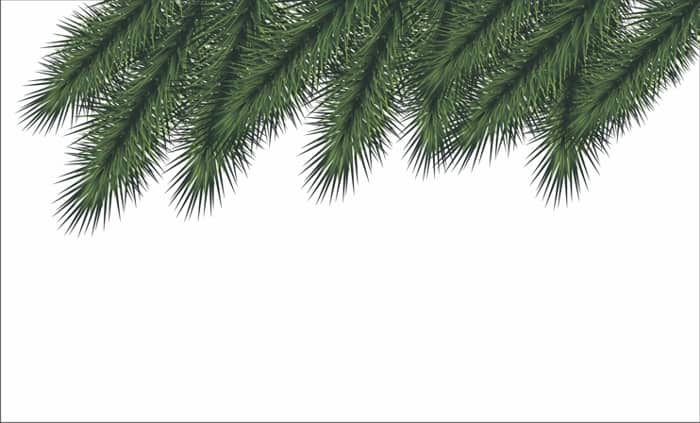
Duplicate the branches randomly, rotating and repositioning them to create an overhanging effect. Draw a rectangle (F6), approximately 7.73" x 4.67". Click Effects > PowerClip > Place Inside Frame, and click inside the rectangle to place all the branches.
Note: If you need to reposition the branches inside the frame, click Effects > PowerClip > Edit PowerClip, and then adjust the position of the branches. When you are finished, click Effects > PowerClip > Finish Editing This Level.
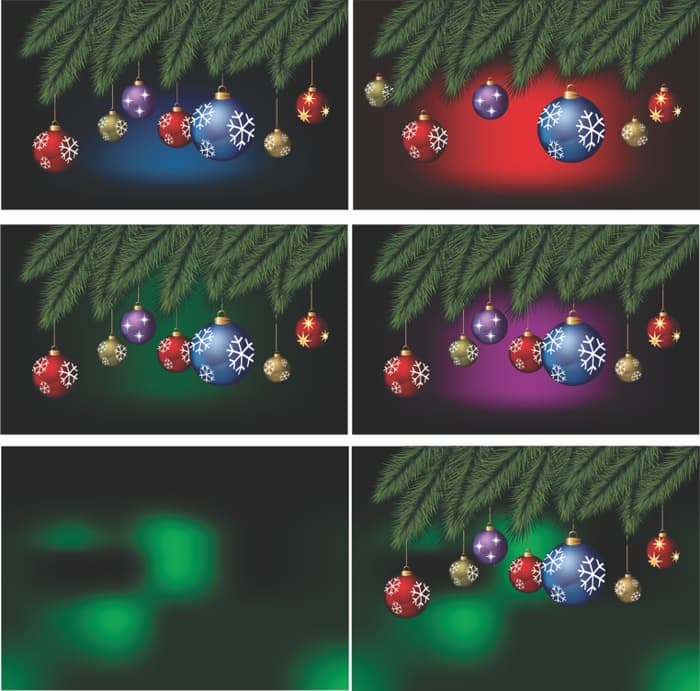
We now have our frame ready (see Figure 7).
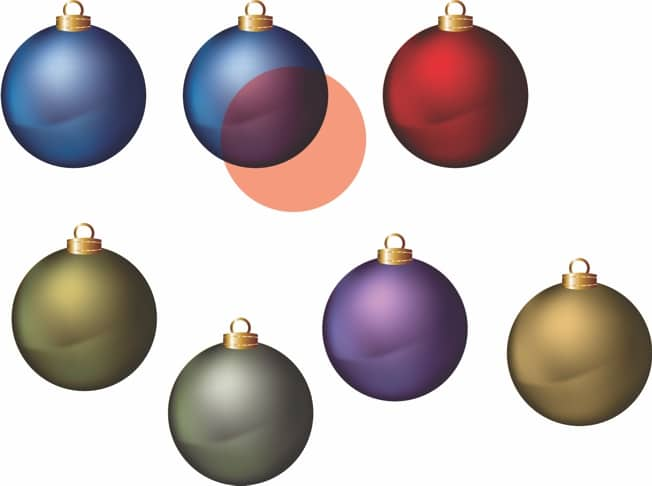
The next step is to create some ornaments. Draw a circle (F7), and hold Ctrl while drawing. With the circle selected, press M to apply a Mesh Fill. Drag colors onto the object, and release when you reach an intersection point in the mesh grid (see Figure 8).
Duplicate the filled object, adjust the mesh inside the object, and then add transparency on some nodes. For this step, you can select nodes randomly and adjust the Transparency slider on the property bar. The idea is to create an irregular fill (see Figure 9).
You can combine several circles to create the desired effect (see Figure 10).
Next, draw the loop and the stem for the top of the ornament. For the loop, you can draw two concentric circles and combine them by pressing Ctrl + L. Another method is to use only one circle with a thick outline, and then convert the outline to objects by pressing Ctrl + Shift + Q.
For the stem, you can use a rectangle and convert to curves. Then curve the superior and inferior sides, or add an envelope. When finished, add a gradient. For example, one of the Gold Cylinder presets from the Fountain Fill dialog box (see Figure 11).
The next step is to alternate the colors of the ornaments. Rather than individually edit each Mesh Fill, you can create a new circle on top of the ornament you want to change. Then click the Transparency tool, choose Color from the Transparency operation list box on the property bar, and pick a new color from a color palette. You can experiment with other transparency modes and colors to create different effects (see Figure 12).
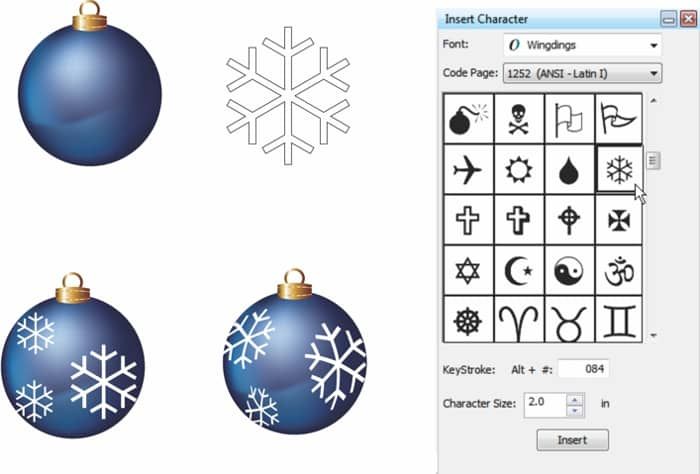
Now we're ready to add a snowflake to an ornament. Press Ctrl + F11 to open the Insert Character docker. Choose Wingdings from the Font list box, and scroll through the icons until you find the snowflake. Drag the snowflake icon from the docker to the drawing window.
You can use the Envelope tool to adapt the snowflake to the shape of the ornament (see Figure 13).
You can also create your own designs to decorate the ornaments, making use of other tools and effects, such as drop shadow, transparency, and PowerClip (see Figure 14).
Next, let's add some ornaments to the framed pine branches. We will need to draw some lines to link the ornaments with the branches (see Figure 15).
At this point, we need a background for the framed design. Once again, a mesh fill will provide better results, although you could also use a fountain or other fills. You can choose any color for the background. By using mesh fill, you can create custom gradients, with dark edges and a lighter colored center (see Figure 16).
To improve our background, let's add a white circle. Then, click the Drop Shadow tool to apply a white drop shadow centered on the circle. On the property bar, choose Normal from the Transparency operation list box, Outside from the Feathering direction list box, and then set the Drop shadow opacity slider to 50%.
Then, press Ctrl + K to break the objects apart, resulting in the original circle and a new translucent object (see Figure 17).
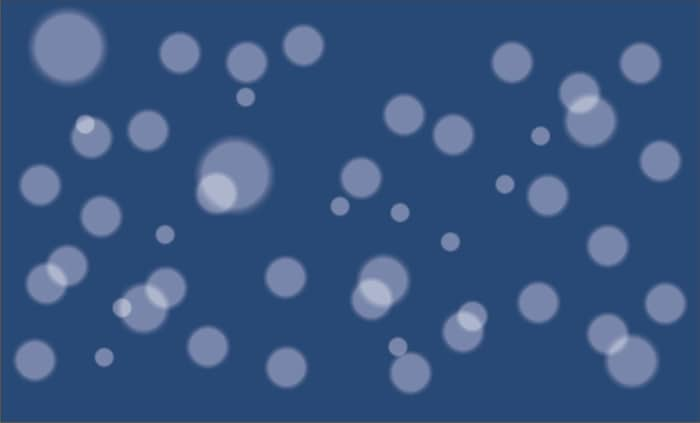
You can now duplicate the translucent object randomly, changing the size and position to create a blurry snowdrop background (see Figure 18).
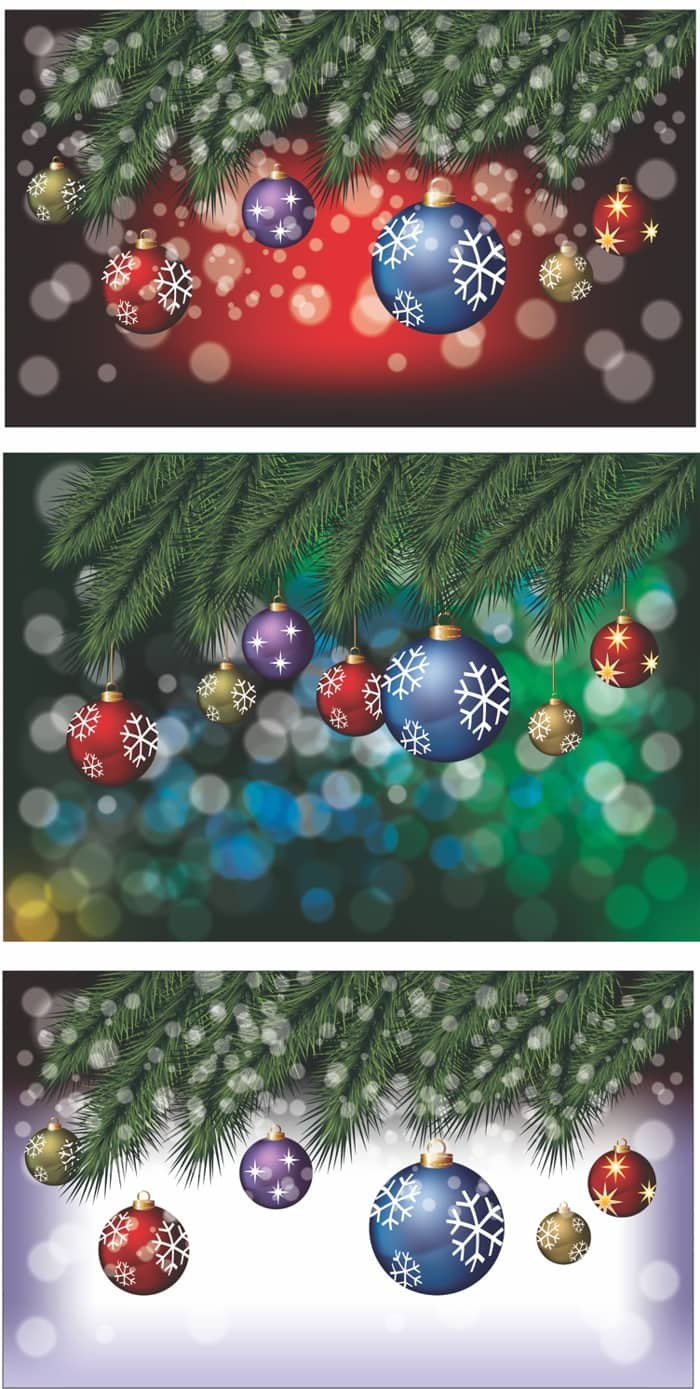
Next, we need to add the background to our framed design, adjusting the size, order, and amount of circles to create either a snow landscape or a blurred background. The background can be as simple or as complex as you prefer. The only limit is your imagination (see Figure 19).
The final step is to add the text for your greeting, and then print your cards. I've chosen a Candombe font, but you can use any font that's installed on your PC (see Figure 20).
Happy Holidays!
