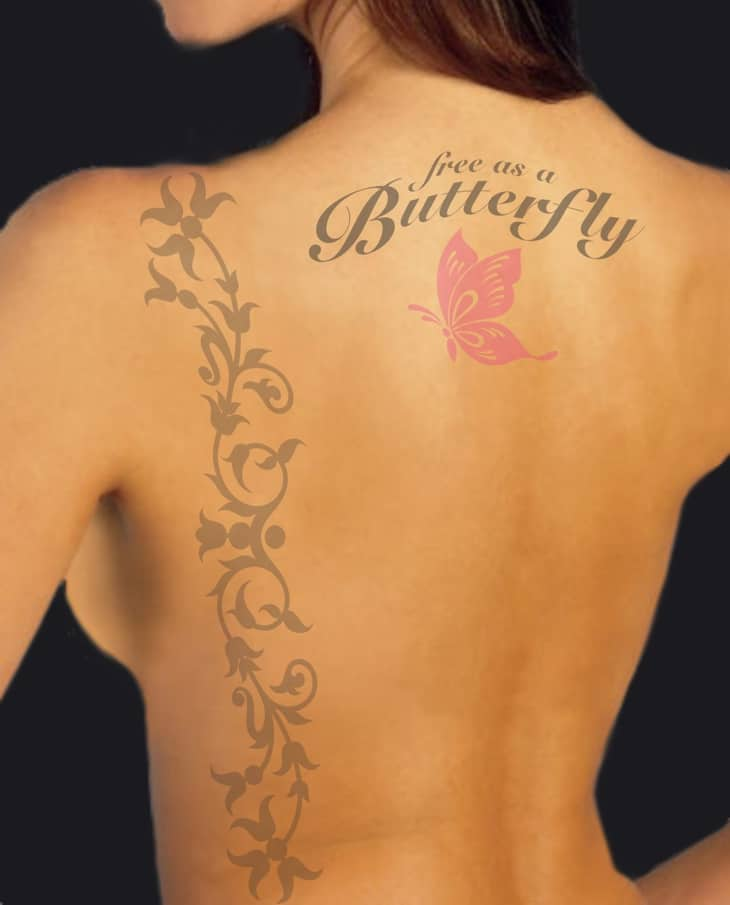
This tutorial shows how you can have a (simulated) preview of your tattoo and make corrections or changes before making it real.
Important: Take a high resolution picture of the part of your body where you want to apply the tattoo.
In this example only two vector images (a butterfly and floral design), and text were used.

Import your own photo and the vector images to a new Document (File > Import).
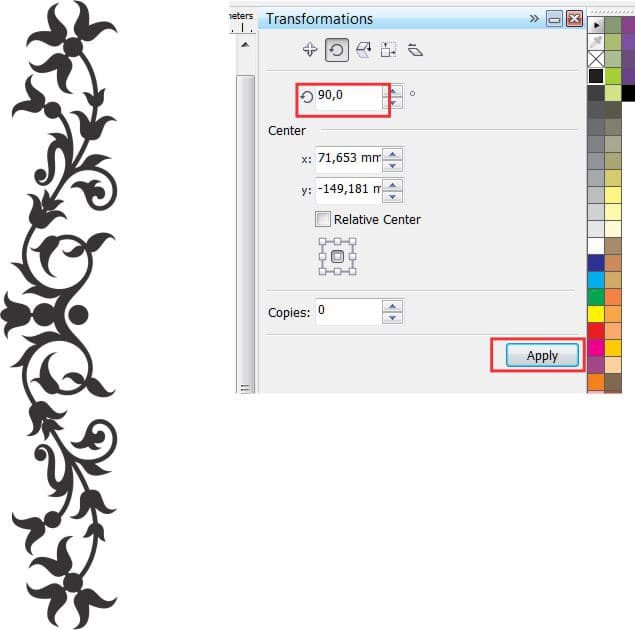
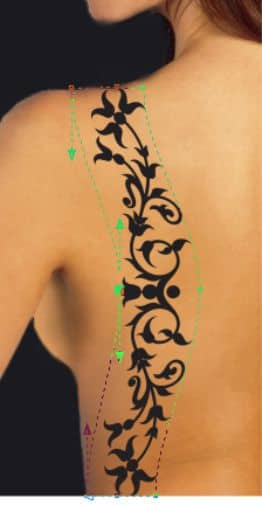
Rotate the floral design 90º (Window > Dockers > Transformations > Rotate) – or use the shortcut (Alt+F8).
Move the floral design to its final position and resize it (click and drag the object handles to resize).

Select the floral design and choose the Envelope tool in order to shape it to fit the contours of the body in the photo (Toolbox > Envelope tool).
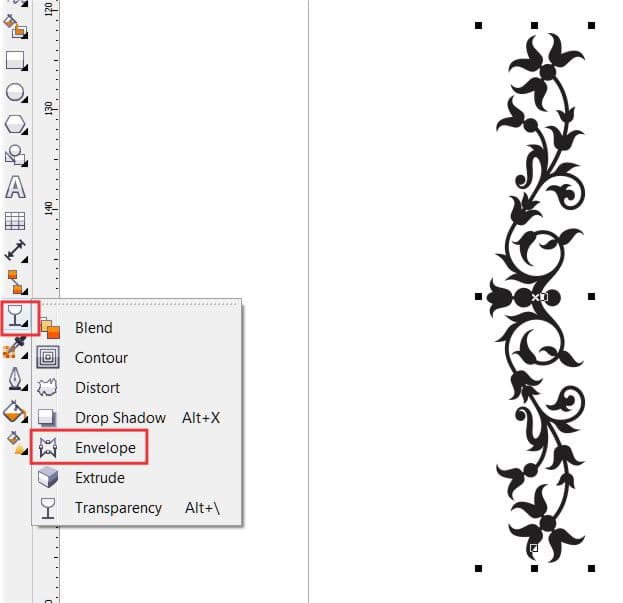
Using the handles of the Envelope tool, distort the image, following the curves of the body.
Select the Text tool (Toolbox > Text), choose a font from the drop-down Font List on the Property bar and enter your text. Increase or decrease font size using the Font Size drop-down list on the Property bar and place your text in its final location.
Use same procedure as 'Step 5' to distort the text (Toolbox > Envelope tool).
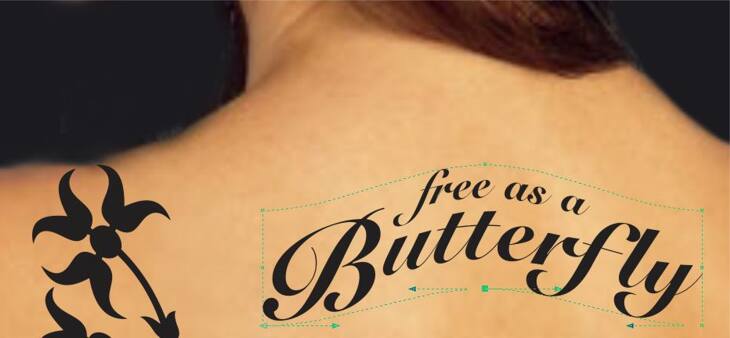
Click and drag the butterfly to its final position. Resize and/or rotate it (Alt+F8) if you wish.
Option: To apply a different color to the object, select it and click on a different color in the Color Palette.

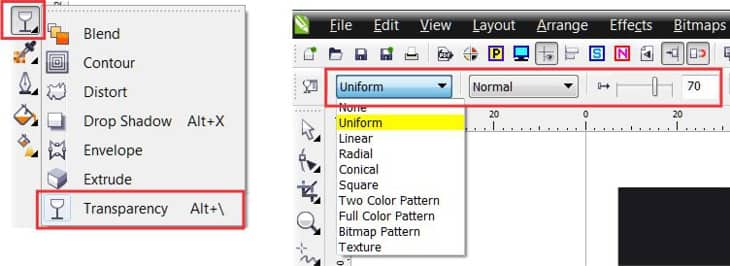
Select all the objects (Floral design + Text + Butterfly) and group them (Ctrl+G).
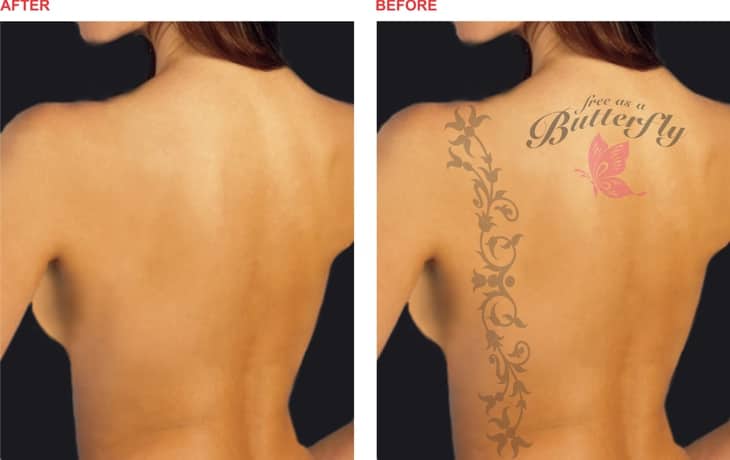
Click on the Transparency tool (Toolbox > Transparency tool), and choosing a Uniform transparency from the drop-down list in the Property bar, adjust the settings:
And here we have our final look.