1. Choose your image
Find the photo in a JPG or PNG file format that you want to edit.
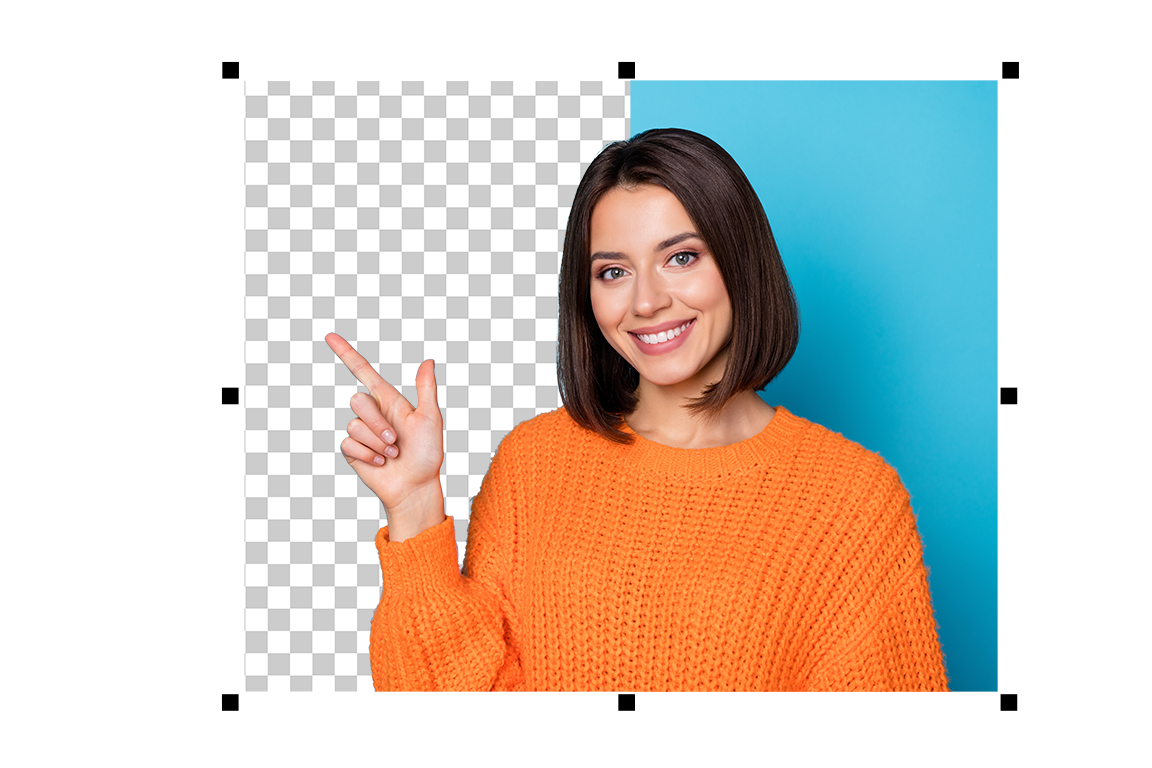
Success! You've captured the perfect shot. What if you want to change or remove the background? CorelDRAW® Graphics Suite can help you quickly remove or replace the background in minutes.
Join millions of users across thousands of global organizations who use CorelDRAW.


Choose the photo you want to edit, remove the background, and then finesse it with CorelDRAW Graphics Suite's pro-level photo editing tools.
Follow these handy tips for a background-free image.
Find the photo in a JPG or PNG file format that you want to edit.
Use the Transparency tool in CorelDRAW to apply the desired level of transparency from uniform to gradient.
Select the background you want to remove by separating it from the main image.
Choose the background you want to remove and delete it. Now, you'll have just the stand-alone image.
Use CorelDRAW to frame your image and clip your canvas size. Trim the edges of your photo to remove stray pixels or tighten its outline.
Complete your edits, save the new and improved photo, and you can share or upload.
Make a super quick transition behind the scenes. Select your image and then choose the background space you want to be transparent.
From there, you can repurpose the image for other projects, such as adding a new background or populating the vacant space with different graphics, people, or places.
Instead of having a transparent background, you can eliminate it altogether!
CorelDRAW allows you to outline your image and delete the background. From there, you can use your revised image to upload, export, or share in various creative ways.
CorelDRAW Graphics Suite has its own built-in photo editor, Corel PHOTO-PAINT™, that's bursting with image editing options. No separate app is required!
This advanced photo-editing application provides realistic special effects, photo painting capabilities, retouching, and more.
Take the guesswork out of this process using our step-by-step tutorial guided by one of our own CorelDRAW Masters.
CorelDRAW has a straightforward transparency check box to let you choose the color of transparency you prefer.
CorelDRAW offers you a variety of tools to cut out an image depending on its level of complexity. You can opt for the Crop tool, Eraser tool, or the Cutout Lab feature to obtain the desired result.
You may have a different need for your photo or want to show it off in a different background. Here's how to make the switch:
Corel PHOTO-PAINT is like having a photo editor on your desktop. Once you remove the background from an image, you will have an entire toolbox to explore and embellish your newly refined, stand-alone photo.
This app can help you with image adjustments, backgrounds, layering, cloning, etc. Plus, it can provide more advanced photo features like drawing, adding textures, drag and drop, and next-level effects.
Depend on CorelDRAW Graphics Suite to be your ultimate background remover. It's fast, easy, and produces impressive results. The suite also features pro-level editing tools to refresh, rework, or revamp your revised image.