1. Open CorelDRAW
Launch CorelDRAW on your desktop to get started, or if you’re new to CorelDRAW, try CorelDRAW for free and follow our quick tutorial.
Quickly remove the background of an image and make the background transparent with CorelDRAW, your all-in-one graphic design software solution. You will have the ultimate control and flexibility on how your images appear—with or without their original background.

Join millions of users across thousands of global organizations who use CorelDRAW.
Choose the photo you want to edit, remove the background, and then finesse it with CorelDRAW Graphics Suite's pro-level photo editing tools.
Follow these handy tips for a background-free image.
Launch CorelDRAW on your desktop to get started, or if you’re new to CorelDRAW, try CorelDRAW for free and follow our quick tutorial.
Choose an image with a clearly defined object or subject, and minimal background clutter or detail.
Outline the object or portion of your image that you want to preserve and then use the PowerClip tool to remove everything outside the outline.
Once you've removed the background you're done!
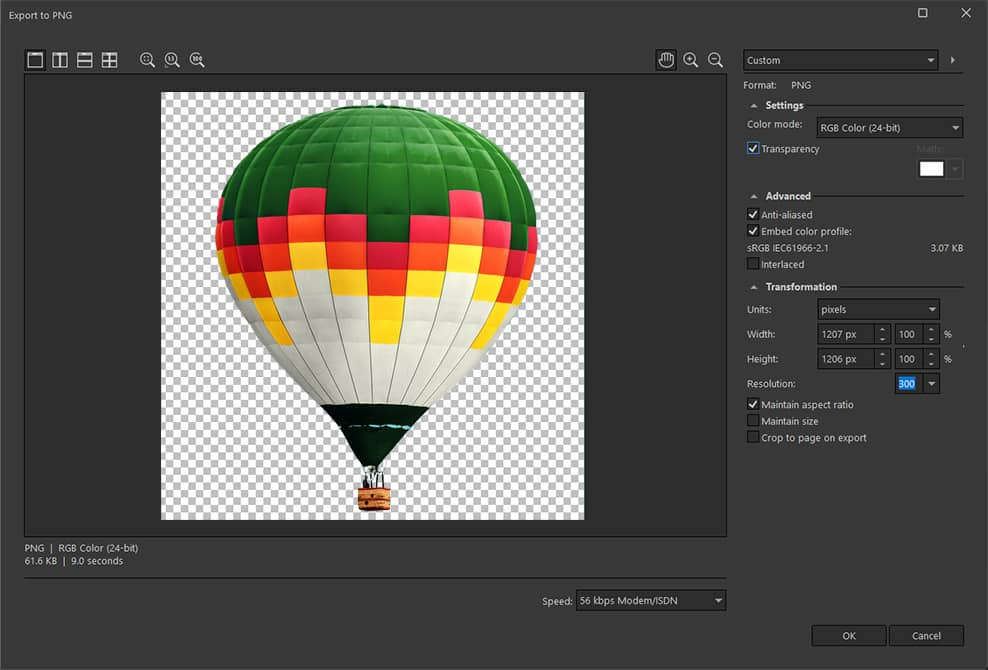
Make sure to save it as a PNG or another file format that allows for transparency, to preserve the transparent background.
Do you want your shot to take center stage? CorelDRAW provides the expert tools to remove the existing background of your image and replace it with a different background.
A stand-alone image, minus the background, can be shared, posted, or published in new places. The quickest way to achieve a transparent background is to use image editing tools.
Repurpose the image in various creative and innovative ways.
Once you have separated your image from its background, you can repurpose the remaining image with transparent background. Insert it into other projects, add it to social media, or manipulate it with design and photo editing tools.
It only takes a few quick steps to make an image background transparent in CorelDRAW.
First, import your image into CorelDRAW.
Then, outline the object or portion of your image that you want to preserve and use the PowerClip tool to remove everything outside the outline.
Finally, save your transparent image as a PNG or another file format that allows for transparency.
Or jump in to take our interactive tutorial to learn how to create a transparent background in CorelDRAW.
A transparent effect is an editing opportunity to remove part or all of an image using opacity and blends.
CorelDRAW Graphics Suite includes a photo editing application, Corel PHOTO-PAINT™, that has additional background removal tools that are not in CorelDRAW.
These tools include selection and masking tools, and the Image Cutout Lab. These tools are used for more advanced background removal when working with images with finely detailed objects and/or detailed backgrounds.
Within CorelDRAW, you can use the Powerclip tool to remove the background of your PNG file quickly and easily.
If your image source file is a PNG it can better support a transparent background.
If your image source file is a JPEG, you can create a transparent background using the PowerClip tool in CorelDRAW; however, once the background has been removed, you need to save your image as a PNG to preserve the transparency.
Learn how to use the Transparency tool in CorelDRAW to apply different transparencies, adjust the settings and opacity, and create unique effects.
The PNG can support transparent backgrounds between these popular file types, but a JPEG file cannot.
JPEG files are compressed, making them easier to store on your desktop. PNG files are also compressible but require more desktop storage space.


