Get the most out of the Pick tool in CorelDRAW
This tip has been written for CorelDRAW® Graphics Suite X3. While similar features might be available in previous releases the tip will be fully applicable to CorelDRAW Graphics Suite X3 and newer versions only.
Have you ever found it time-consuming to select objects in complex projects, or to size objects and paragraph text? Or perhaps you've tried to reshape a curve object quickly and then found that you had to switch tools to select the object's nodes? The following procedures show you how to perform all these tasks swiftly and easily by using the Pick tool.
To select an object
- Using the Pick tool, drag a marquee around an object to select it. If parts of the object are hidden behind other objects, hold down Alt while dragging, and enclose only a portion of the object. Using the Alt modifier helps you quickly select objects in complex projects.
The sky in this clipart is selected by dragging a marquee around a small portion of the sky while holding down Alt.
The color of the selected sky is changed to dark blue with one click on the on-screen color palette. The color of the water is changed to a darker blue by dragging a color swatch.
To select all objects in a drawing, double-click the Pick tool.
To size an object
To size paragraph text
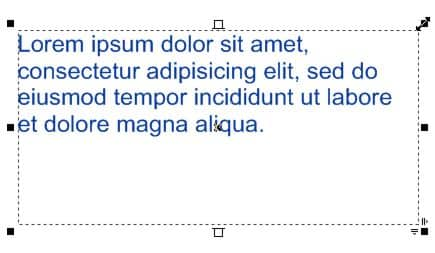
- To size the text frame, click the paragraph text with the Pick tool, and drag a corner selection handle. To size the text frame and text simultaneously, hold down Alt while dragging a corner handle.
Selected paragraph text can be resized proportionally by dragging a corner handle.
Only the text frame has been resized in this example. Note that the text in the frame now spans five lines instead of four.
In this example, both text and frame have been resized by holding down Alt while dragging a corner handle. Note that the text spans four lines, as in the original paragraph text.
To select a node
- Click Tools > Options.
- In the Workspace list of categories, click Display, and make sure that the Enable node tracking check box is enabled. When the Enable node tracking check box is enabled, the snapping feature is not available.
The Display page of the Options dialog box. The Enable node tracking control is circled in red.
- Using the Pick tool, click a curve object.
- Move the pointer over a node until the tool's shape state cursor appears, and click the node.
The node is selected with the Pick tool.