This was one of the first tutorials ever published on www.CORELCLUB.org, then known as "Anna's CorelClub Spain", back in 1996.
From that point forward, its success among the "CORELian" audience led me to include it in several books. I have also taught this technique in a number of CorelDRAW courses and workshops.
But the moment has come to dust it off and make it more widely accessible on-line.
It's a simple tutorial that shows creative results using three basic CorelDRAW tools: the Polygon tool, the Pick tool and the Shape tool.
CorelDRAW allows you to create polygons in a very intuitive way. When the Polygon tool was first introduced in version 6, the always faithful CorelDRAW users were quite impressed with how versatile and interactive it was.
Even though the Polygon tool does not seem like a very creative tool at a first glance (it simply allows you to create multiple-sided polygonal shapes), following this tutorial you will be surprised of all of its capabilities.
To start, the first thing we need to do is to draw a basic polygon. To do this, click the Polygon tool and drag the cursor in the drawing window until the polygon is the size you want.
TIP: Keep the Ctrl key pressed to create a symmetrical polygon (same size sides). Keep the Shift key pressed to draw the shape from its center outward.
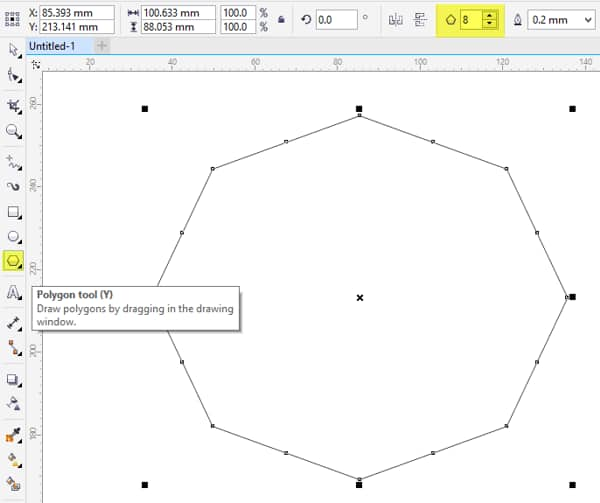
Once the polygon has been drawn, select it with the Pick tool. You can change the number of sides at any time by typing a value in the Points or sides box on the property bar. Remember that you have to select the object with the Pick tool if you want to make changes to it.
In this tutorial, the polygon that we have created has 8 sides (octagon).
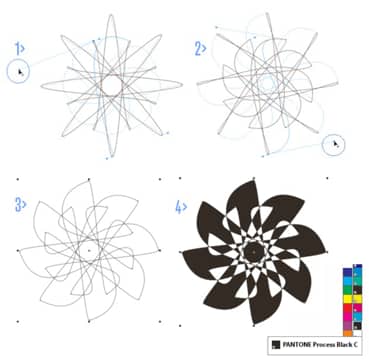
Once created, click on the Shape tool and draw a window around the entire polygon.
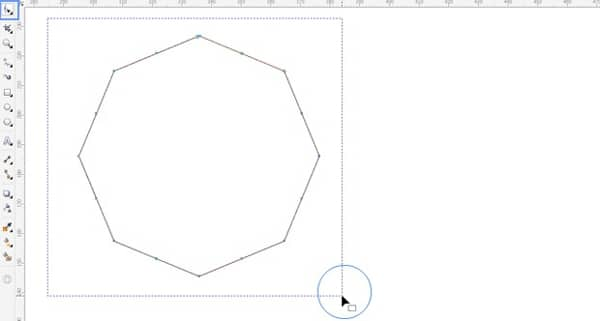
Two of its nodes will appear highlighted, and the property bar will show options for editing nodes. Click on the Convert to curves icon.

You won't notice much of a change at first sight. However, upon clicking one of the nodes or paths of the polygon using the Shape tool and dragging the cursor inwards or outwards, you will notice that the sides of the polygon become curved. This allows you to create a variety of shapes. Take a look:
You can continue modifying the shape of the polygon by clicking and dragging the nodes and control handles.
You can also apply a color fill to the polygon. As you can see in this example, I have applied a black color by clicking the appropriate color swatch in the color palette.
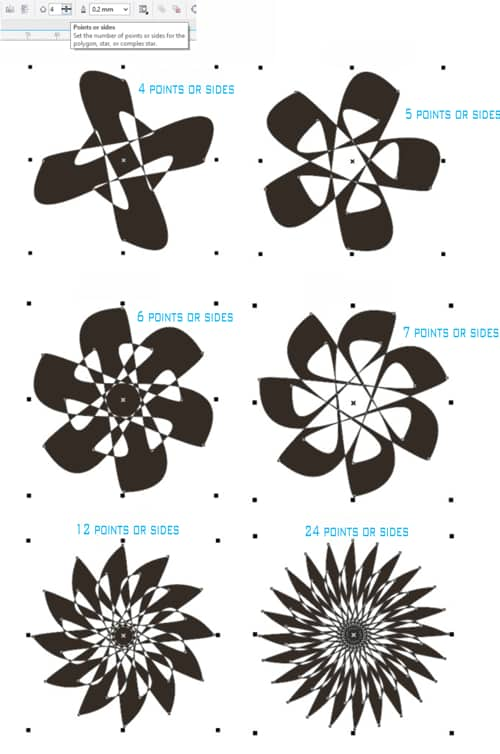
The best thing is that the original polygon continues being dynamic throughout this process, which means that you can change the number of sides as many times as you want.
Every time you change the number of sides, you will create a new shape.
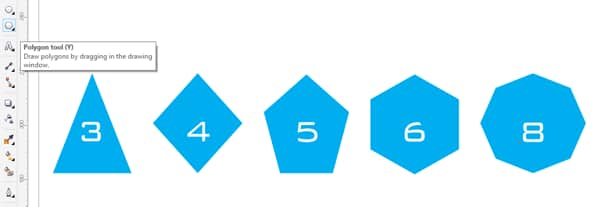
Give it a try! Select your polygon and change the number of sides by typing a value in the Points or sides box on the property bar. Your polygon will be transformed automatically into new shapes like in this example.
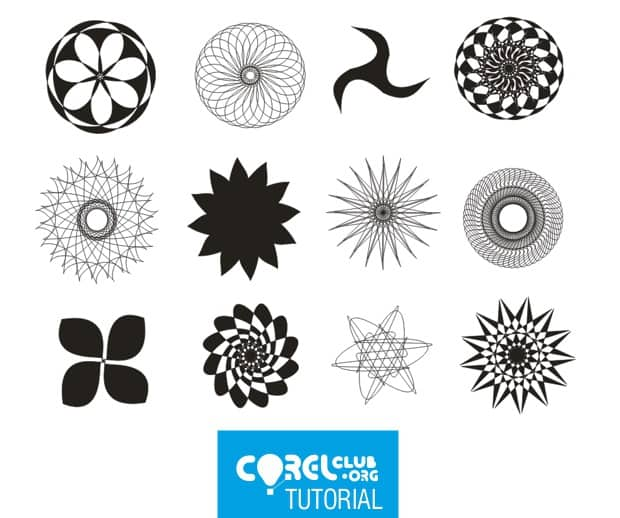
As surprising as it may seem, all the shapes in the image below have been created using this technique. You can download the original file (http://www.corelclub.org/tutoriales/practicas/ejercicio-tutorial-poligonos-corelclub.cdr) by clicking on the image*.
*This file is 31 KB and in .cdr format. Save it to your computer by right clicking the link and selecting Save link as. You can then open the file in CorelDRAW.
You will be able to interact with each polygon in this file and see for yourself all the possibilities and versatility of the CorelDRAW Polygon tool.
---------------
This tutorial has been produced by Anna María López López - multidisciplinary designer, founder of www.corelclub.org and author of numerous digital design books such as www.cursodisenografico.net.
Source: http://www.corelclub.org/tutorial-poligonos-coreldraw/