Introduction
Before we begin the tutorial there are a couple basic concepts you’ll need to understand. The first concept is that all the objects you can draw come from two basic shapes: a rectangle or a circle. For example, an apple is more like a circle while a banana is more like a rectangle.
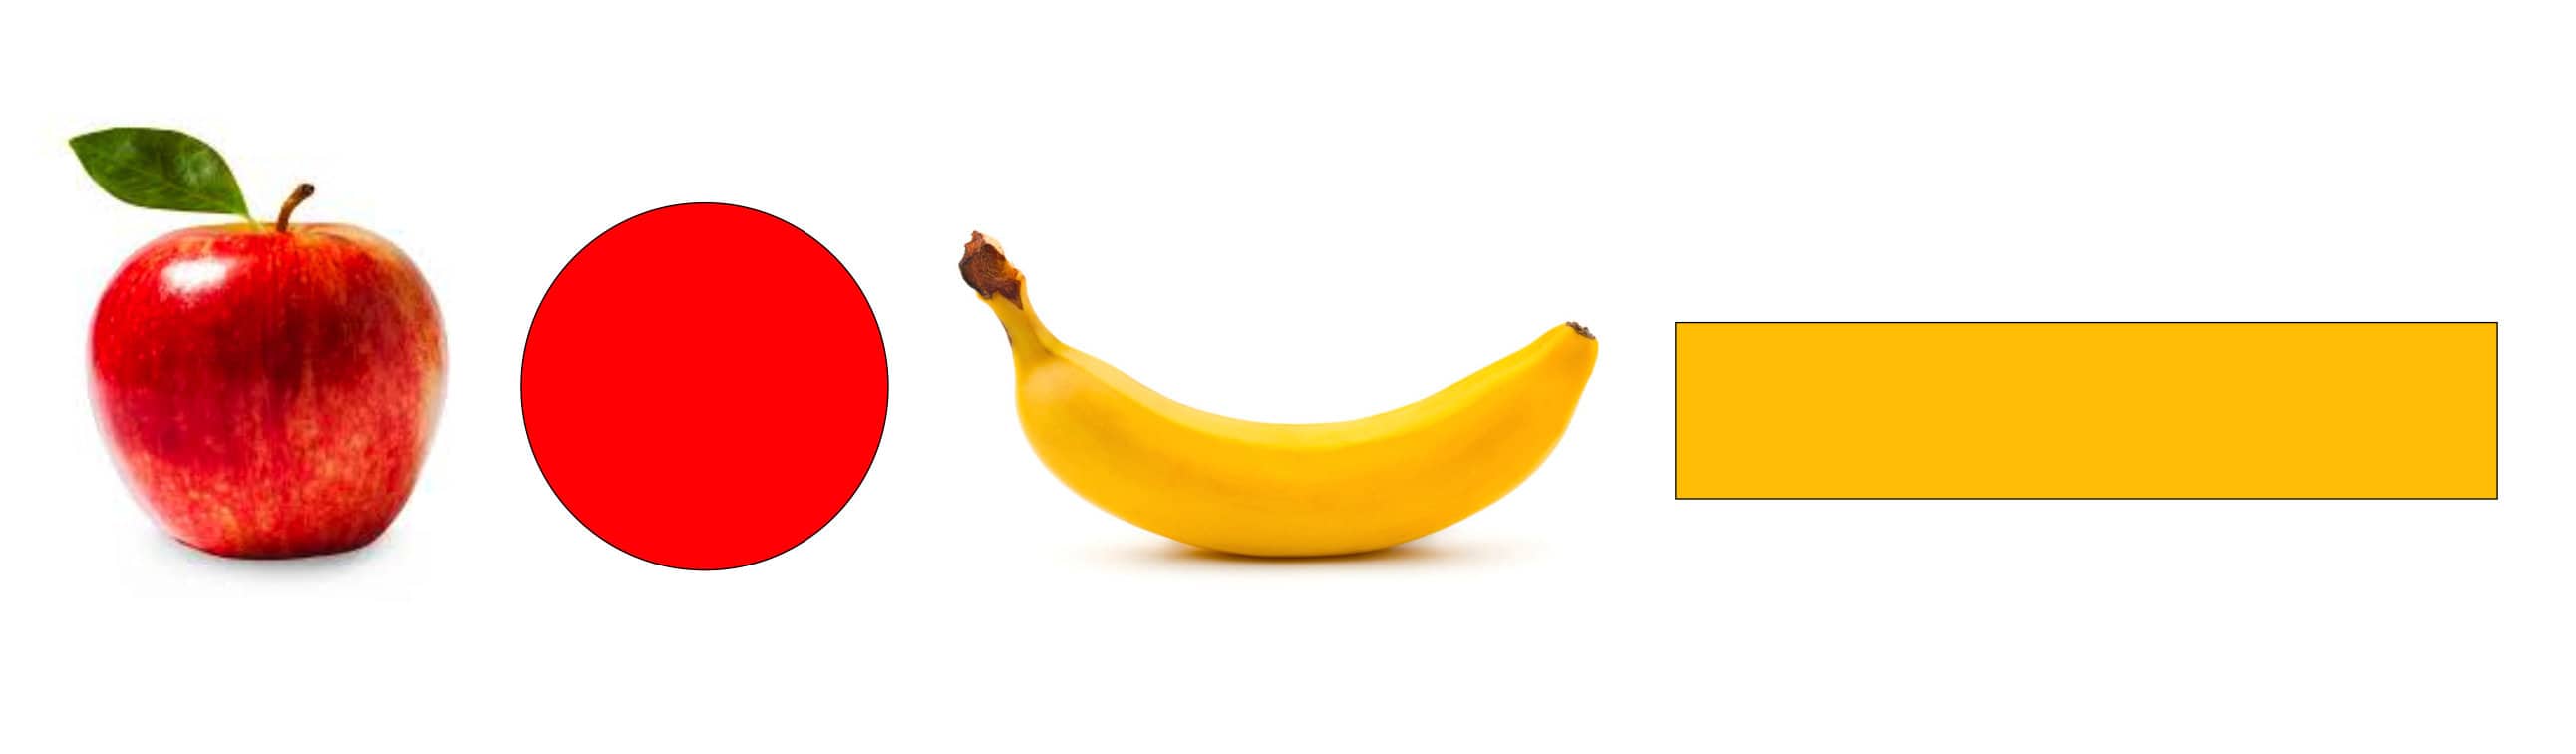
Using this concept any object can be reduced to one of those two shapes.
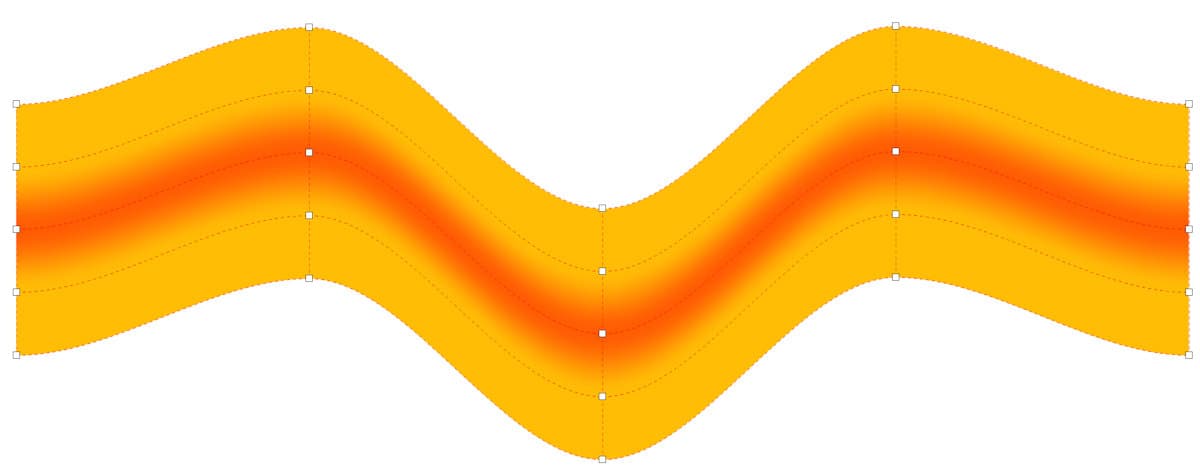
Another concept to understand is the behavior of the Mesh Fill tool, by default the subdivision works on vertical axis and horizontal axis.

With these concepts in mind, we can create a simple mesh fill that correctly adapts to the objects and shapes we need, and the divisions flow easily.
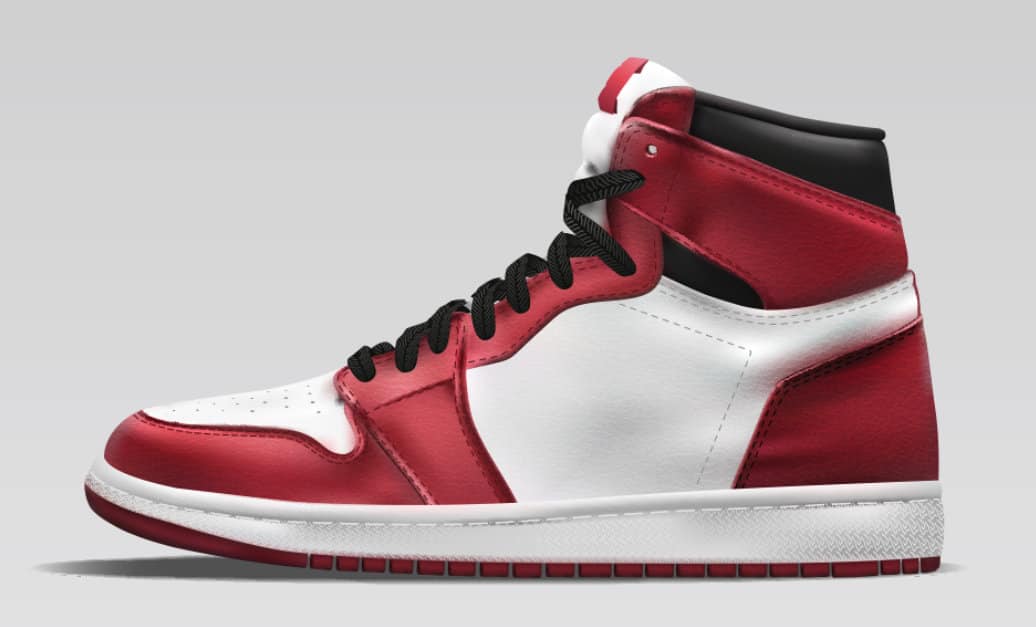
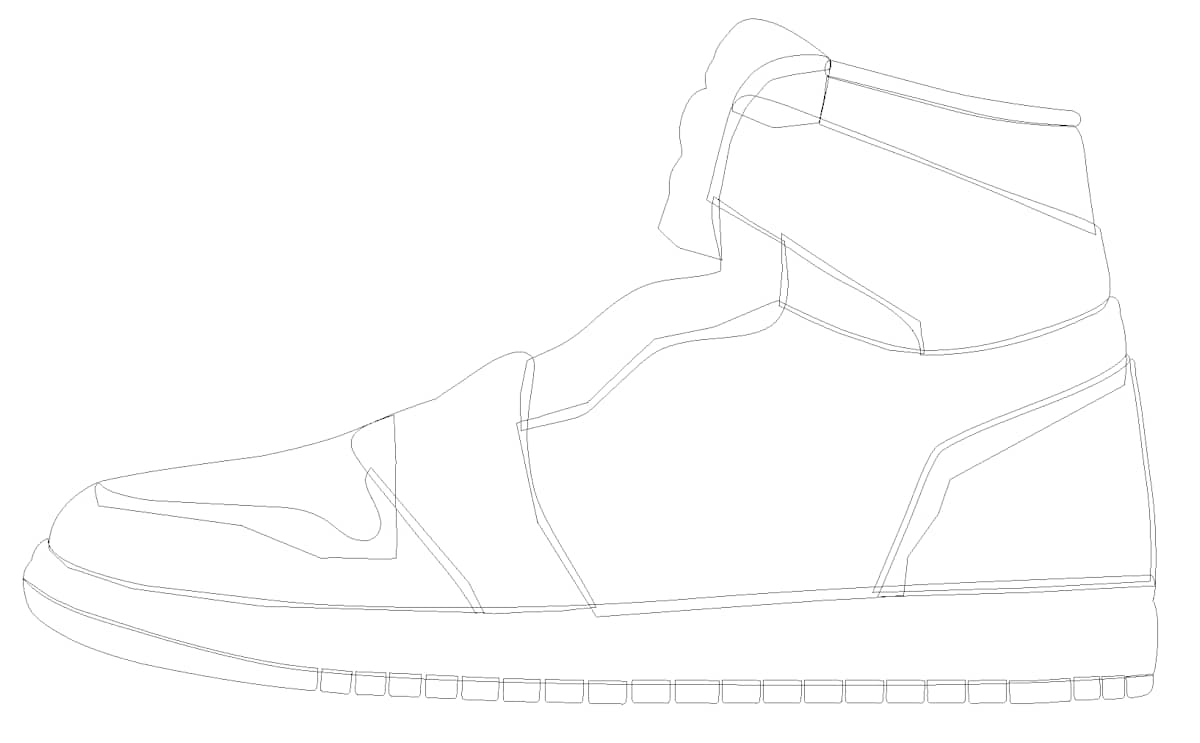
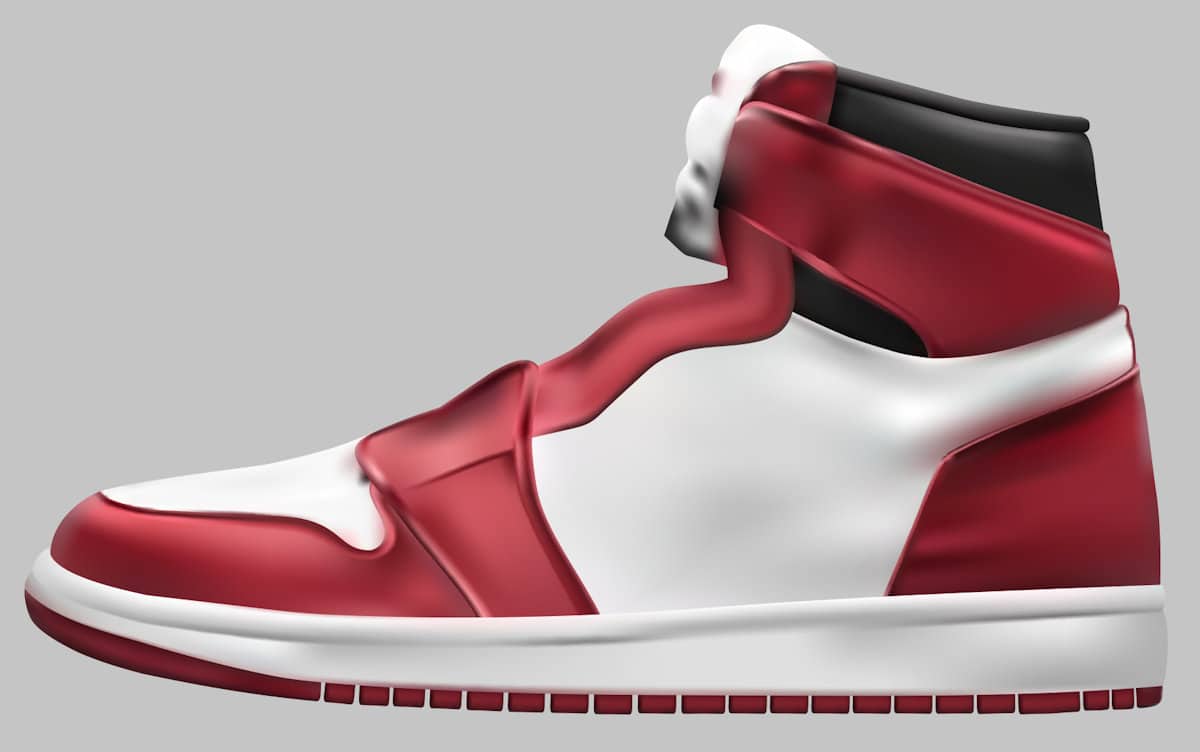
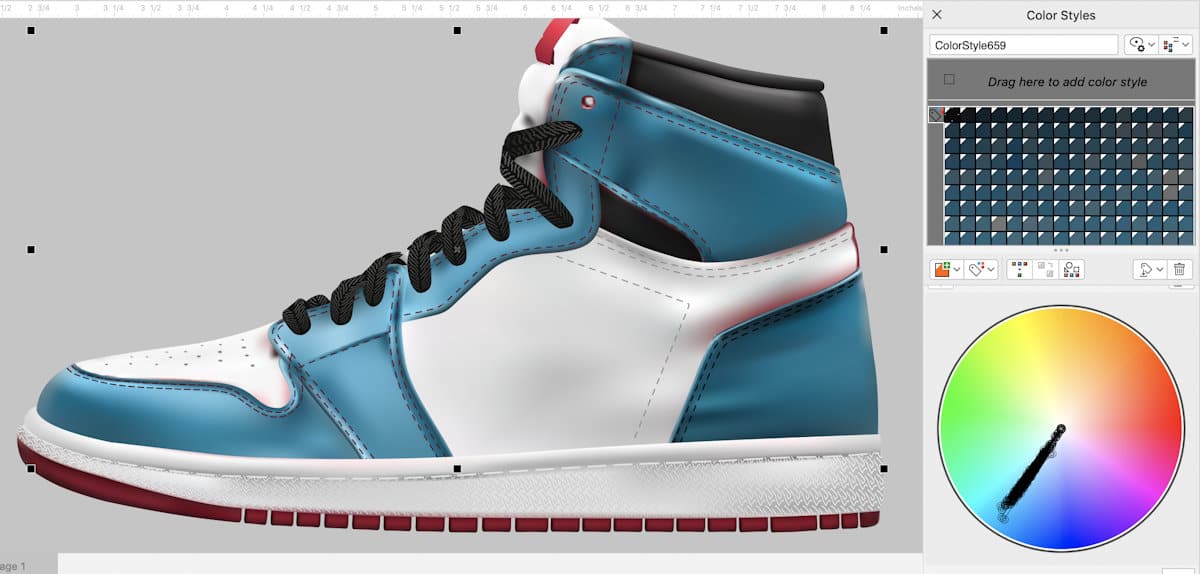
The easiest way to master the Mesh Fill tool is to use an image as a base. It could be any image but for this tutorial we’ll use this image of a shoe.
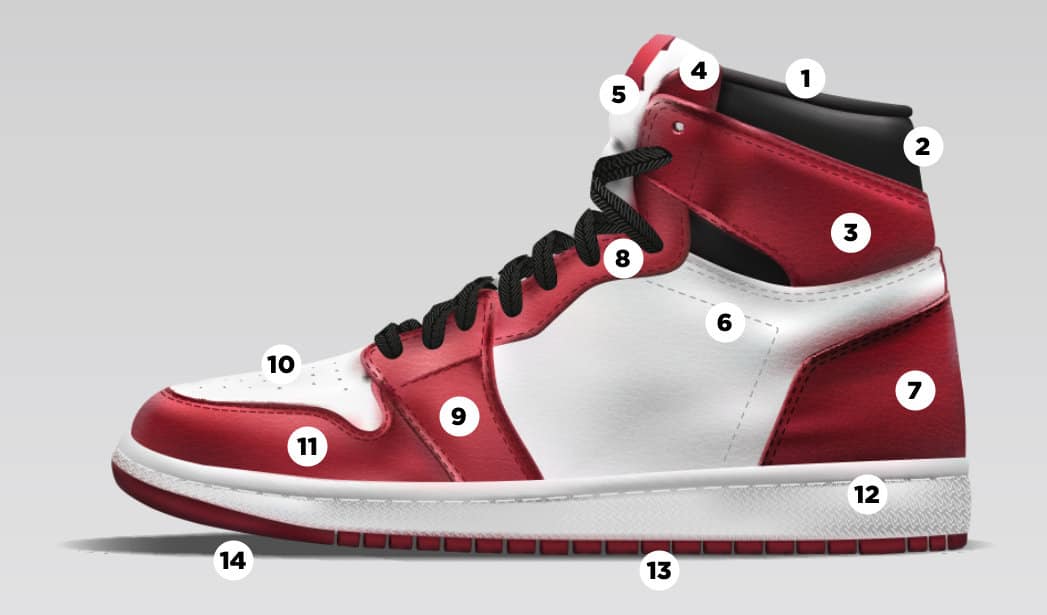
Now let’s identify the small shapes within the image. Breaking the illustration down into smaller parts will give you more control with the tool.
In our shoe image we’ve identified 15 rectangles that we will use with the Mesh Fill tool and we will create the details in small pieces with vector objects.
Creating a Mesh Fill Grid
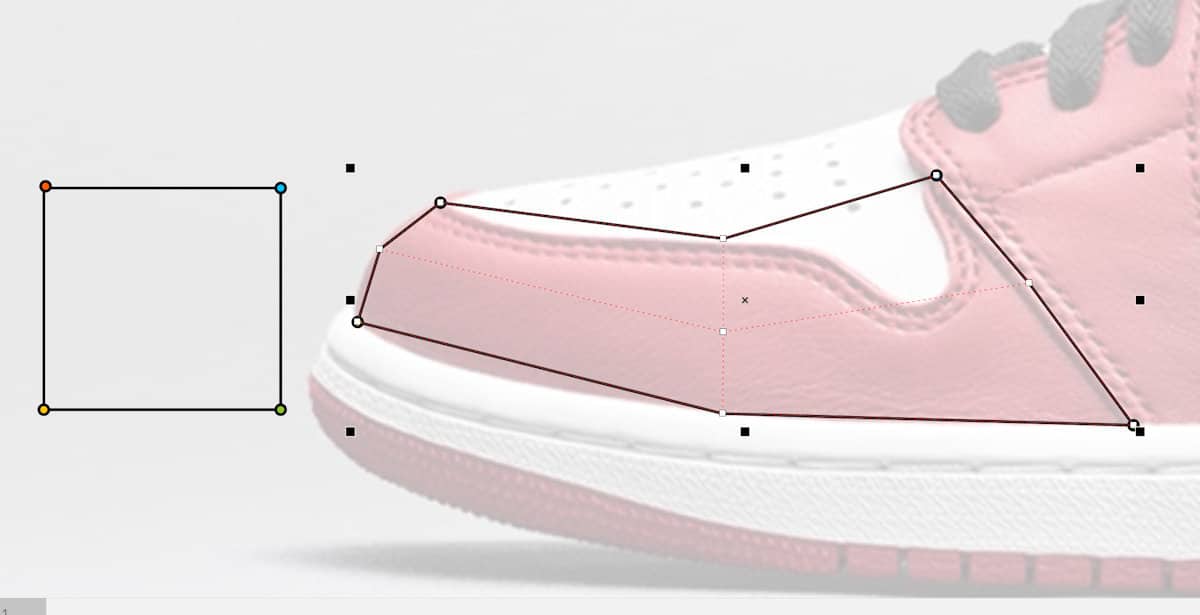
We are starting with area #7, which is the heel of the shoe. Select the Rectangle tool and create the first rectangle. Then activate the Mesh Fill tool and it will automatically apply the default 2×2 mesh grid.
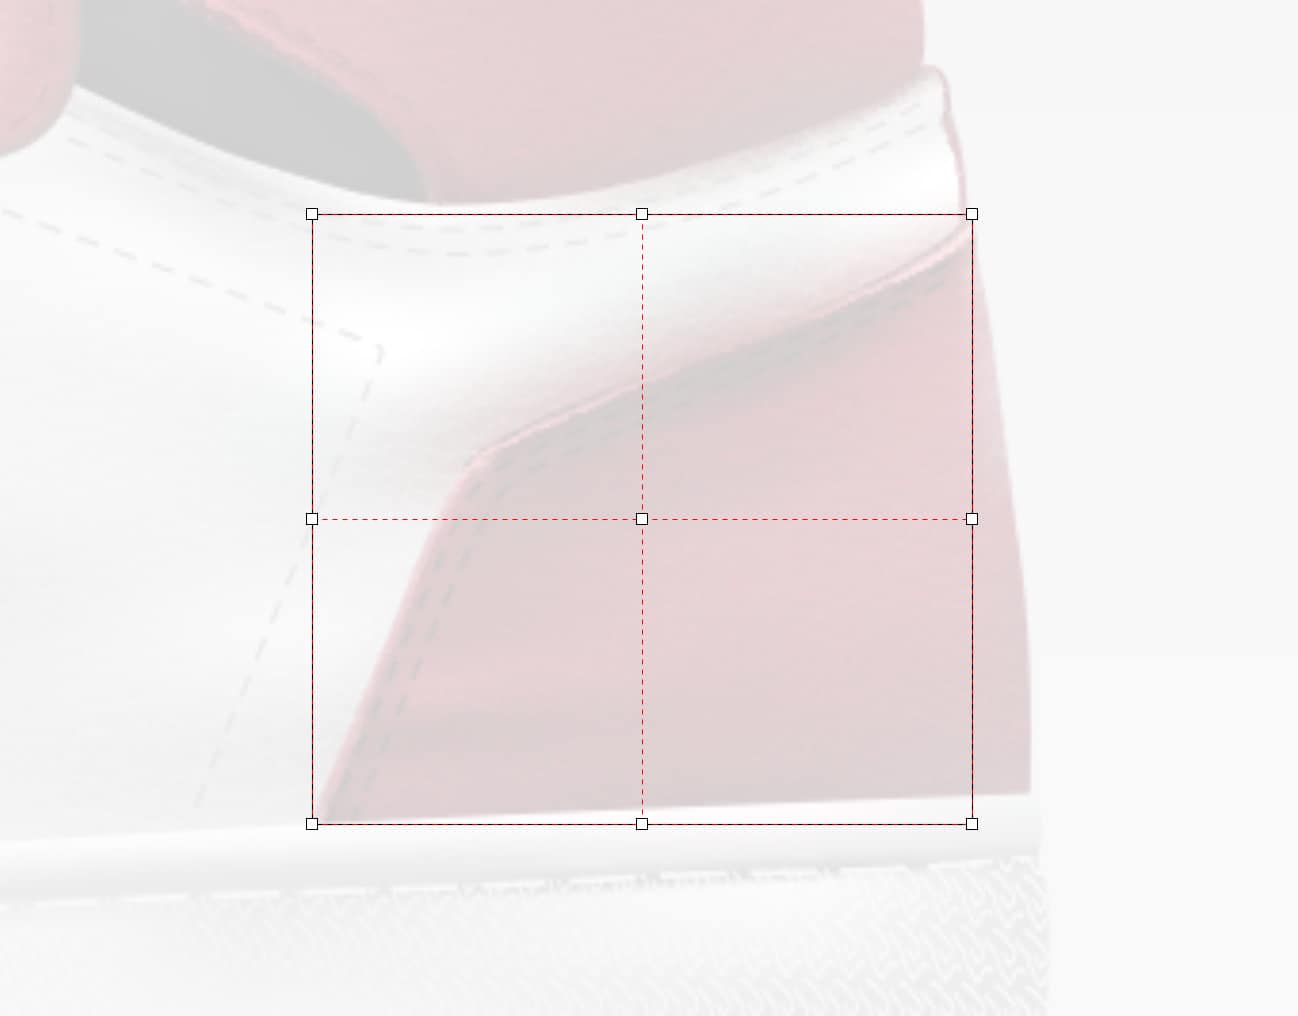
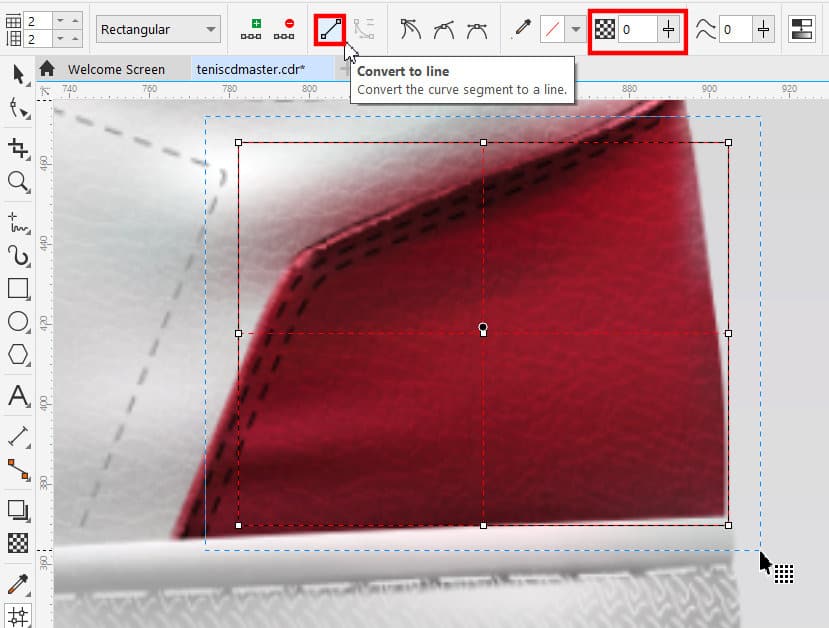
With Mesh Fill tool still active, drag around the mesh you just created to marquee-select all the nodes. On the Property bar, click on the Convert to Line icon to convert all nodes to lines. This will give you better control over the shaping of the mesh grid. Also on the Property bar, adjust the Transparency slider to 100, so you can see the object underneath the mesh.
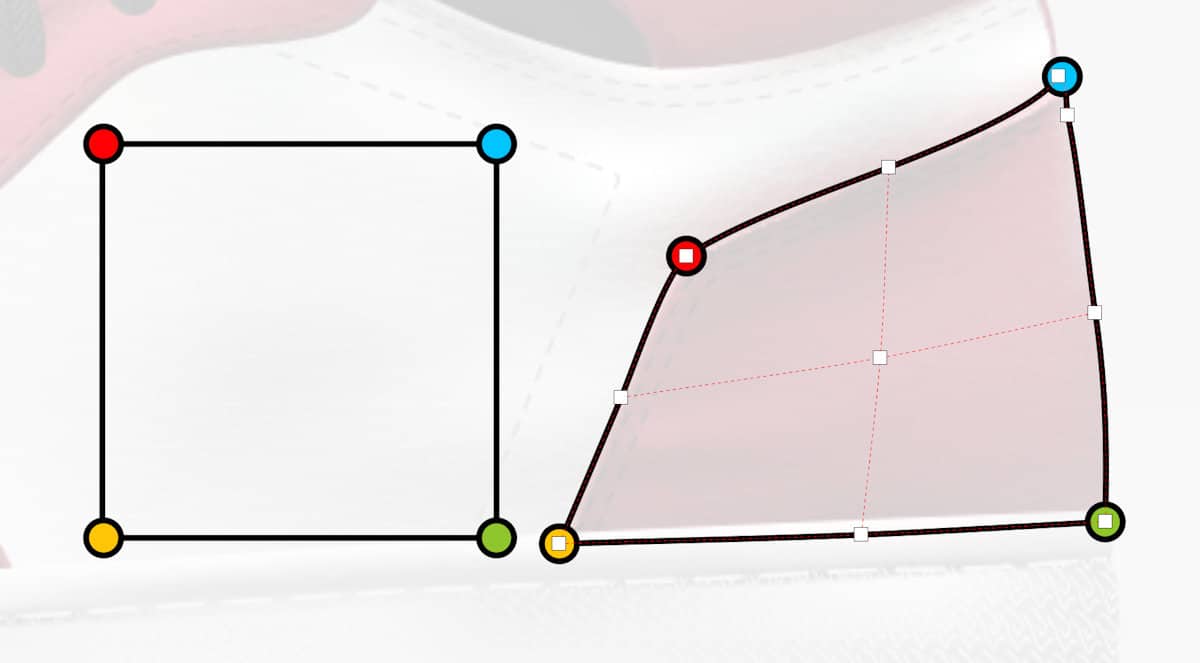
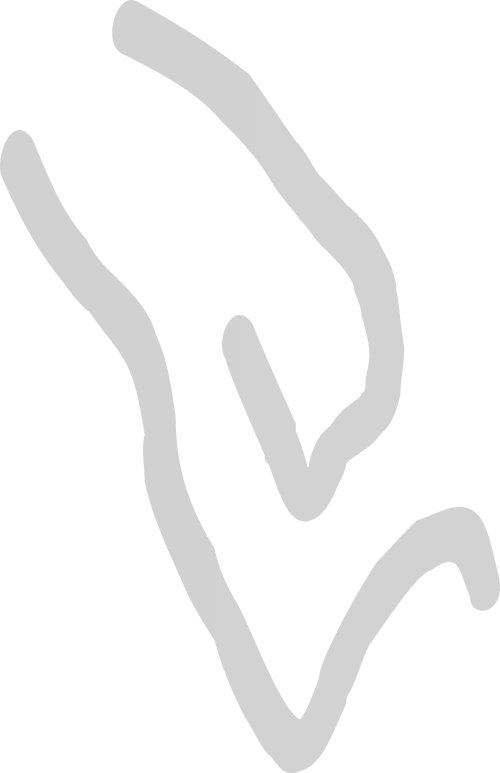
Now adjust the position of each white node to line up with the shape of the area below. Try to keep the central node as close to the center of the object as possible, because this will make your work easier. I have used color points as a reference so you can see how I placed them in the mesh on the shape that I want to replicate.
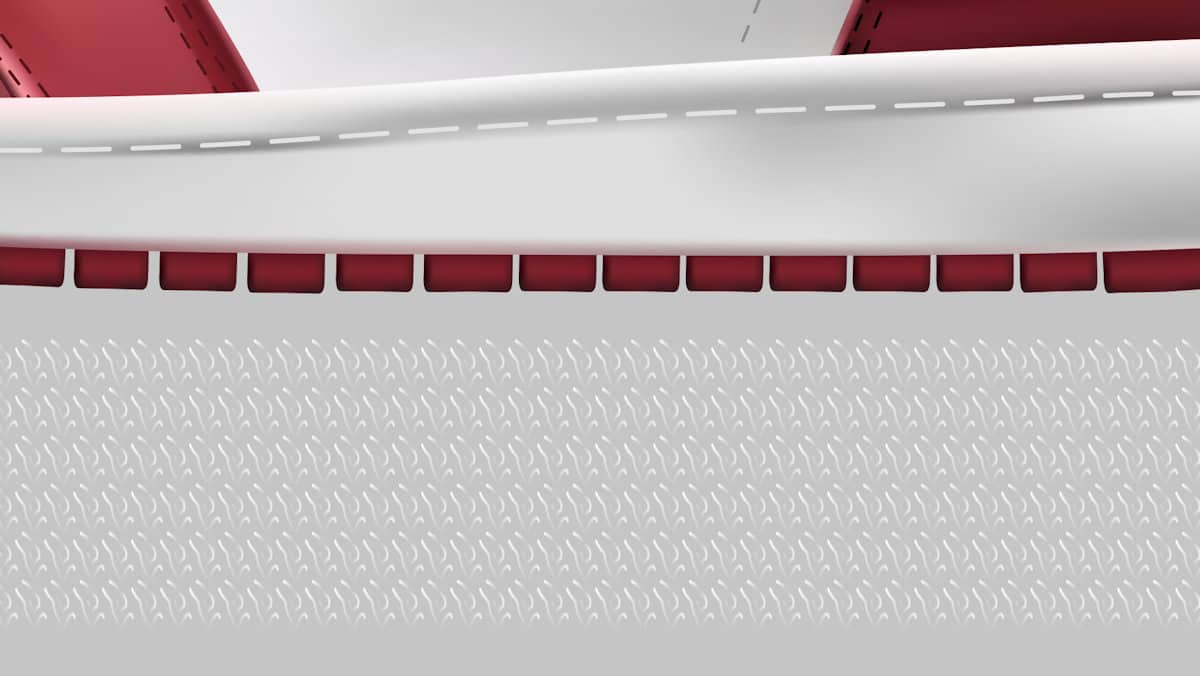
Once we have shaped the mesh grid to align with the object area of the image below, we can start adding subsections. The idea is to add new subsections that correspond with different colors or shades in the image below, for example, the darker areas along the left and top edges where the stitches are.
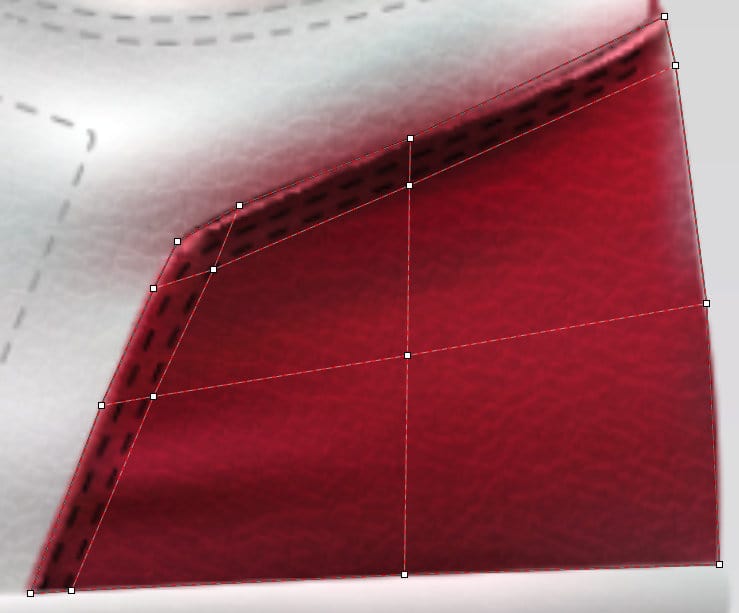
To add a subsection, double-click on the dotted red mesh line to generate a horizontal and vertical division in the mesh. Then position the nodes to align with the color area below. Continue to add intersections and adjust nodes until you have something like this.
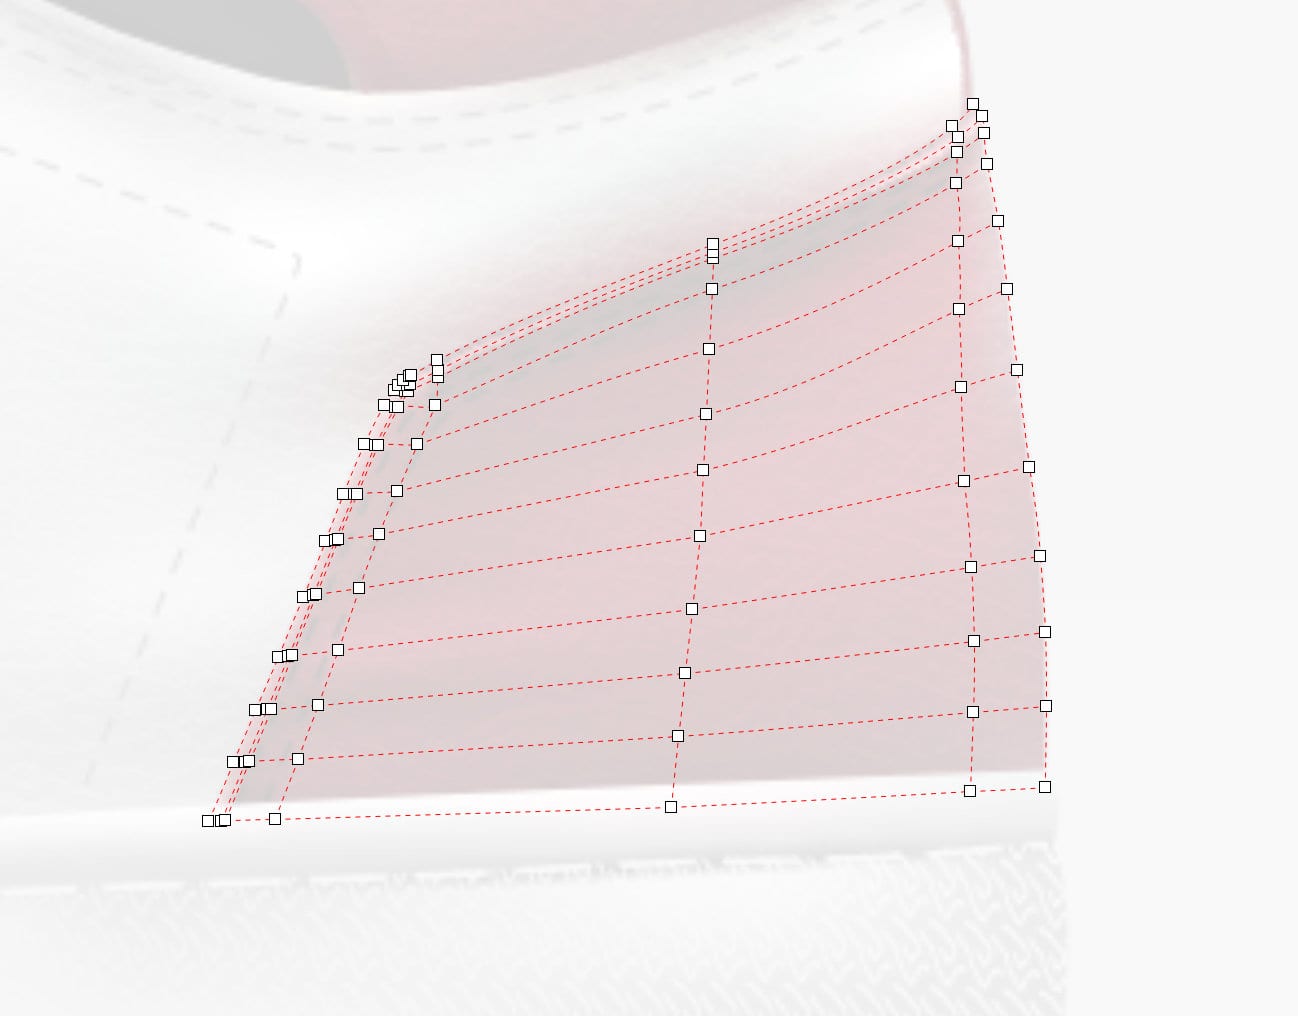
TIP: Keep in mind that every time you double-click, it generates a horizontal and a vertical division. These divisions help to create realistic effects but try to limit the number of nodes you use.
We will start a new object using the same technique: create a rectangle, apply a mesh, and adapt the points to shape the object.
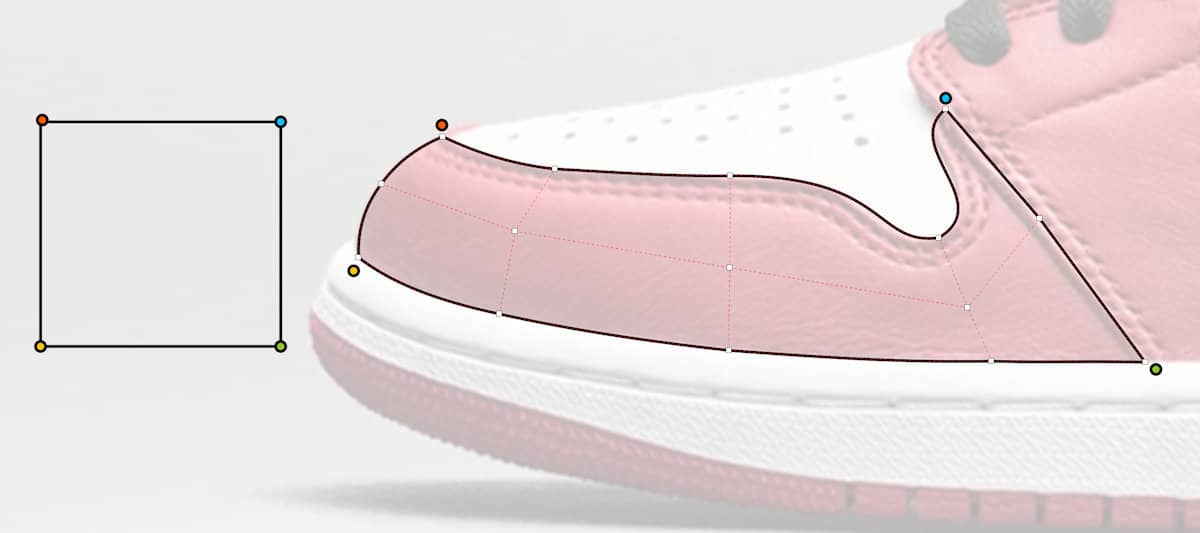
Once we have the defined shape we can begin to subdivide and make the mesh grid more complex, to end up with something like this:
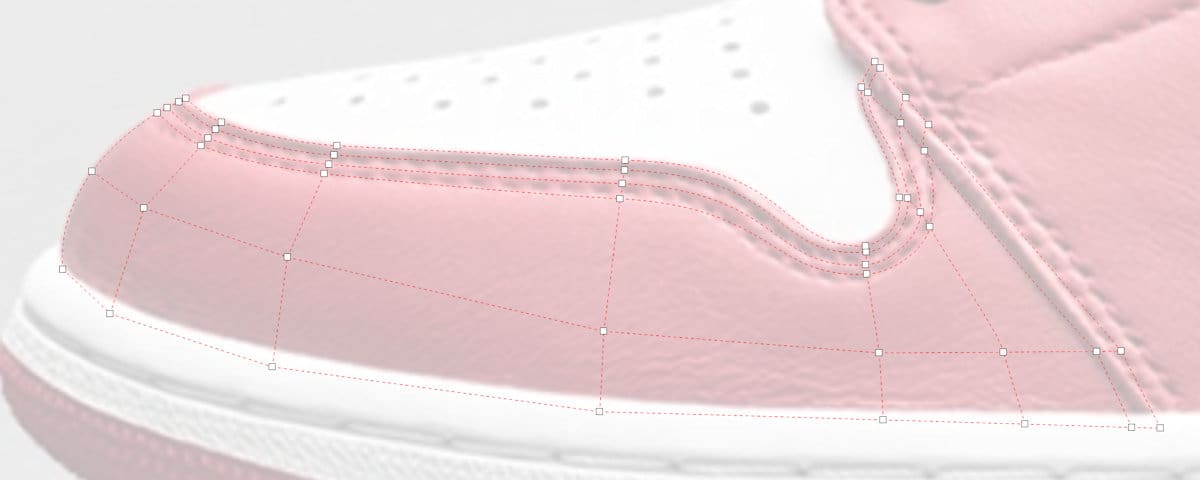
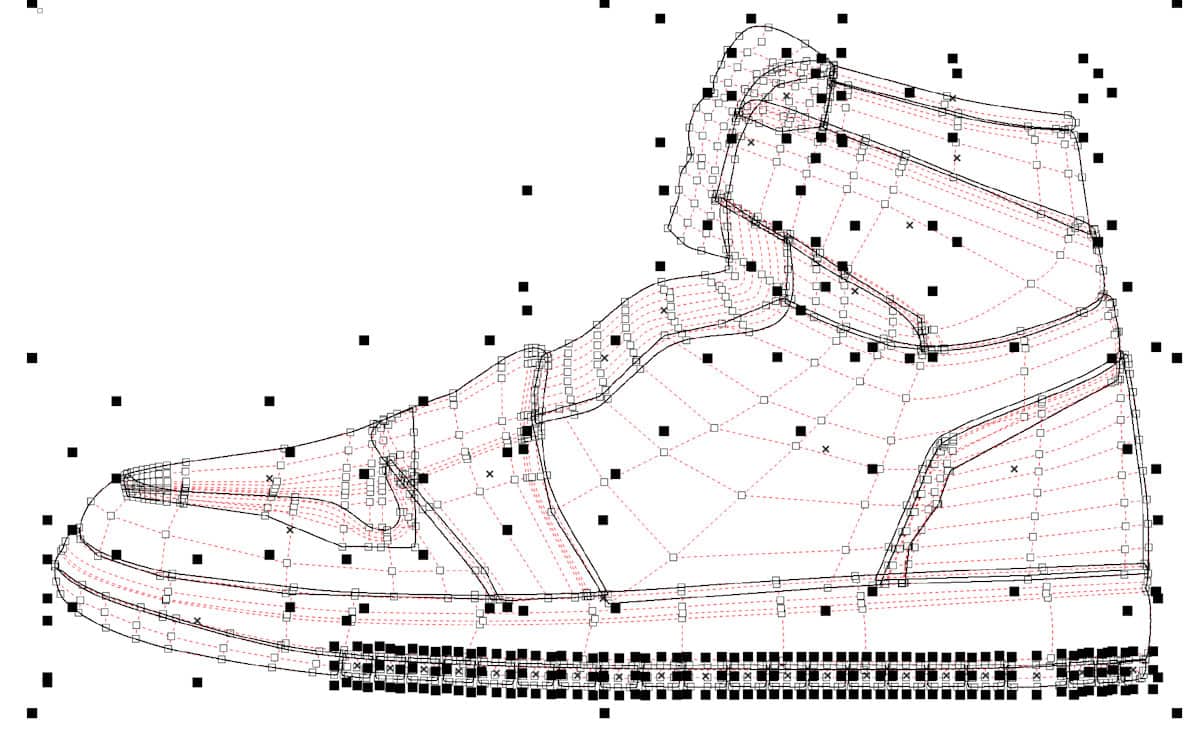
After the rectangles have been created and shaped to fit the objects in the original image, the design will look like this:
As you can see the structure is very simple, but with all the mesh grids applied it doesn’t look as simple.
Filling a Mesh with Color
Now we will start applying color to each object and this is where the magic begins. As long as the meshes were created correctly, the color of the image will match perfectly.
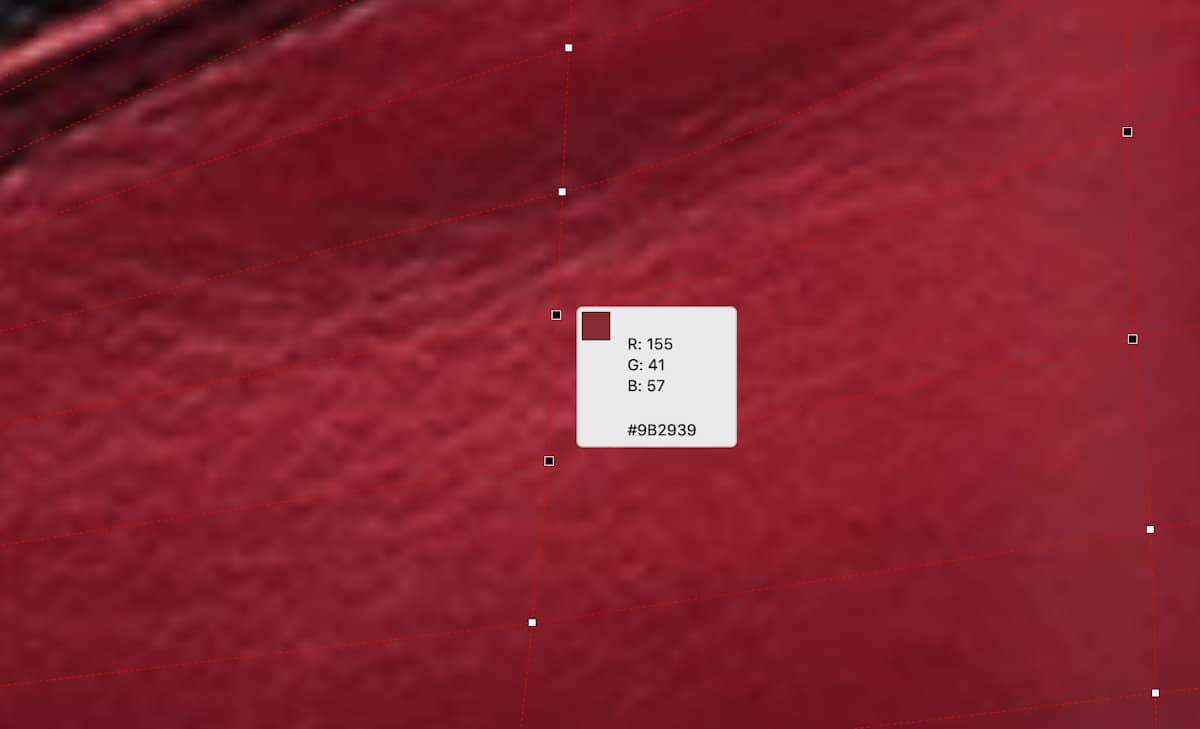
To add the first color, select a node or marquee-select a group of nodes that share the same color. On the Property bar, click the Sample Mesh Fill Color icon, which is the Eyedropper. You can also activate this tool with keyboard shortcut Ctrl + Shift + E. With the Eyedropper we take a color sample as close to the node as possible, so you have the exact shade.
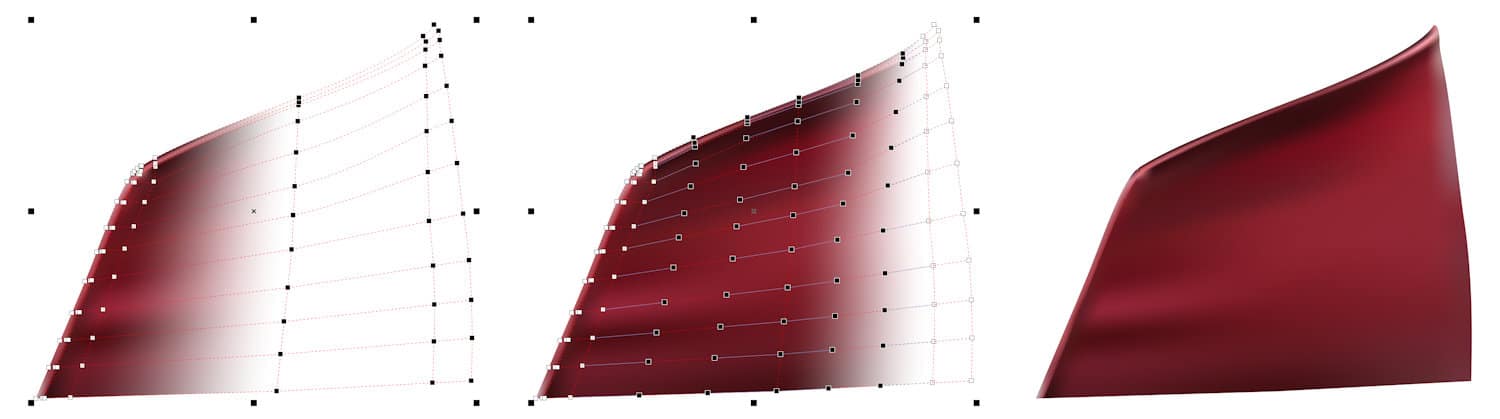
Once we have sampled the color for all the nodes of the mesh, we select them all and remove the transparency that we applied at the beginning so that we can see the mesh color.
TIP: Using the command Ctrl + Shift + E to activate the Eyedropper tool saves time because it is activated with the command and when clicking on the color that we want to automatically copy it applies to the selected node.
Once the process is finished, we will have something like this. All that’s missing are the details like stitches and laces.
Creating the Finishing Details
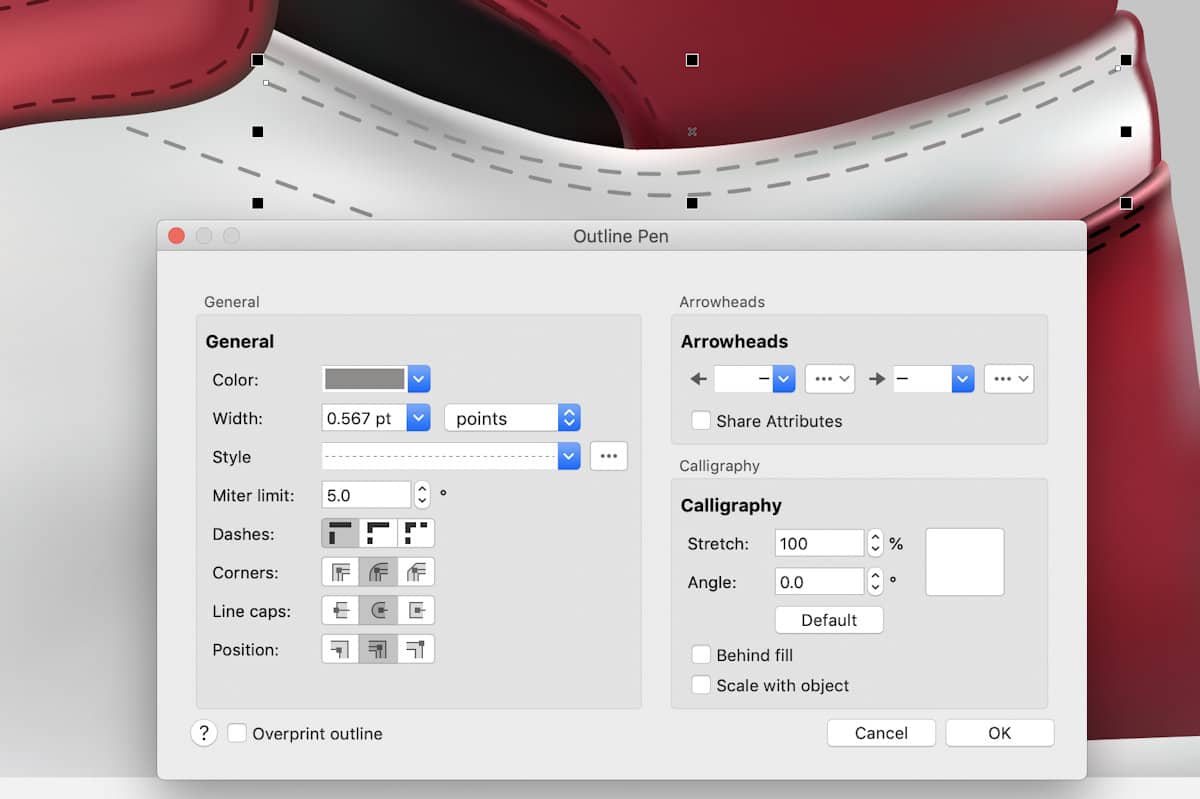
We will create the stitches using the Bézier tool. Trace the stitch line in the original image, going point to point. Then activate the Shape tool and select all nodes in the stitch line you just created. On the Property bar, click on the Convert to Curve icon and then the Smooth Node icon.

To set the proper configuration of the line, you can use either the Properties docker (Window > Dockers > Properties) or double-click on the Outline icon on the Status bar to open the Outline Pen dialog box. Here you can choose a line style and adjust the width and color.
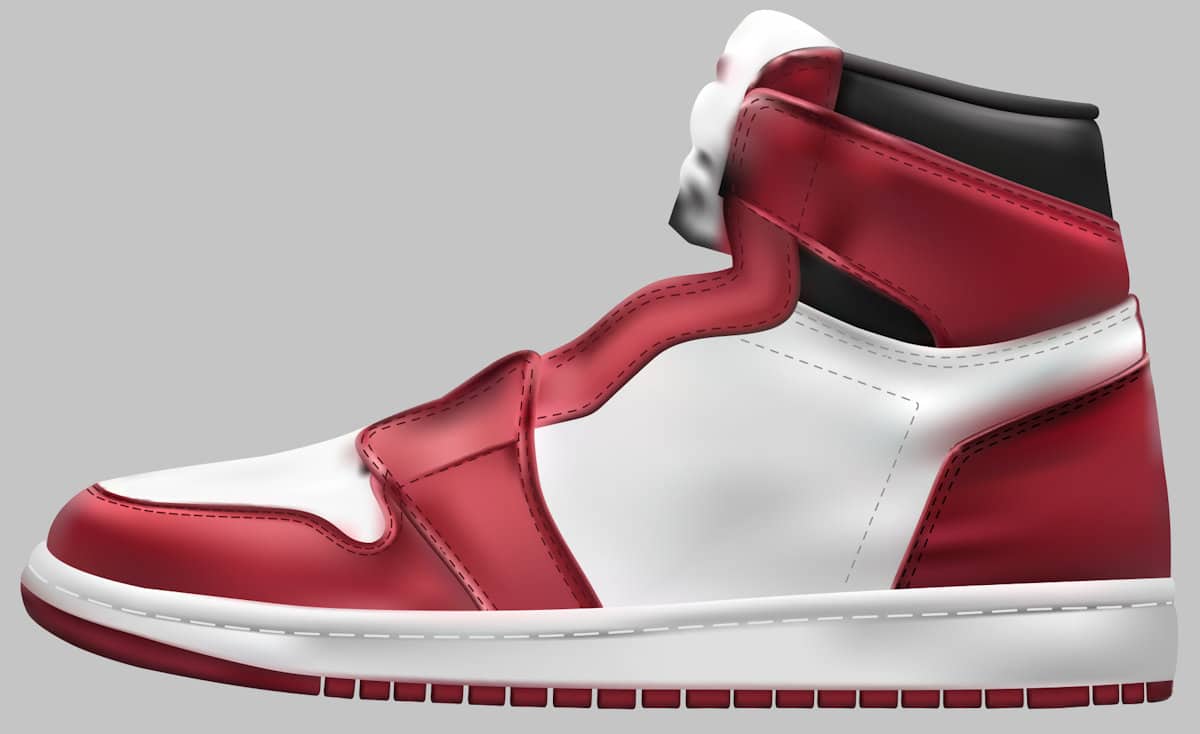
After adding all the seams, it should look something like this:
To learn more about drawing and shaping lines and curves, watch our full tutorial How to Design Curves.
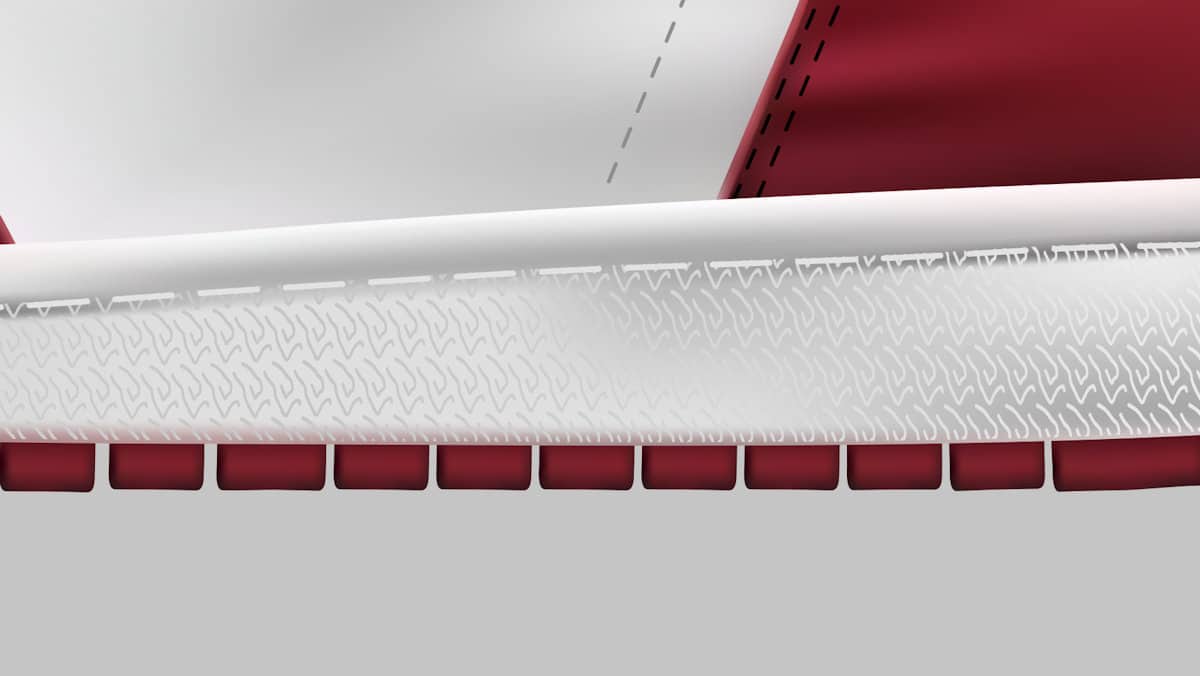
To create the texture pattern on the sole of the shoe, we start with a vector object.
To create the pattern from this object, open the Transform docker (Window > Dockers > Transform), set a relative horizontal (X) position (8.0) and number of copies (90), then click Apply. This will create a single line of duplicated vector objects. Next, set a relative vertical (Y) position (approx. -16.0) and number of copies (3) and click Apply again. Select all the lines of duplicated vector objects and group them together (Ctrl + G). This will give you the texture pattern fill.
Use the Pick tool to move the texture pattern into place and then use the Envelope tool to shape the pattern to match the shape of the sole.
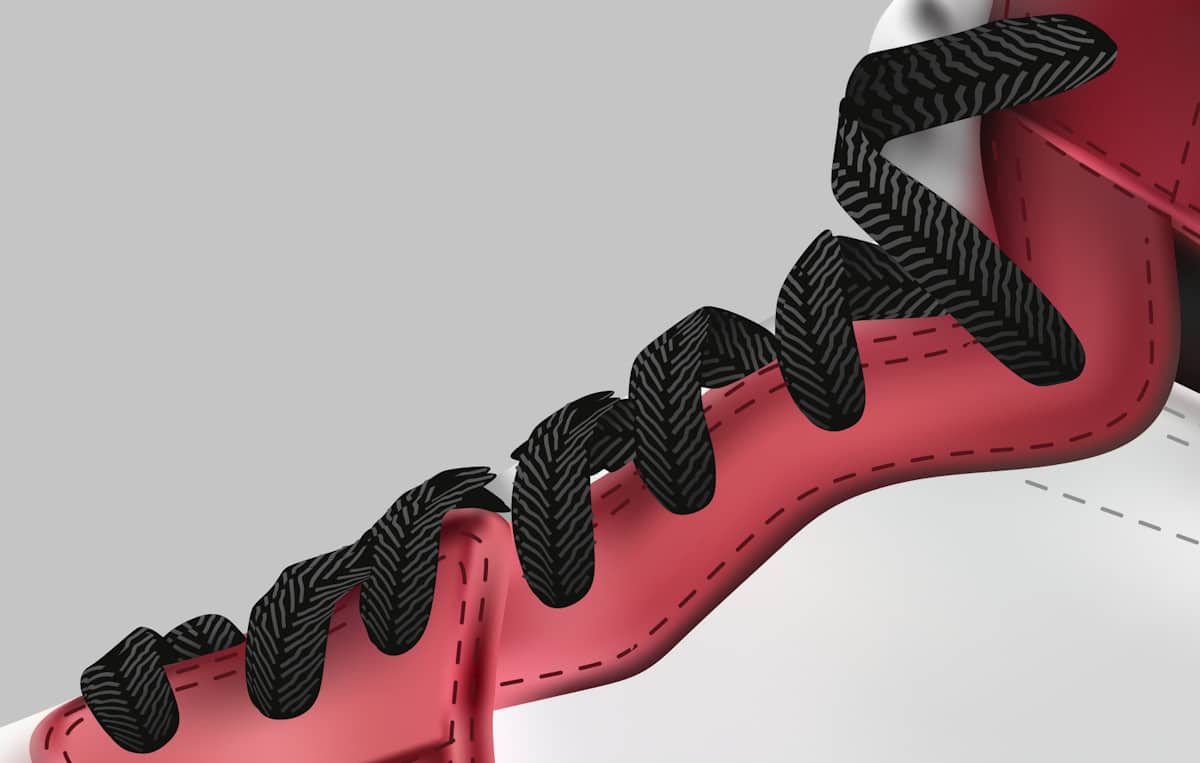
The shoelaces are black objects that have been created with the Bézier tool to make the outline of the shape, and the Freehand tool to make the lighter stripes within the laces. The outlined shapes are filled with black.
When finished, all those little details result in a realistic-looking image.
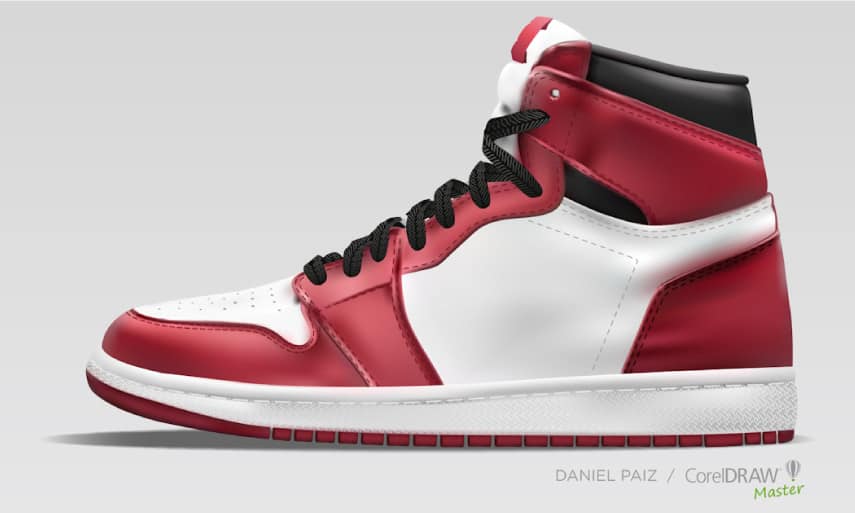
One of the biggest advantages of the Mesh Fill tool is that since our creation is a vector, we can combine it with other tools such as the Color Editor or Harmony Editor to easily change the color of the entire image with only a few clicks.
To learn more about color harmonies, watch our full tutorial How to Use Color Harmonies.
Now that you understand the process of creating and coloring mesh fills, you can begin making your own realistic objects in CorelDRAW.