
Make your mark with a decal or sticker. Their purpose is as varied as their type, size, and message.
What if you could make car decals to advertise your side hustle?
Or create custom stickers to give away at your new cafe?
Now, you can imagine and design a decal or sticker yourself.
If you want to design your own decal or sticker, give CorelDRAW a try to follow an interactive tutorial to learn how to design a decal in CorelDRAW.
The first step is to invest in graphic design software to produce high-quality decals and stickers. Try CorelDRAW Graphics Suite today!
What size decal or sticker do I need?
Start with the purpose. Will these be used for fun, like on a laptop or water bottle, or for your business or vehicle? Do you prefer a smaller round sticker or a larger window decal?
Here's a breakdown of the most common shapes and sizes:
Small circle sticker size of 1 x 1 in
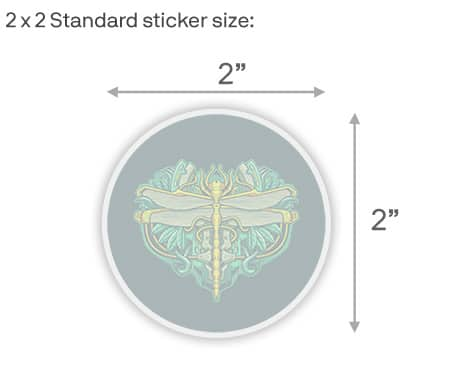
Standard sticker size of 2 x 2 in
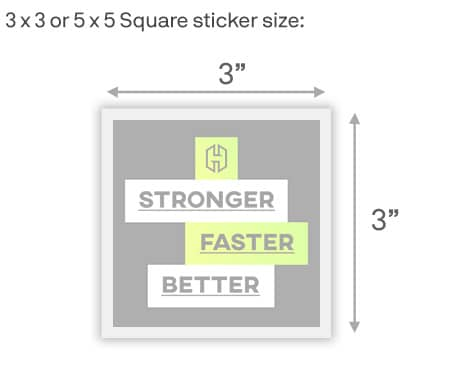
Square sticker size of 3 x 3 in or 5 x 5 in
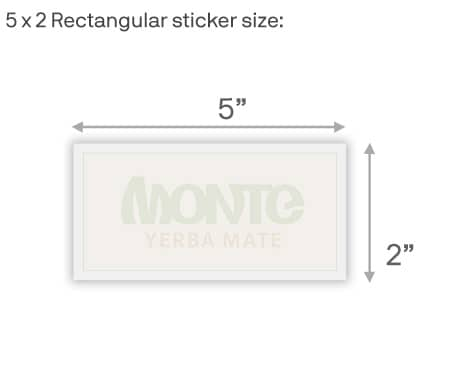
Rectangular sticker size of 5 x 2 in
Transfer sticker size varies
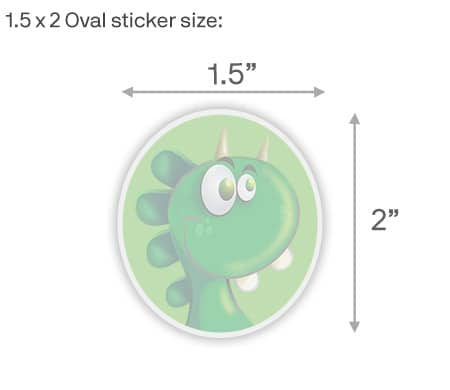
Oval sticker size of 1.5 x 2 in
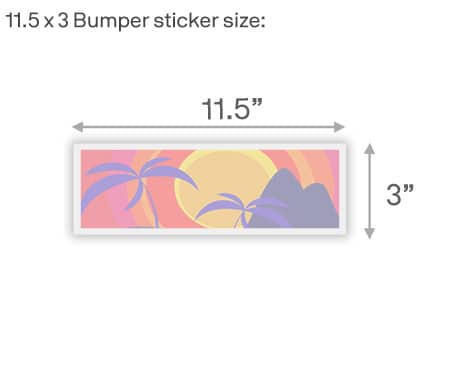
Bumper sticker size of 11.5 x 3 in
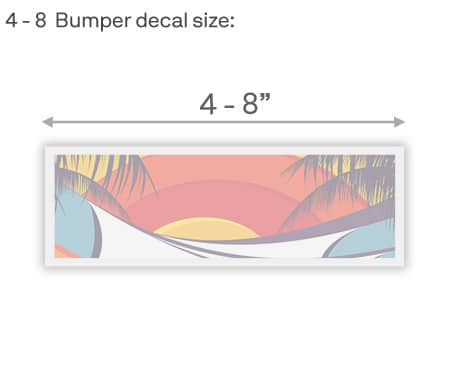
Bumper decal size of 4-8 inches wide
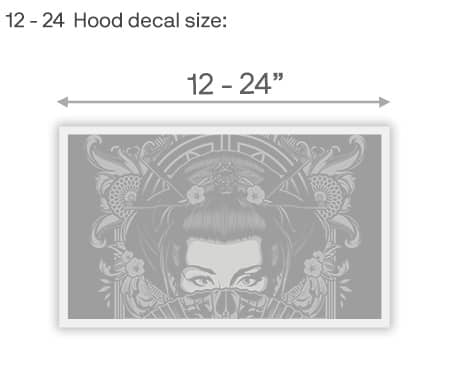
Hood decal size of 12-24 inches wide
Vehicle wrap size varies
Learn how to make vehicle wraps in CorelDRAW with our tutorial.
Car or window decal size of 4-12 inches wide
How do I design a custom decal or sticker?
Ready to get started? Here's a step-by-step process using CorelDRAW Graphics Suite to design your needs.
If you are already a CorelDRAW user, launch CorelDRAW to get started. If not, try CorelDRAW free and follow along to design a custom decal.
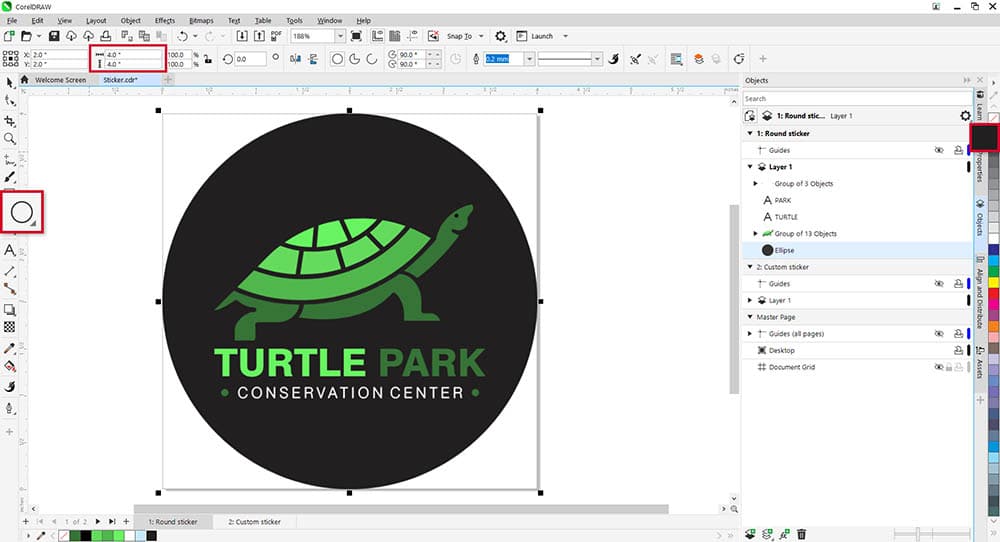
1. Create a simple shape sticker
You can create a variety of sticker shapes to match the dimensions of sticker sheets. We're creating a 4” round sticker, but you can use the same process to create oval, square, or rectangular stickers.
Start by selecting a shape tool from the toolbox—the Ellipse tool for circles and ovals or the Rectangle tool for squares and rectangles.
- Click and drag to draw the shape.
- Use the Object size fields on the property bar to adjust width and height fields (our circle is 4x4”).
- Press P to center the shape on the page.
Right-click on the shape and choose Order > To Back of Page.
Click a color swatch on the color palette to fill the shape with color.
2. Add an outline
To change the default outline color, right-click a color swatch to change the outline color of the ellipse.
If you want a thicker outline, double-click the Outline Pen icon on the status bar. Increase the Width and set the Position to Inside outline so the outline stays inside the page boundaries.
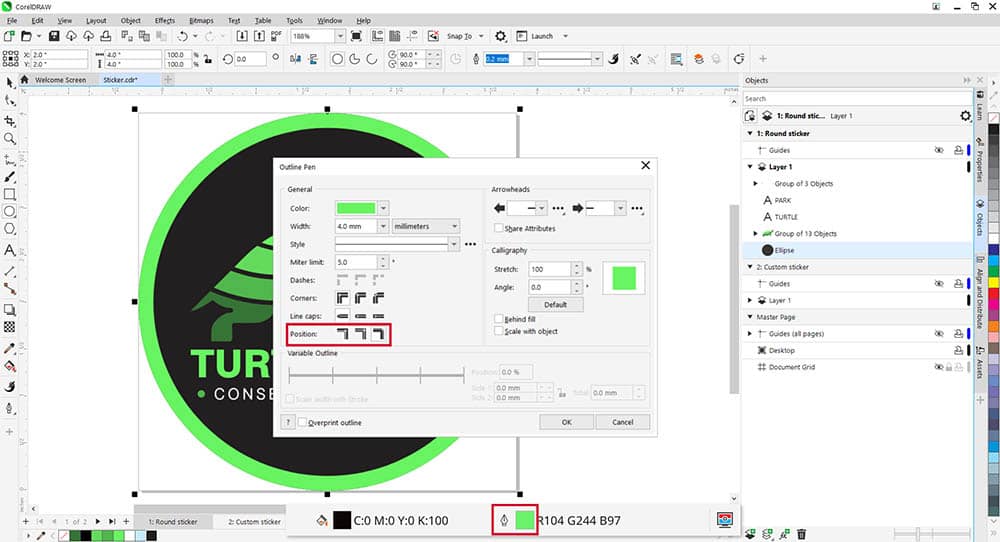
To remove the outline, right-click the no-color swatch on the color palette or set the Width to None.
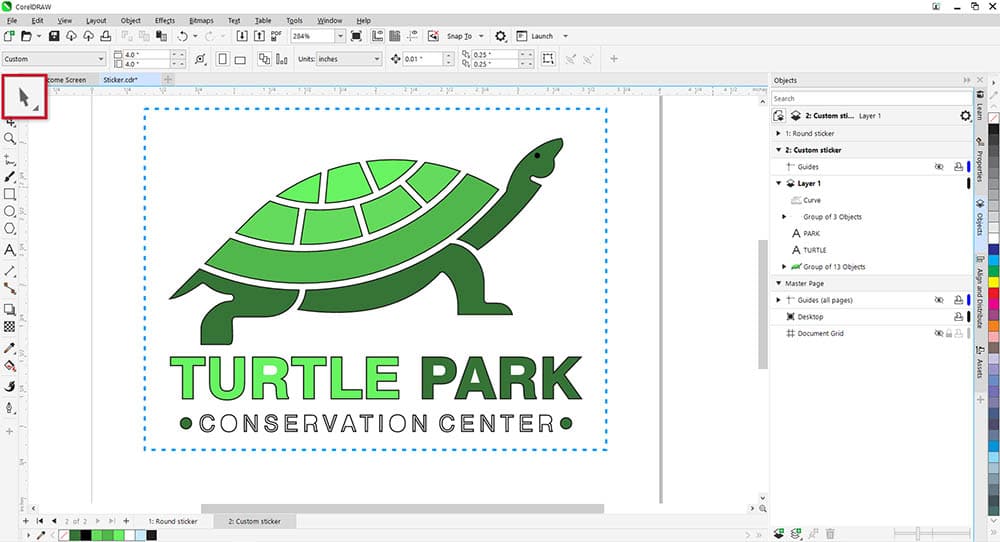
3. Create a custom shape sticker
Switch to page two of the CorelDRAW file.
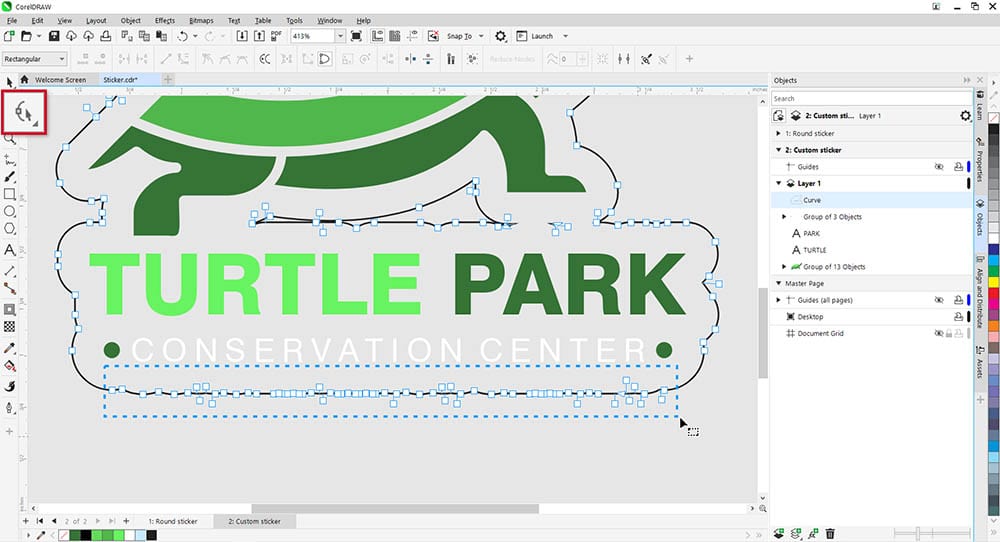
To create a custom shape sticker, we'll use the Contour tool to create a cut line around the design.
The first step is to create a boundary around the entire design.
- Use the Pick tool to drag a selection marquee around all objects, including the text.
- Press Ctrl/Cmd + G to group them all together.
- Under the Object menu, select Shaping > Boundary.
- The boundary shows as a black outline around each object.
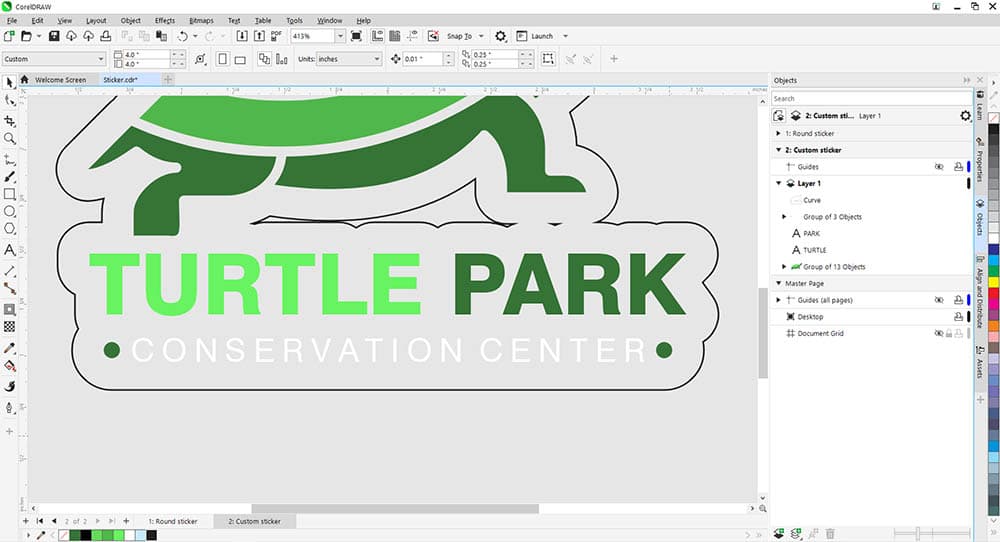
4. Create a contour from the boundary
Select the Contour tool in the Effects tool group on the left toolbar.
On the property bar, select Outside contour and Round corners.
Click and drag the square handle outward to create the boundary.
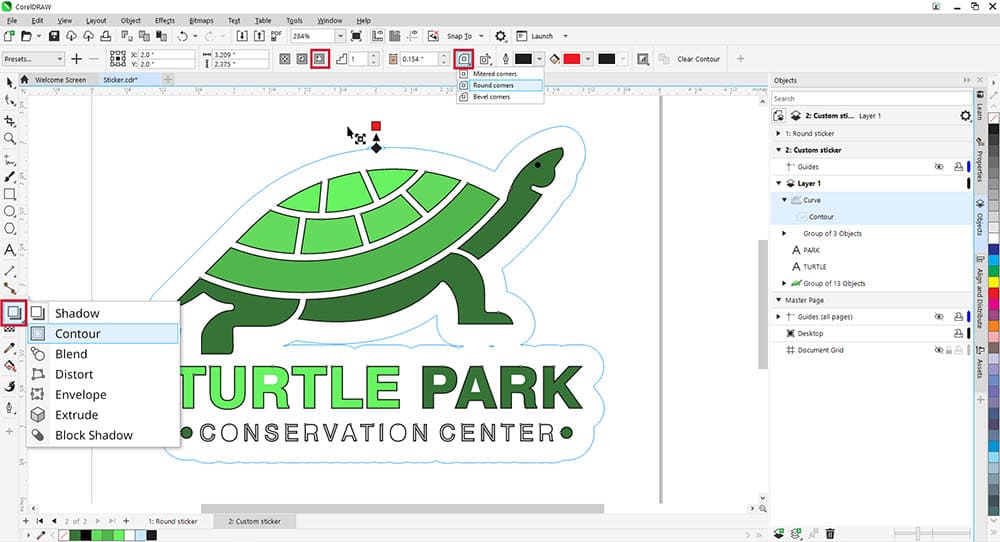
The blue outline gives a preview of the contour as you're drawing, including any holes that need to be removed. You can remove the holes by dragging the contour further outward until it is a solid shape, or by using the Shape tool as we'll show in the next screen.
The boundary was only needed to create the contour so it can be deleted now.
- Press Ctrl/Cmd + K to break apart the boundary and contour.
- Select the boundary with the Pick tool.
- Press Delete.
5. Edit the contour
For example, we'd like to smooth out some lines and remove the holes above the text.
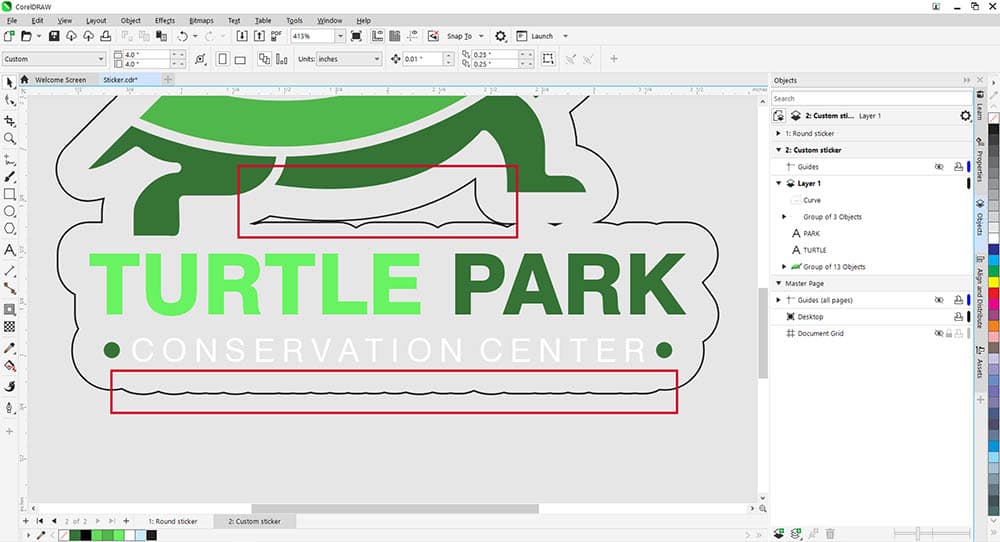
Select the Shape tool from the toolbox on the left, click on the contour, and nodes will appear. These nodes can be moved, manipulated, or deleted to change the shape of the contour.
For example, click and drag to select the middle nodes along the bottom line...
...then press Delete and you're left with a nice clean line.
If there are holes to remove or other areas of the contour that you'd like to adjust, you can delete single or multiple nodes, or use the control handles to adjust the shape.
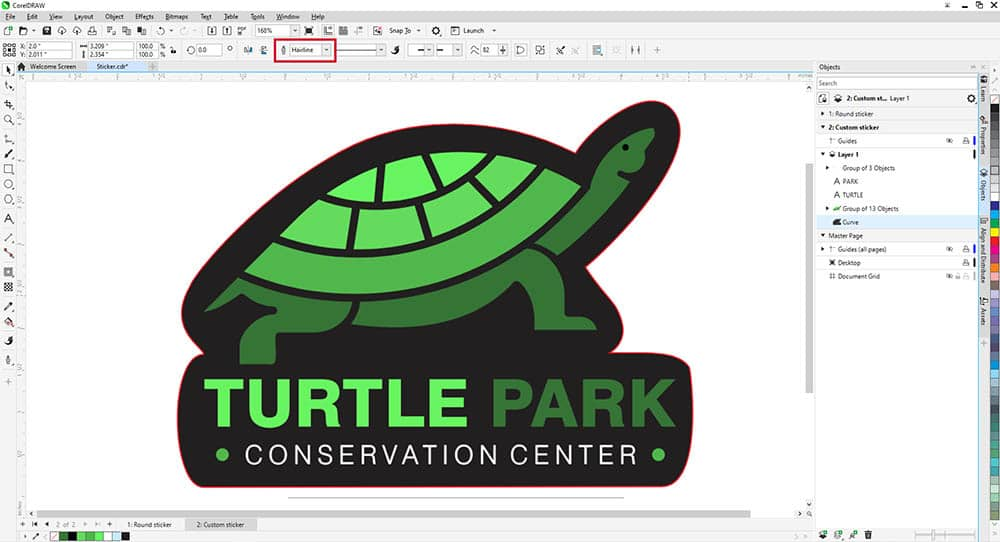
6. Prepare for printing
If you're printing at home on sticker sheets, print a test page first on regular paper to make sure the sticker design is properly aligned.
If you are using a print shop or online print service, they will specify what outline properties are required so that the contour can be read as a cut line.
On the property bar, change the outline width to Hairline and right-click a color swatch to change the outline color to what your print shop specifies.
7. You've created your own sticker
Congratulations! Your design is now complete.
Ready to start designing your own custom decal? Try CorelDRAW free for an interactive tutorial on how to design a decal.
Top tips for designing a decal or sticker
The best tip is to keep it simple. Legible text. Clean graphics. Less is more for these designs.
Here are a few other helpful tips:
- Buy printable decal paper, which comes in a variety of options.
- Understand how to use your paper type to avoid mistakes and waste.
- Select the image or photo you want to use.
- Open graphic design software like CorelDRAW to size, color correct, manipulate, and edit these images.
- Do a test run on plain paper before using the sticker paper.
- Make sure your printer is set to high resolution.
- Print and wait for the ink to dry.
- Use sharp scissors to cut out your image.
- Apply varnish spray if your decals and stickers are going to be used outside.
- Peel back the paper, apply, and you're ready to go.
Decal and sticker FAQs
Which is better, a decal or a sticker?
Both have benefits depending on your needs. Decals are generally more durable than stickers. A car decal, for example, often uses permanent adhesive vinyl for long-term use.
Can I turn my drawings into a sticker?
Yes! This is another built-in benefit of using professional graphic design software to design your stickers. Once you have the design or drawing you like, you can outline it with a sticker shape.
From there, you can print on sticker sheets at home or upload them to a print house.
What are digital stickers?
It's essentially the same as a hard copy sticker but in a digital format. They are created with design software, saved as a PNG file format, and have a transparent background. They have multiple uses in the digital world, such as messaging apps, planners, and journals.
What are the differences between a sticker, a decal, and a label?
Stickers are seen as more decorative and for personal use. Decals are more informational and can include a company name, logo, or phone number. Labels aren't typically designed for longevity. Think mailing label.
Make a lasting impression with a custom sticker or decal
You get to decide your stickers and decals' size, color, shape, and message. Choose the purpose. Do you want to create a durable car decal or a giveaway item like a laptop sticker?
Expand your creativity in new ways with design software that's used worldwide. CorelDRAW Graphics Suite will provide an inspiring canvas to produce unlimited custom decals and stickers for all your needs.
Get started with making your own custom decals and stickers. Try CorelDRAW free to learn how to design custom decals.