Watch this tutorial to maximize your efficiency when using the Layout toolbar, or follow the written instructions below.
1. Access the Layout toolbar
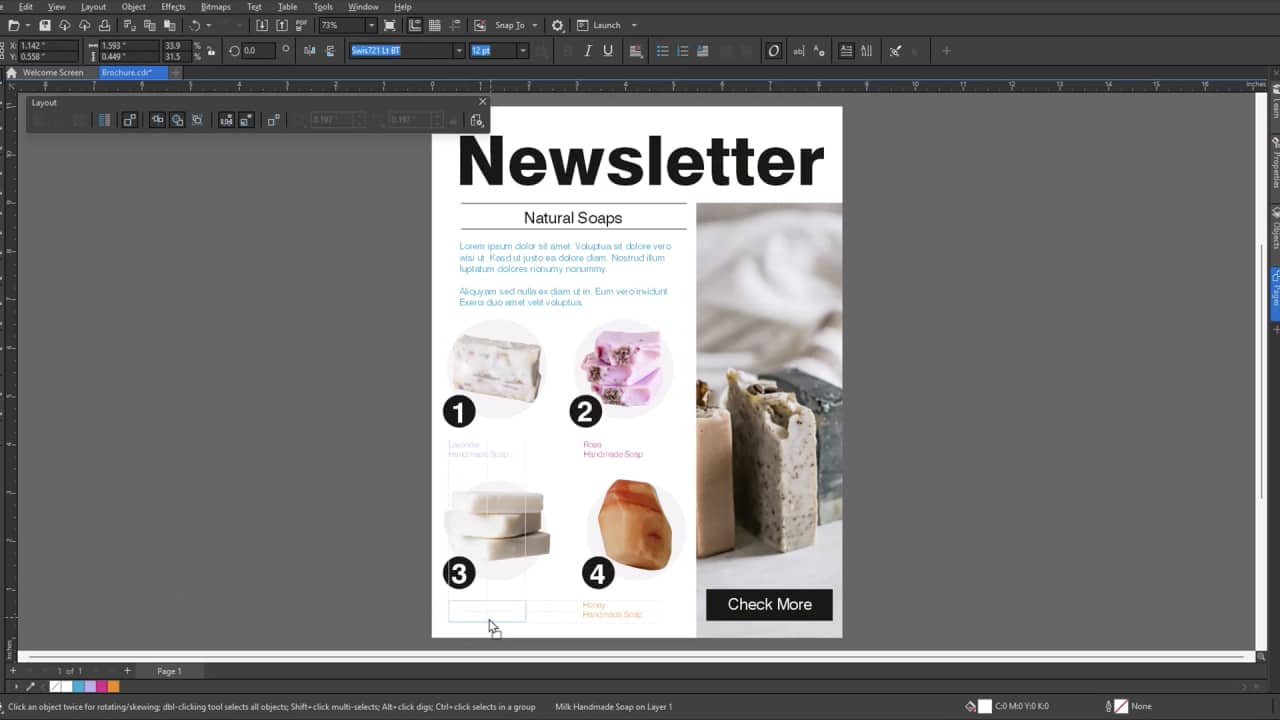
To start working with the Layout toolbar, you’ll need to open it first.
- Go to Window > Toolbars > Layout, or
- Right-click in the gray area beside the menu bar and select Layout
By default, the toolbar appears as a floating panel, but you can dock it beside or below the Property bar for easy access.
2. Toggle between frames and objects
Any closed shape can be converted into a text or image container with the Frame types feature.
To revert
containers back to simple shapes, click on the Remove Frame button.
3. Activate and work with alignment guides
You can enable alignment guides by pressing Alt+Shift+A.
Once active, they will help you:
- Align to object edges
- Align object centers
- Display guides to objects within groups
They can also help with complex functions like:
- Intelligent spacing, which shows you when objects are evenly distributed
- Intelligent dimensions, which highlights matching sizes or rotation angels
4. Access settings and more controls
From the toolbar settings, you can quickly access:
- Grid and ruler options
- Object snapping controls
- Guidelines and the Live Guide docker
The Layout toolbar is especially useful when working on brochures and posters, magazine spreads, multi-page documents, and any design requiring consistent spacing and alignment.
Put your knowledge to work
Try out the Layout toolbar for yourself. Start your free trial for CorelDRAW Graphics Suite and bring more structure to your designs.