Watch this tutorial to learn how to use Focus mode, or follow the written instructions below.
1. Bring your object into focus
Isolate the object you want to edit.
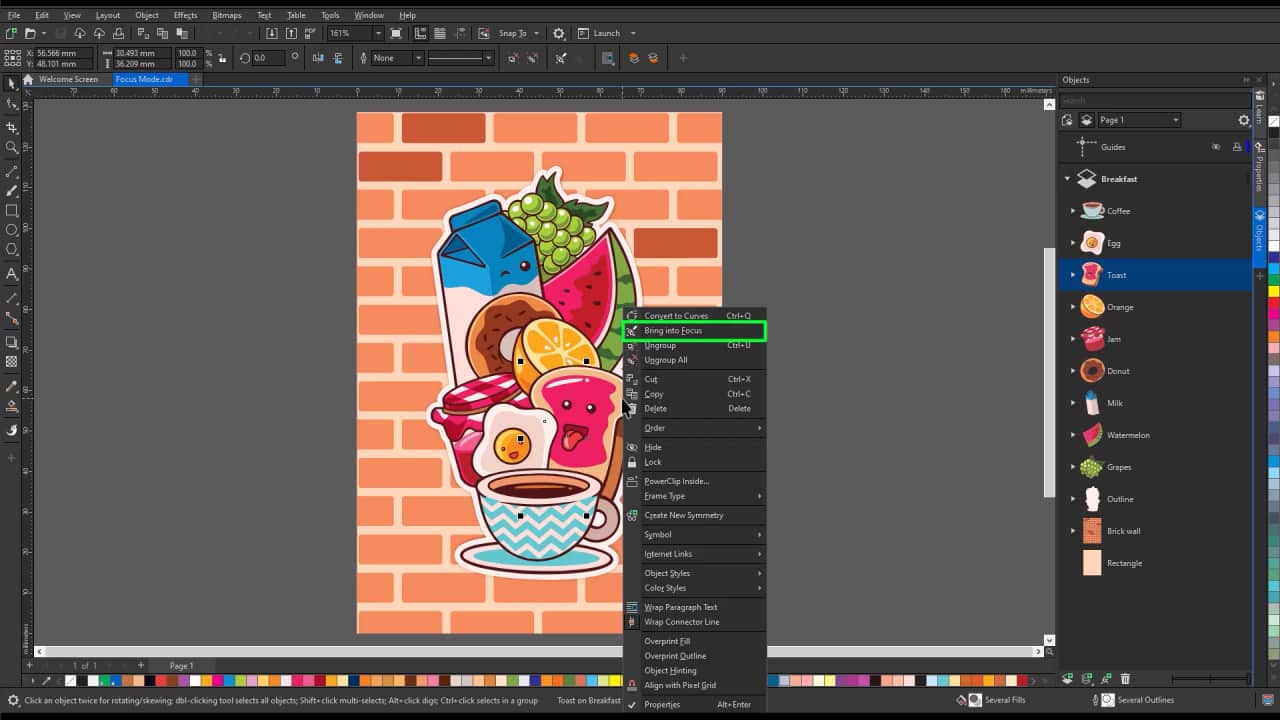
- Right-click on the object you want to edit either:
- Directly in the workspace, or
- In the Objects docker/inspector
- Select Bring into Focus
You’ll notice the object you’ve selected stays visible and in color, but all other objects will appear faded in the background. In the Objects docker, non-focused objects appear grayed out.
2. Shortcut: Double-click to enter Focus mode
As an alternative to the right-click method, you can also quickly access nested objects or groups by double-clicking.
- With the Pick tool activated, double-click on the group or object you want to edit
This can be turned off in your settings if you prefer.
3. Edit your object in Focus mode
Once in Focus mode:
- You can edit the selected object group without interference
- Any new objects you create will be automatically added to the active focus group
4. Navigate with the floating toolbar
While in Focus mode, you use the floating breadcrumb toolbar to navigate your focus group.
- See your current position in the group hierarchy
- Move back up object levels
5. Understanding temporary focus groups:
If you bring a non-grouped object into focus, CorelDRAW will create a temporary focus group for you.
- If you exit Focus mode without adding new objects, the temporary group disappears
- If you add objects to the temporary group while in Focus mode, the group becomes permanent and remains in your document
Focus mode helps you cut through the clutter, making it easier to work accurately without the risk of losing your selection with stray clicks.
Ready to put your new knowledge into action?
Start creating with confidence and explore these features with a free trial of CorelDRAW.