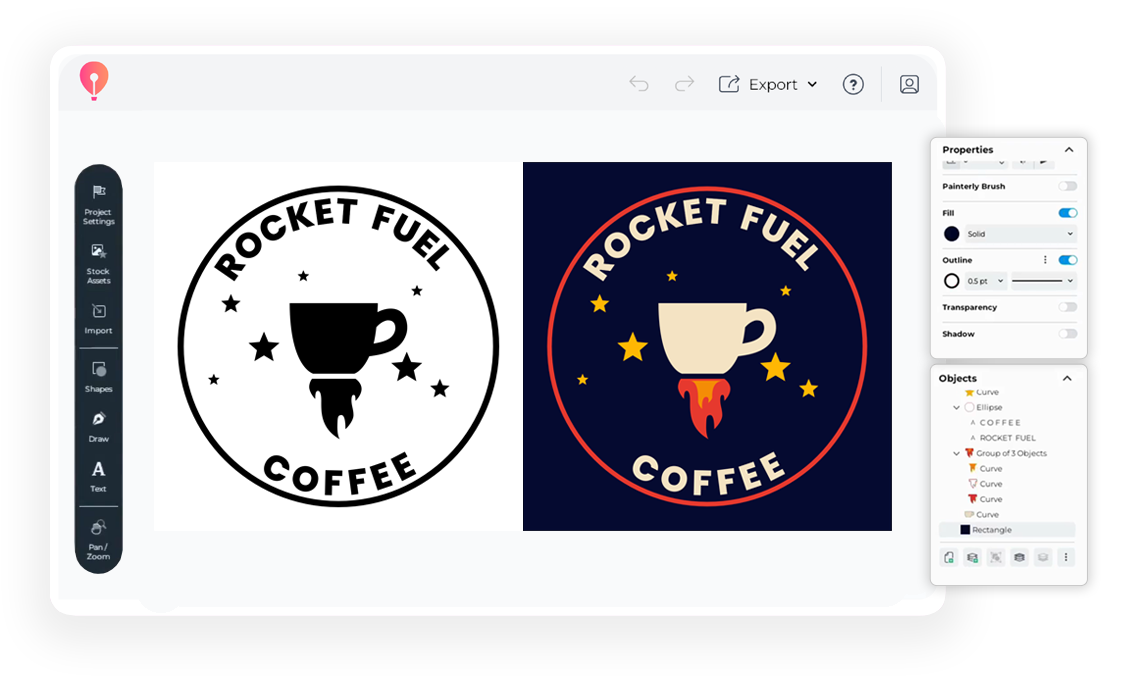
8 steps to create a logo with CorelDRAW Go
This guide will walk you through the steps of creating a badge-style logo in CorelDRAW Go. Whether you're new to designing in CorelDRAW Go or have some experience under your belt, these steps will help you make a logo that fits your brand.
Step 1: Start your CorelDRAW Go project
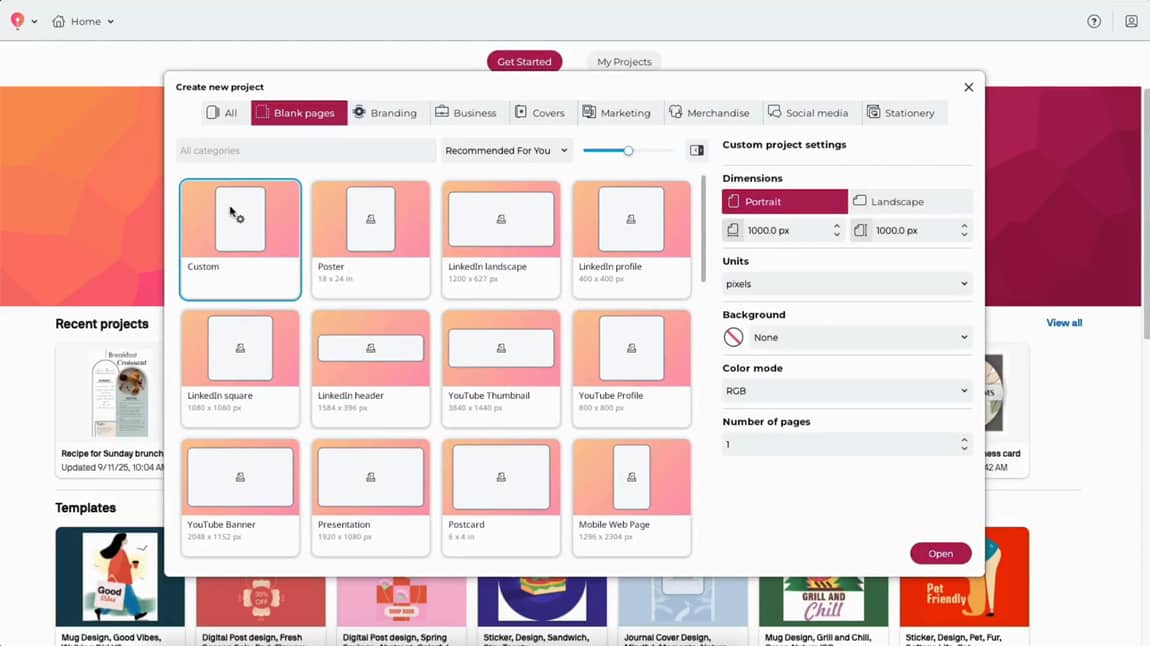
Open CorelDRAW Go and start a new file to begin your logo aproject. You can set your canvas dimensions to the size and ratio you’ll need for your design, but this example will use a square canvas measuring 1000 x 1000 px.
Note: This example illustrates a logo for a coffee brand, but the steps can apply to any design you want to make!
Step 2: Add and edit your first vector element
Open the vector stock library in CorelDRAW Go to find your logo’s first vector element.
- Click on the Stock assets icon in your Toolbox and tab over to Vectors.
- Search for your first vector.
- Click anywhere on your canvas or click and drag from the library to place your vector.
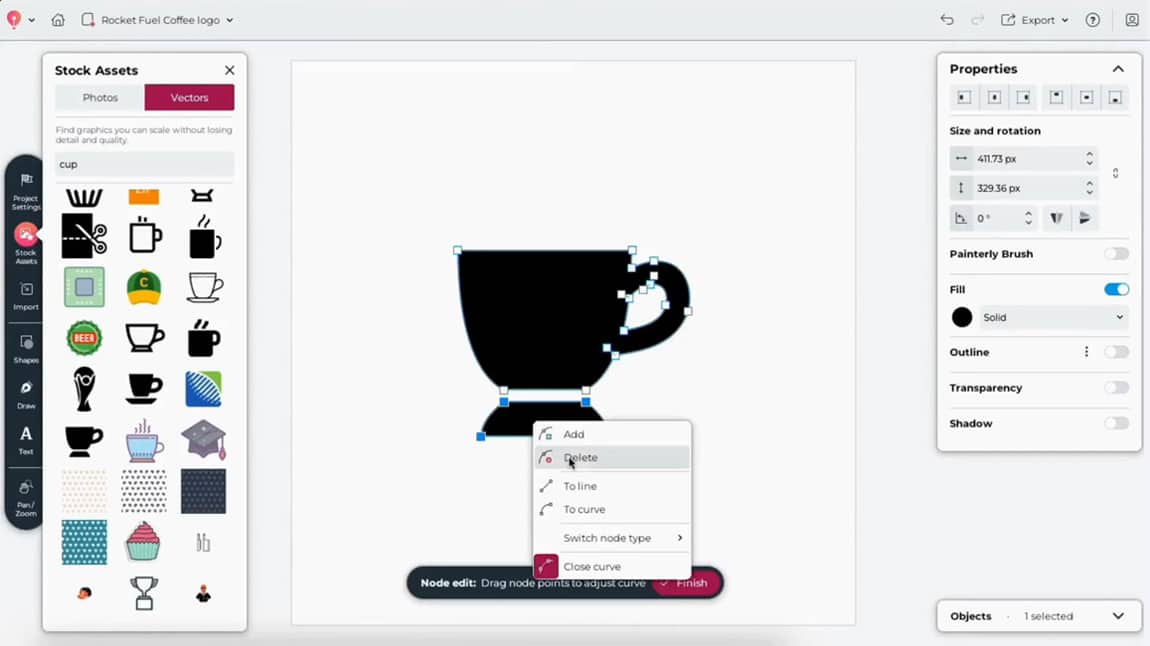
To edit your vector design, simply double-click the vector to see the nodes, then right-click to adjust or delete nodes to refine the shape to fit your vision.
In this example: You’ll see how to adjust a mug into the right shape for the next step.
Step 3: Give your logo some flair
Once you have your first vector how you want it, you can add additional vectors and elements from stock vector designs to give it some extra flair.
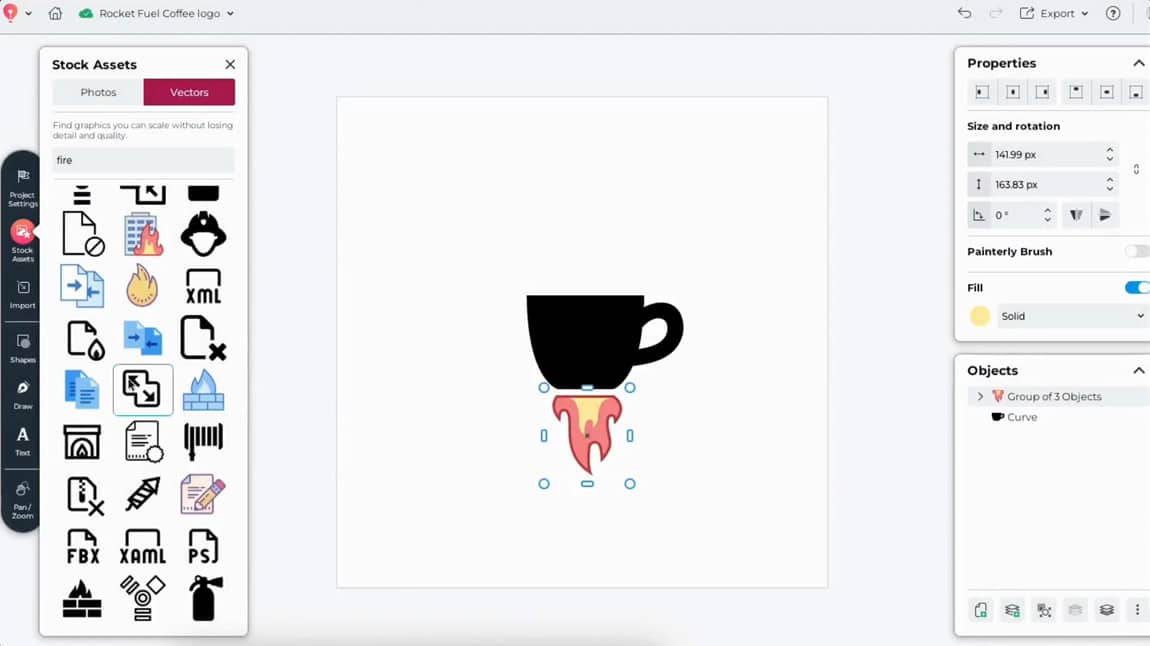
Open the vector stock library in CorelDRAW Go again and choose a second vector to add to your design. Just like your first vector, you can adjust or delete nodes to create the elements you need.
In this example: You'll see how to pull flames from a vector of a burning building to transform a mug into a rocket.
Step 4: Frame your logo
Now that your logo is coming together, it's time to give it some definition.
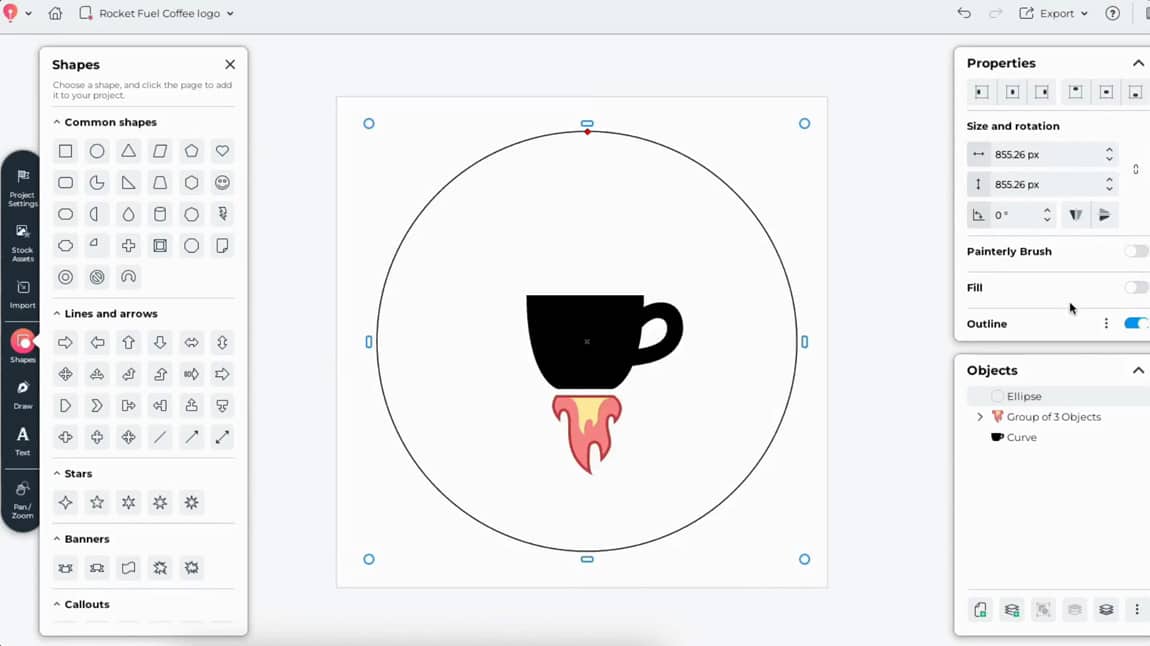
- Click the Shapes tool in your Toolbox, then select a circle.
- Click on your canvas or click and drag to draw a circle on your canvas.
- Adjust your layers to place the circle behind your logo's main imagery.
This frames your design and gives it a badge shape.
Step 5: Add text to your logo
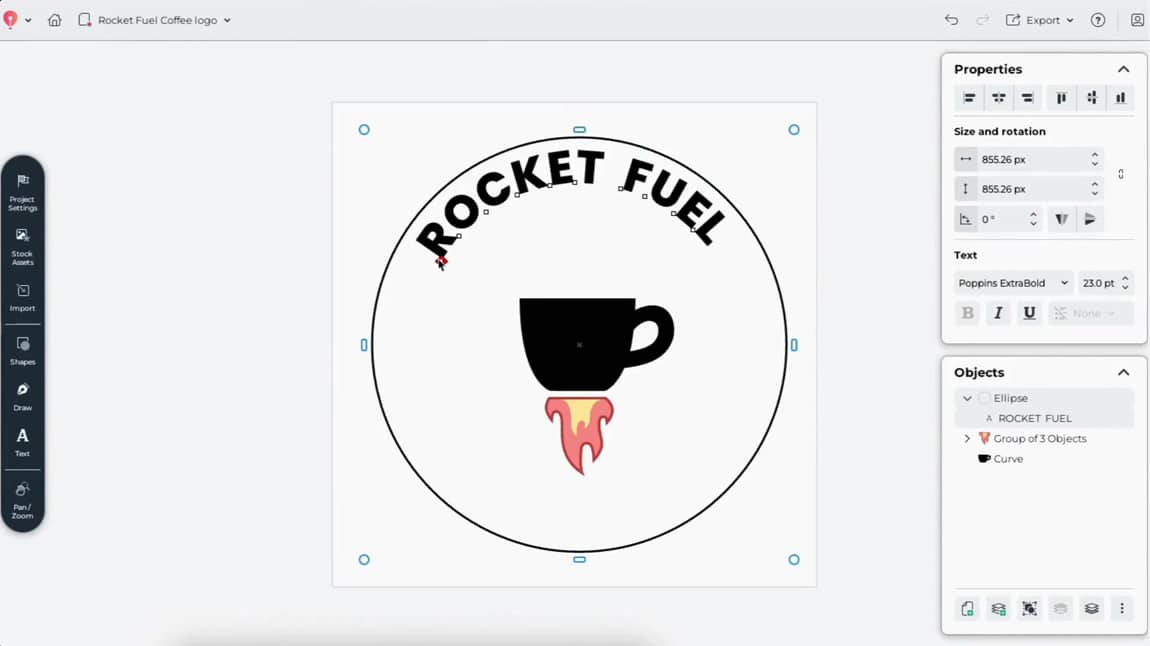
CorelDRAW Go gives you the flexibility to add text along curved paths, and that will come in handy for this step.
- Using the Text tool, click on the path for the circle from Step 4 and type in your text.
- Use the Properties panel to adjust fonts, font sizes, fills, brush strokes, and outlines.
- Adjust your text placement along the path so it's centered on the upper arc.
- Then, repeat this process on the lower arc of your circle.
Step 6: Add the finishing touches
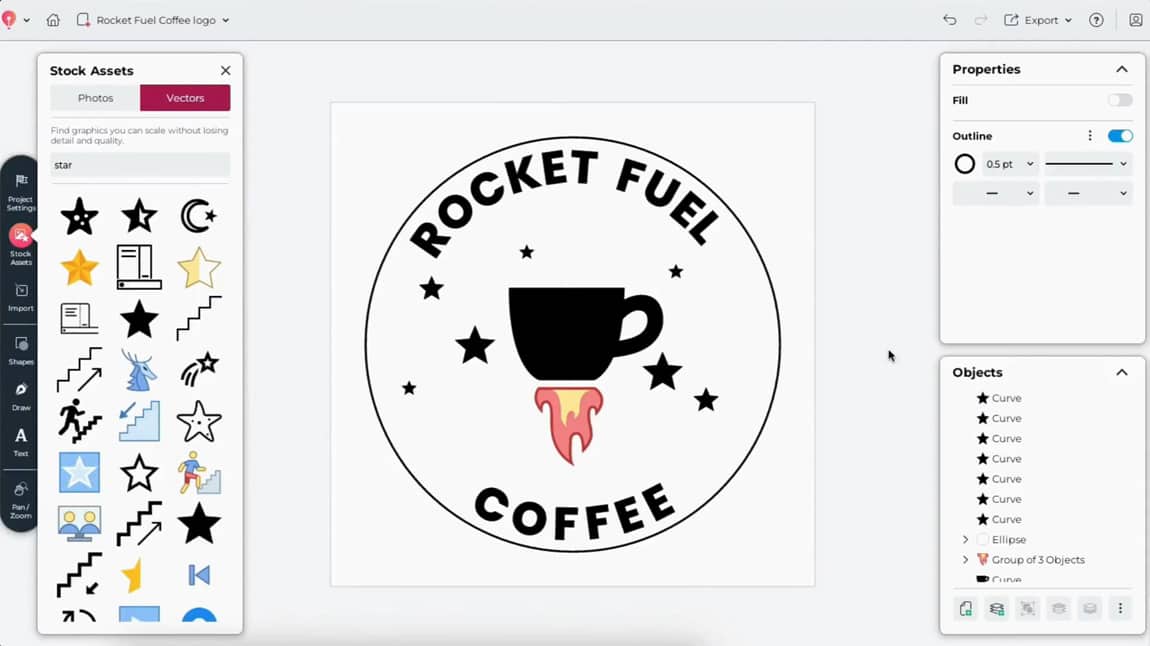
At this stage, it's easy to see where your logo might need some additional details to fill in open spaces.
- Open the vector stock library and add small icons to your badge.
- Make sure to balance them evenly.
Step 7: Incorporate your brand colors
Now that your logo's layout is complete:
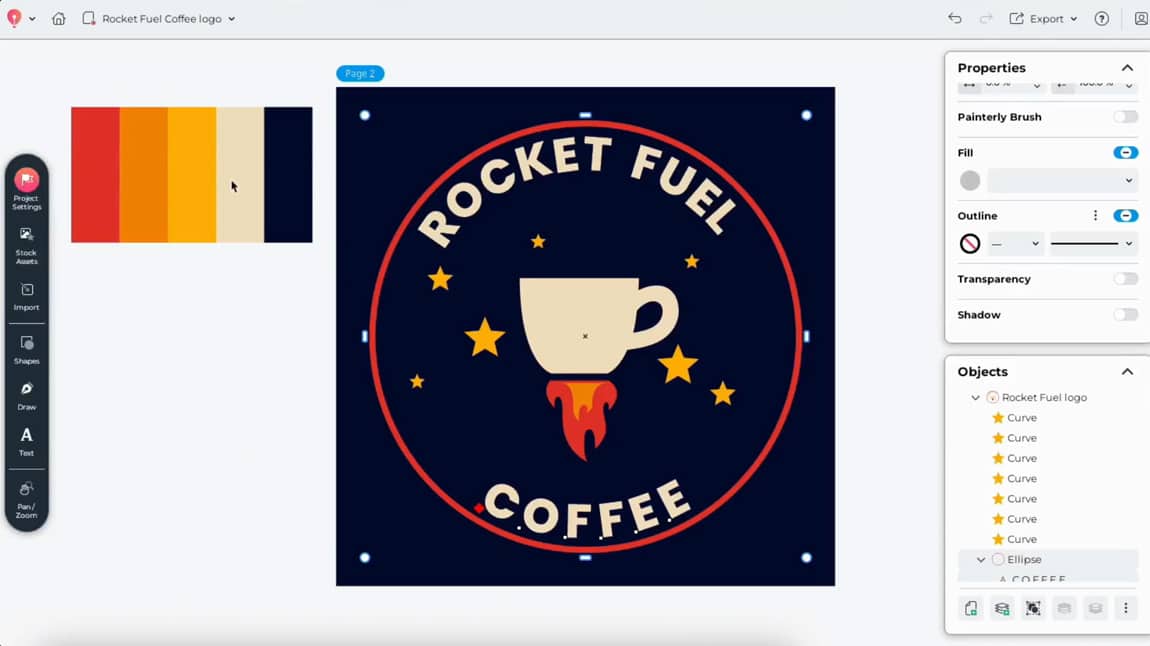
- Use each shape's Properties panel to adjust colors.
- Add additional pages to your design in CorelDRAW Go to create different color or black-and-white versions.
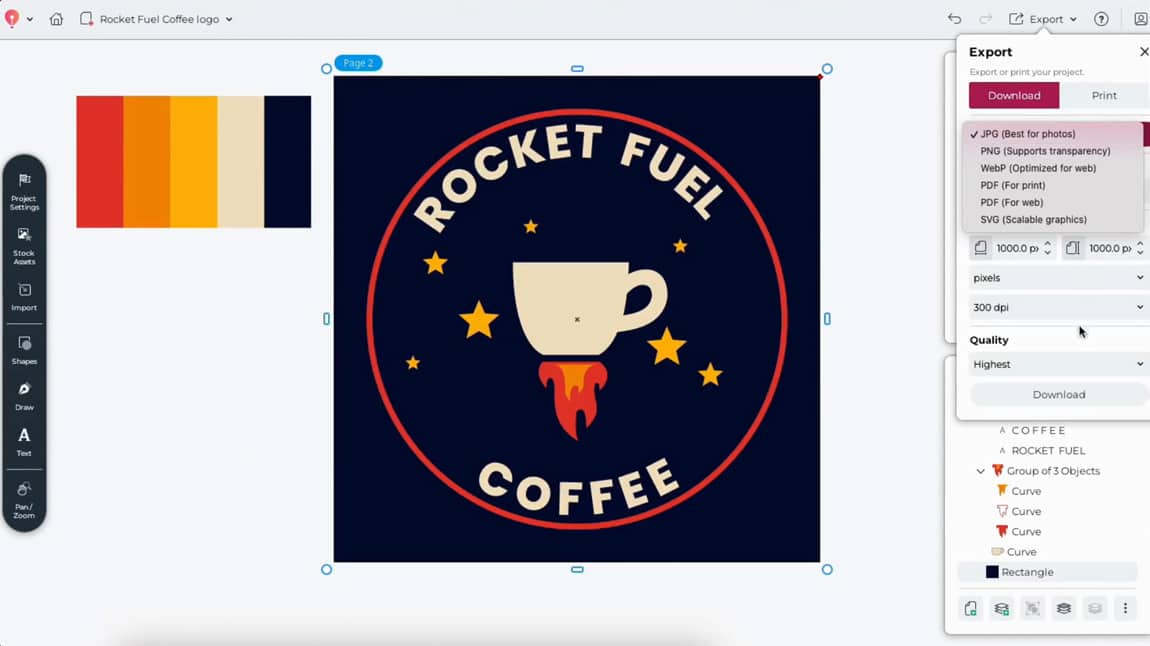
In this example: You'll see how to adjust the flames to red and orange, set the frame to the same red, change the coffee cup and text to a cream color, and set the stars to a yellow color.
Step 8: Export your logo
Select all the layers of your design, center-align them on your page, and group them together. Then, you can use the Export menu in CorelDRAW Go to export your design to your device.
For print usage, choose SVG as your file format. That keeps your design as a vector, so it's easy to scale up or down depending on your print material.
For mockups and digital use, PNG files are more lightweight and versatile.
Next steps with CorelDRAW Go
You've officially made a logo—what else can you create? Put your skills to work with a free 15-day trial for CorelDRAW Go.
Still have questions? Visit the CorelDRAW Go community.
Try CorelDRAW Go now