Watch this video to learn how to use the shape tool flyout menu or follow the written instructions below.
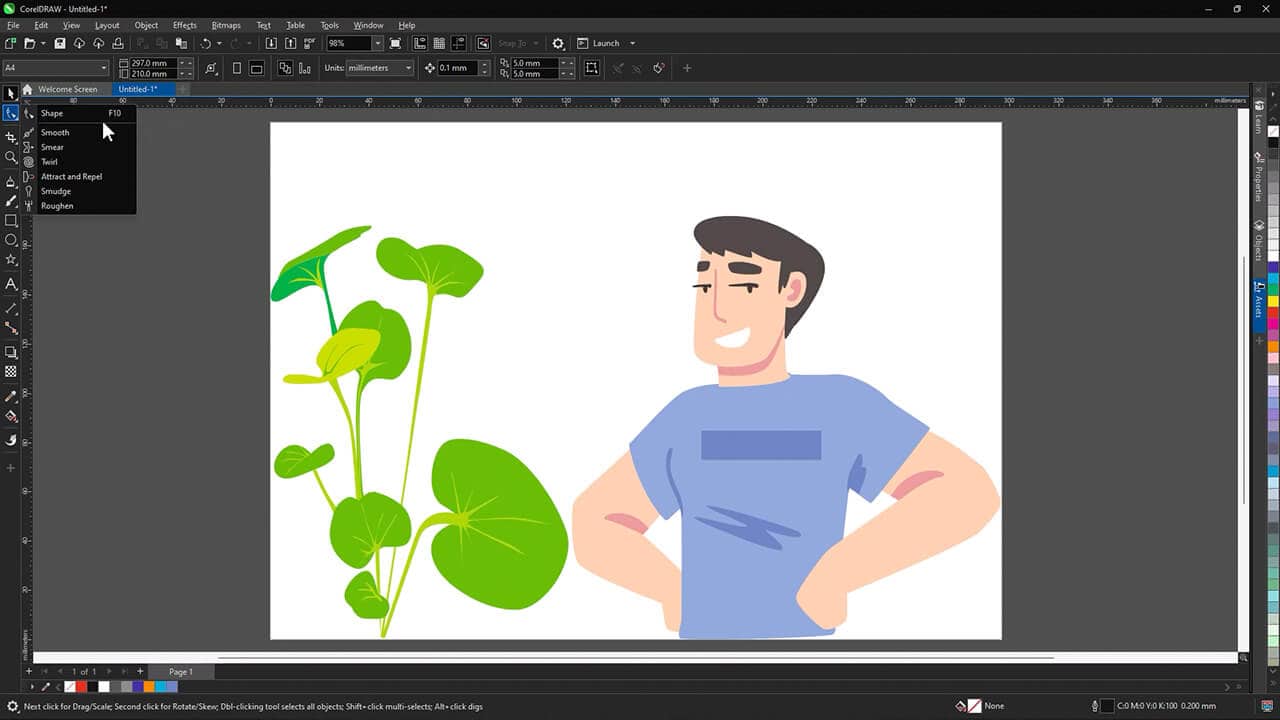
1. Edit nodes with the Shape tool
The Shape tool is your go-to for editing vector objects. Use it to move, add, delete, and manipulate the nodes and paths that define an object's shape.
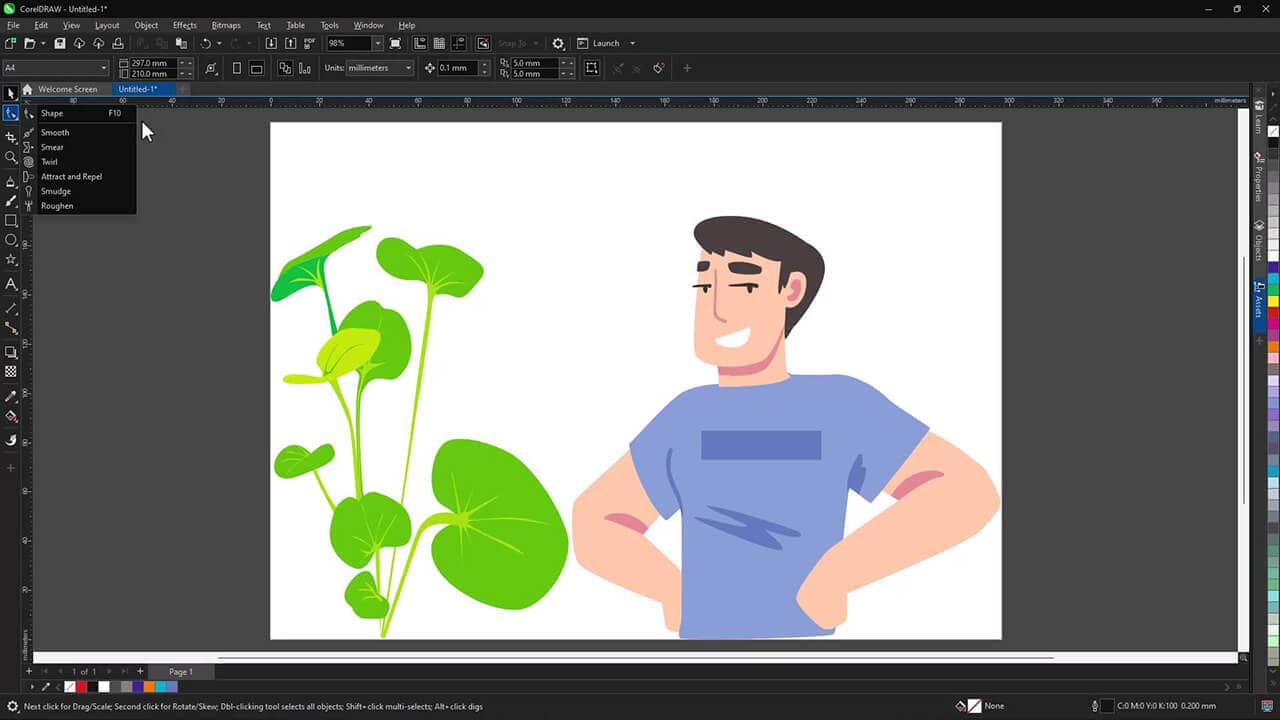
2. Smooth rough edges with the Smooth tool
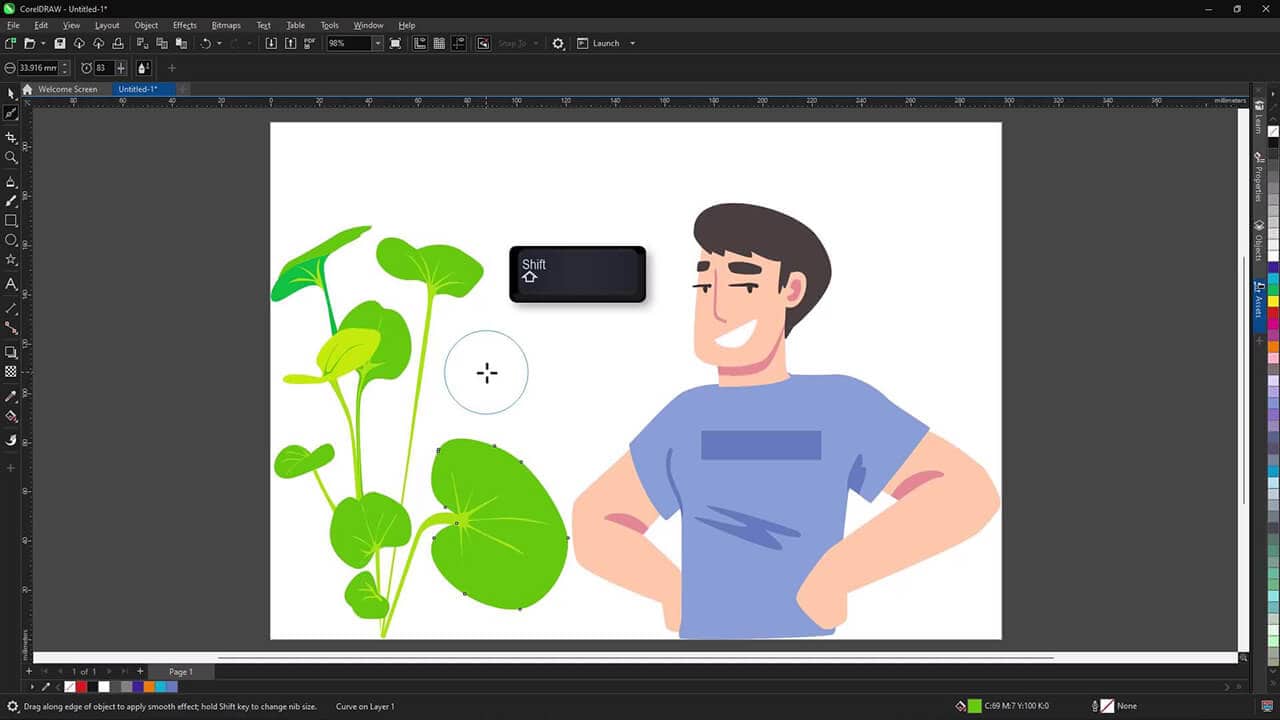
Run the Smooth tool along an object's outline to polish jagged lines and reduce the number of nodes.
- Hold Shift while dragging to adjust the size of the nib
- Hold Alt while dragging to control the intensity of the smoothing
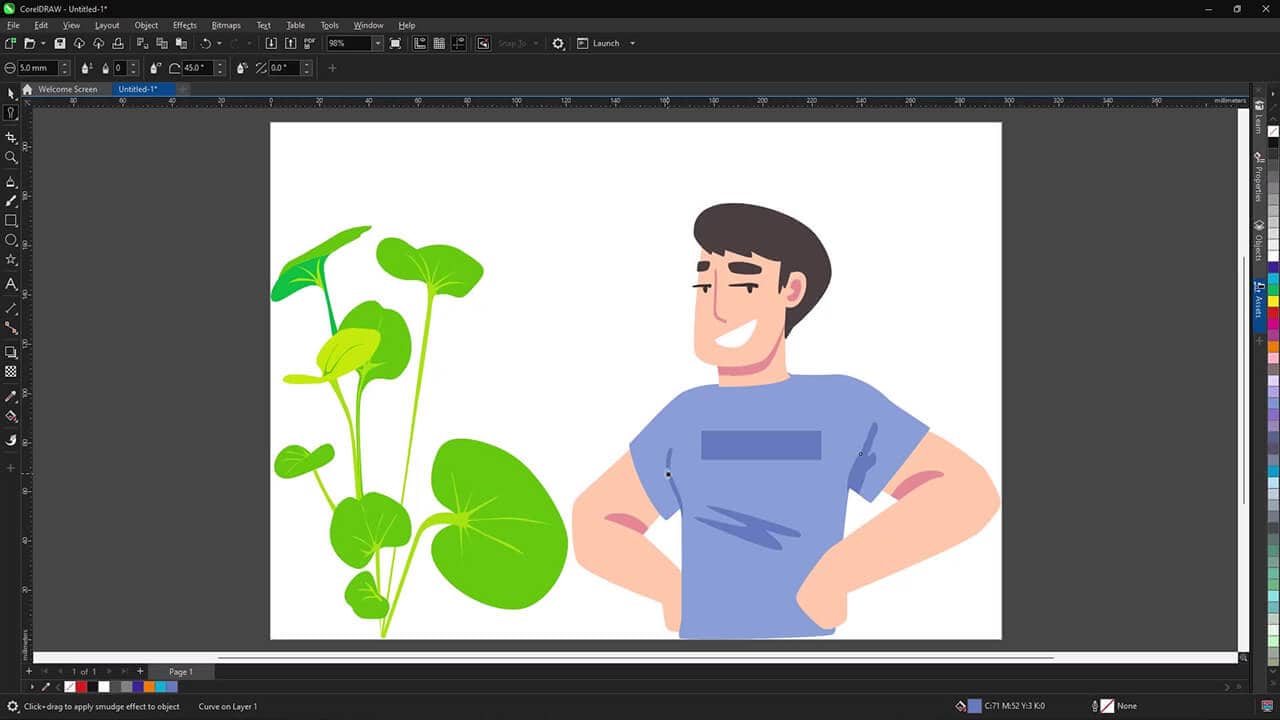
3. Pull extensions and indents with Smudge and Smear
Both tools reshape objects by pulling along their outlines. Smudge creates streak-like extensions and indents with little width variance, while Smear produces a more fluid shape that tapers as you go.
4. Twist objects with the Twirl tool
Drag the Twirl tool across a vector object to give it a spiral-like look.
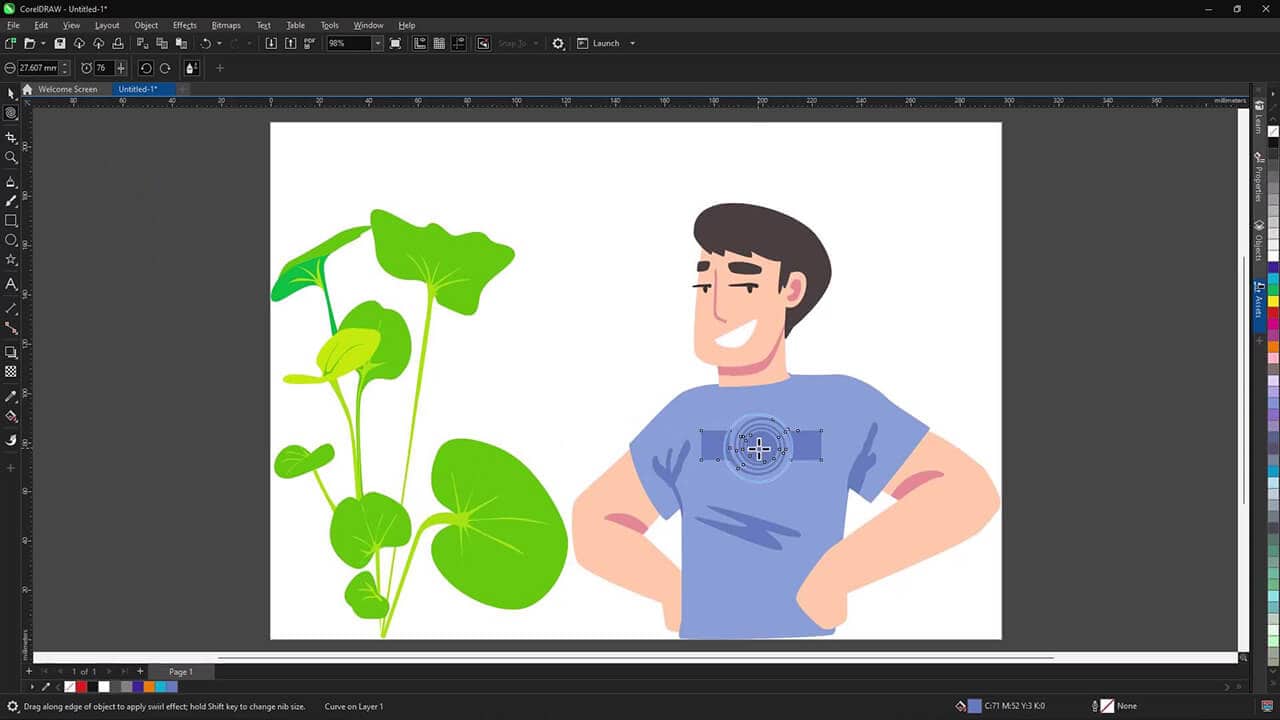
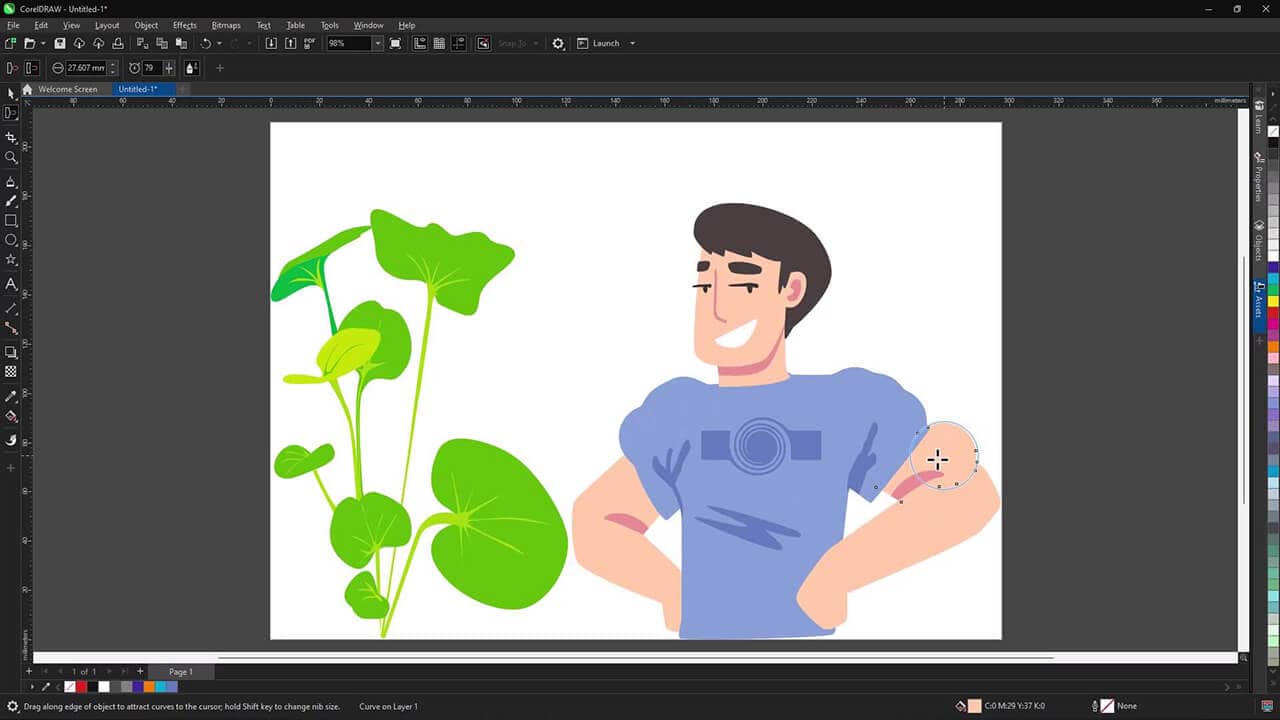
5. Push and pull nodes with Attract and Repel
Pull nodes toward the cursor with Attract or push them away with Repel.
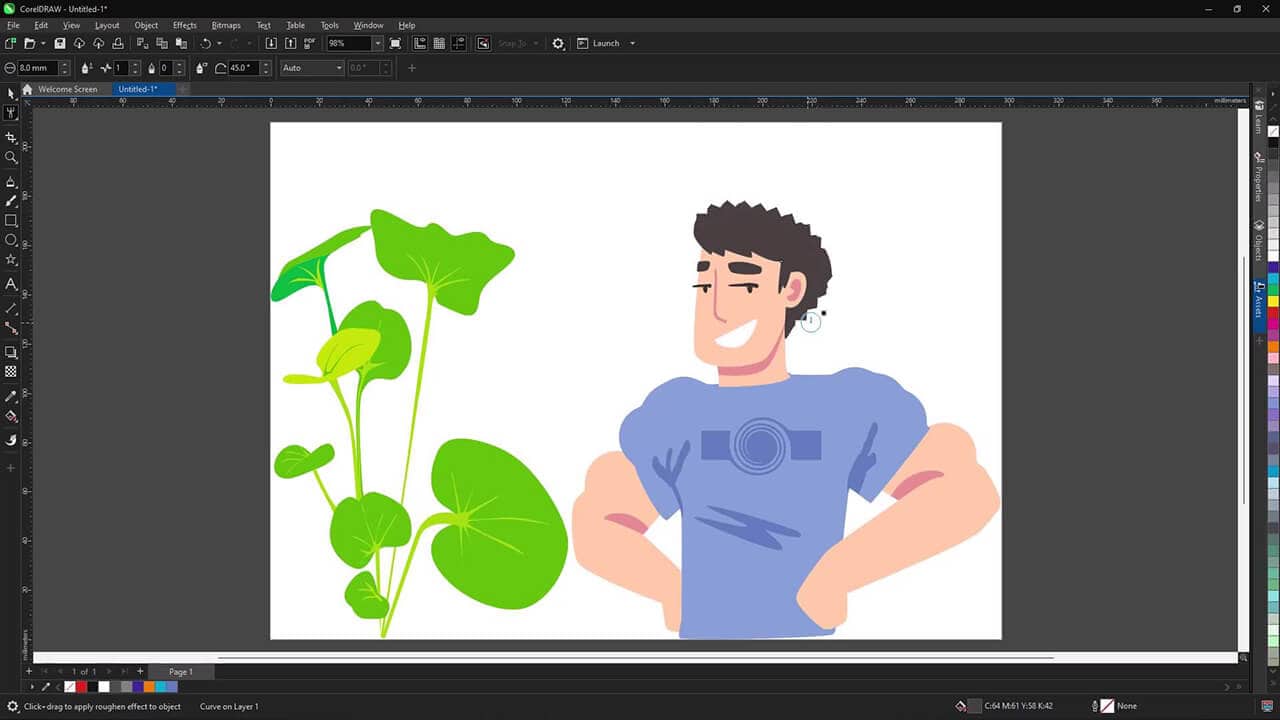
6. Add texture with the Roughen tool
Use the Roughen tool on lines, curves, or text to give their edges a jagged or spiked look.
- Control the size, angle, direction, and number of indentations with your mouse or a graphics tablet stylus
Smooth it, twist it, rough it up—the Shape tool flyout menu gives you a complete toolkit for taking any vector object beyond its original shape.
Ready to reshape your designs?
Start your free trial of CorelDRAW Graphics Suite and put these tools to work.