

How to convert JPEG to Vector SVG files in CorelDRAW
1. Import your raster image
First, open a new document in CorelDRAW using the default document size.
Then go to File > If you’re using Windows, select Import (or hit CTRL + I). If you’re using a Mac, select Place (or hit ⌘+I) to import the sample image. For this example, we’re using this JPEG for Patty’s Pizzeria.
Bonus tip: Hit Enter to place your image in the middle of the blank document.
2. Trace the outline of the image with the Bitmap tool
The Bitmap tracing tool identifies lines in a flat image and uses them to create a wireframe, separating distinct shapes inside your image.
There are three options within the tracing tool:
- Quick Trace: Automatically selects the most recently used tracing tool (or the tool you configure in Preferences > CorelDRAW > PowerTRACE).
- Outline Trace: Used for images with clearly-defined shapes.
- Centerline Trace: Used for more complex illustrations with many lines.
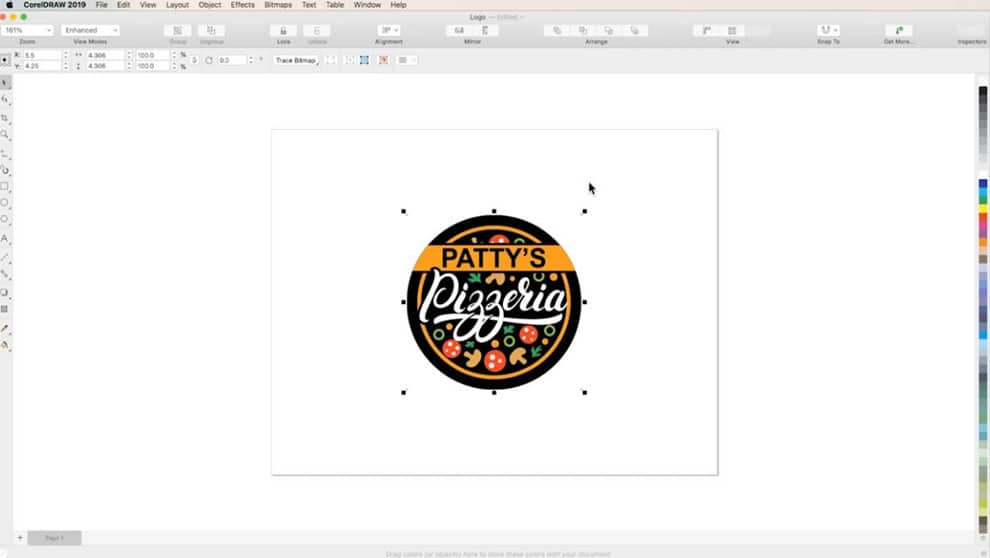
First, select the logo with the Pick tool.
Then, on the interactive toolbar, click Trace Bitmap and choose Outline Trace > Logo.
(You can also access the tracing tools through the Bitmap menu or by right-clicking on the selected image.)
The original JPEG image will appear on top in the Trace Bitmap window, with the traced image on the bottom.
In the Settings panel, drag the Detail slider until your trace resembles your original image.
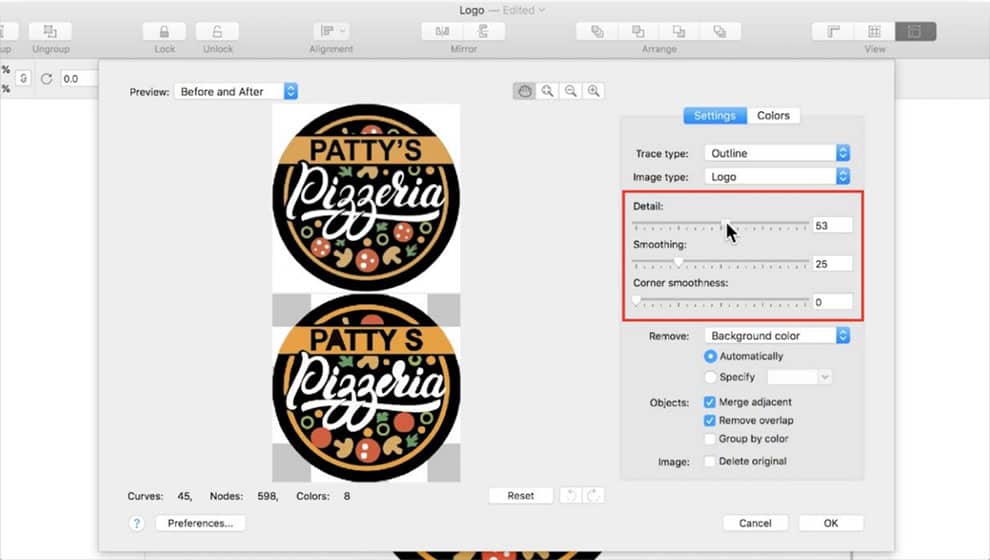
Next, drag the Smoothing slider to adjust edge smoothness.
Then, drag the Corner Smoothness slider to adjust the sharpness of your corners. This is particularly helpful in bringing definition to the text in your image.
Bonus tip: In the Preview dropdown on the top left, switch to Wireframe Overlay to view edge details.
3. Remove the background for transparency
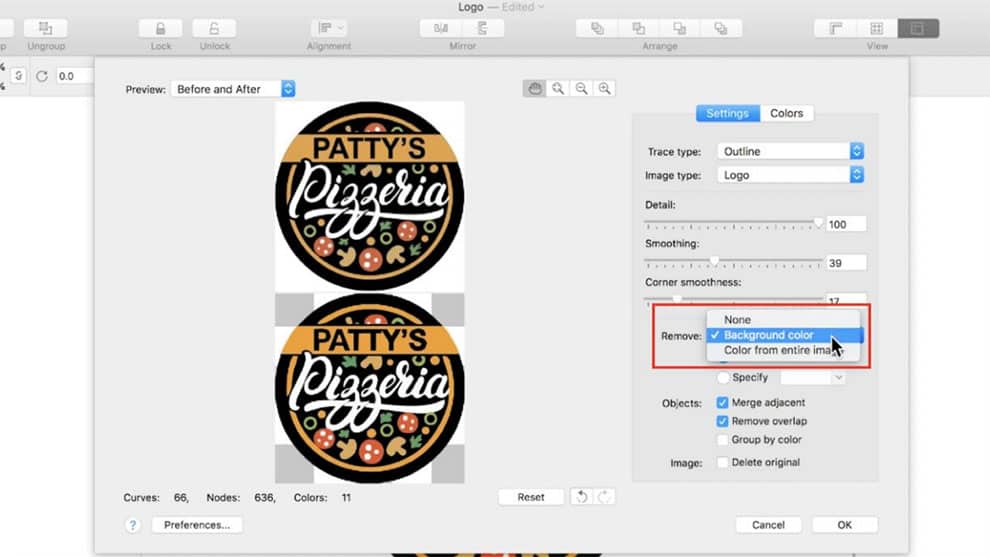
The Remove dropdown will default be set to Background Color, with Automatically checked.
The gray and white checkerboard behind your traced image represents transparency, indicating that the background has been removed.
To remove your background manually, check Specify, click the color selector, and click the Eyedropper.
Then hold the Shift key while clicking each area of the background that needs to be removed.
To remove that color from the entire image, not just the background, select Color from the entire image under the Remove dropdown.
4. Merge all the objects of the same color
Merge the adjacent objects of the same color within your trace.
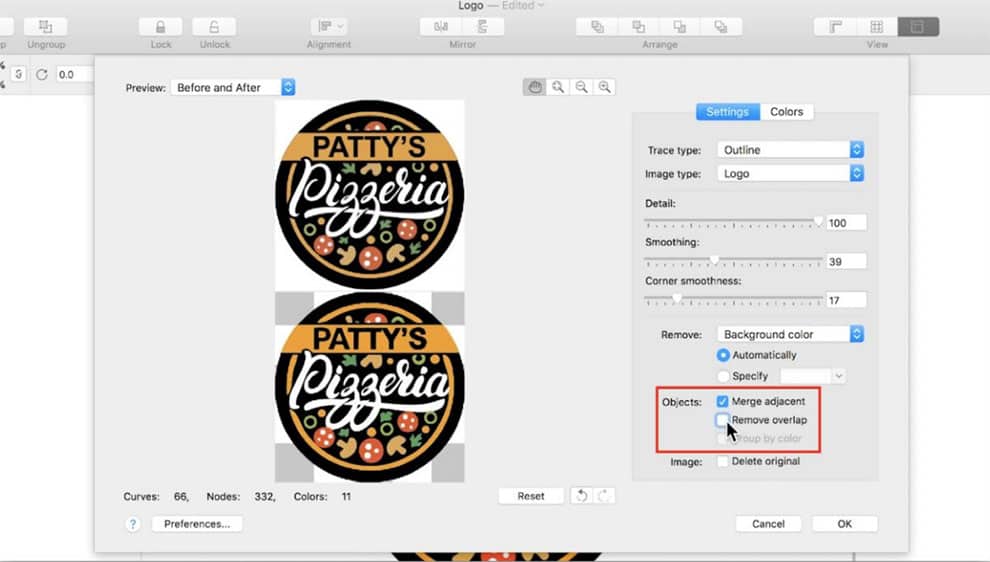
Then, click Remove Overlap to delete parts of objects hidden by overlapping objects.
Next, click “Group by color” to group all objects of the same color. For instance, if you have six total colors, you will also have six object groups when you are done creating your trace.
5. Delete the original after you create your trace
Click Delete Original to remove the original JPEG from your document once you create your trace.
Bonus tip: Hold onto the original image in case your preliminary trace does not turn out perfect, and you need to retrace the original image
6. Adjust the Color Mode
Select the Colors tab in the right panel.
Use Color Mode to change your color space if necessary. For example, if you create this file for print, you would change it to CMYK.
Lowering the Number of Colors will cause the program to prioritize the more prevalent colors, combining similar colors.
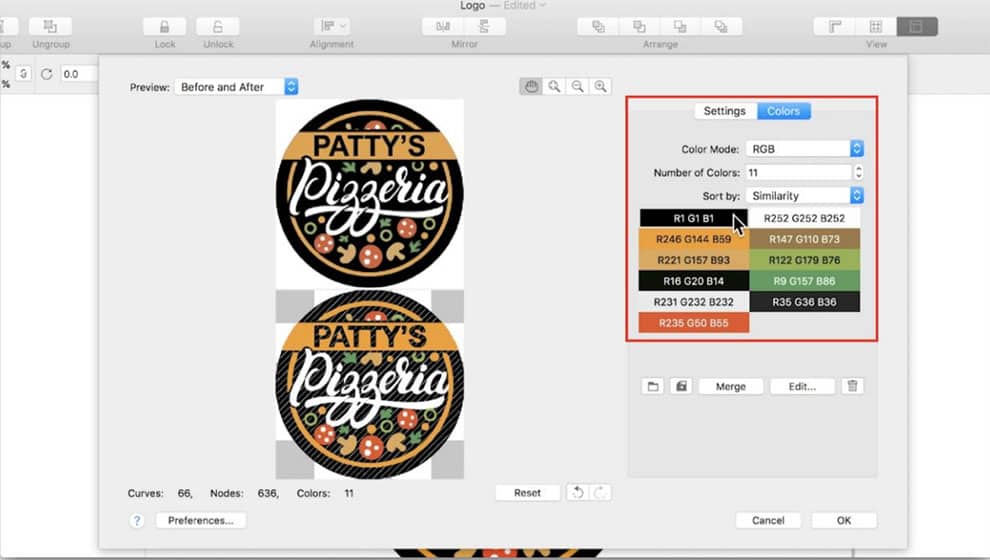
If you click on a color from the list, your traced image preview will show diagonal lines through areas of that color to indicate it is selected.
To consolidate similar colors manually, hold the Control key and click to select multiple colors.
Then click the Merge button to merge all objects of those colors into a single color that is the average of the colors you selected.
In our case, the two whites merged into a slightly off-white.
Select the color and click the Edit button to change it to pure white. Then drag the color to pure white and hit OK.
7. View your vector image
Click OK to finish your trace and exit the PowerTRACE window.
Back on the page, your trace will lie on top of your original JPEG.
Use the Pick tool to drag them side by side for comparison.
If it is not right, you can trace your original image again with a higher detail setting.
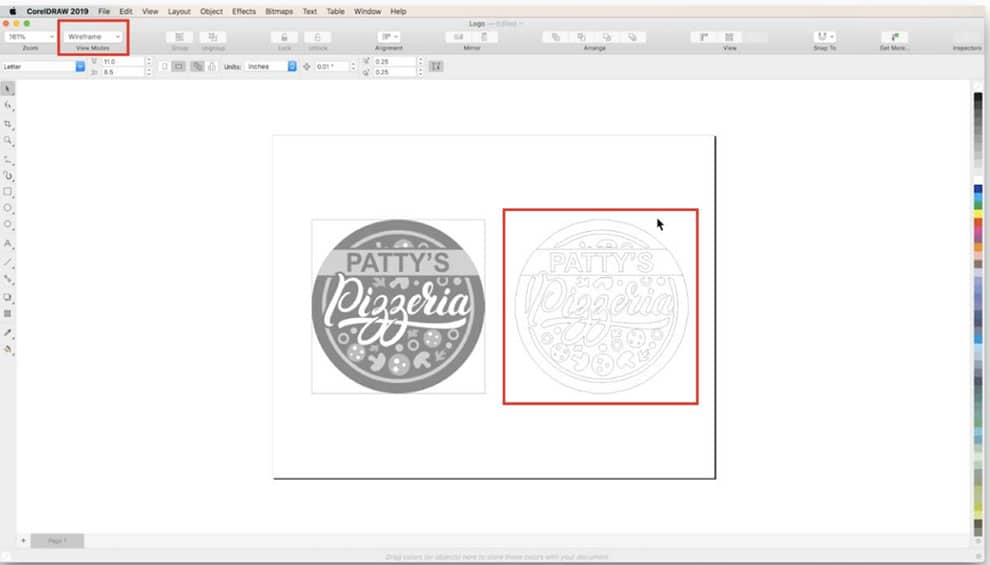
If you go to the View Modes dropdown menu on the interactive toolbar and switch to Wireframe, you can see the vector lines created by PowerTRACE.
To exit wireframe mode, go back into the dropdown and select Enhanced.
8. Make final adjustments
Select the original JPEG and hit Delete on your keyboard.
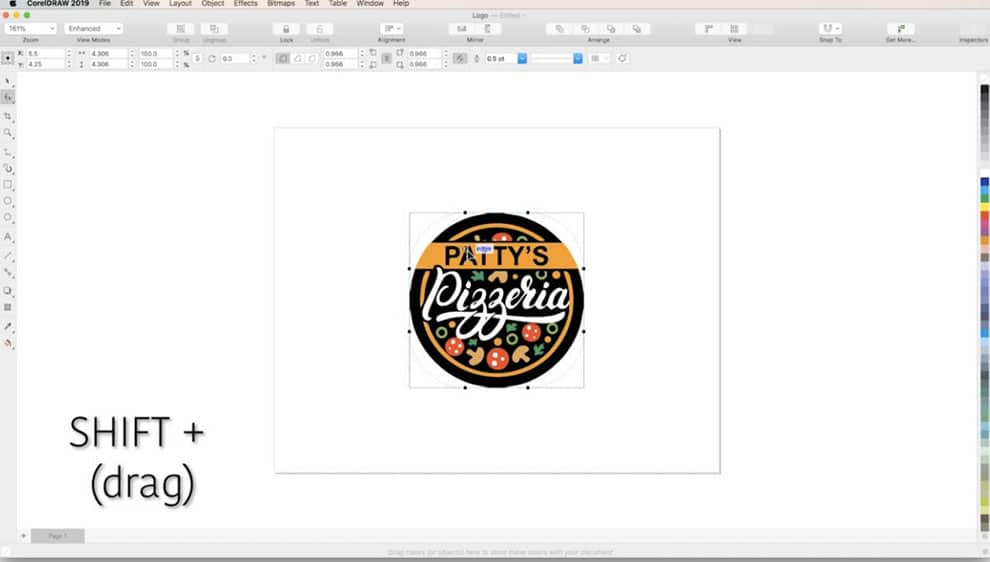
Now select your trace and hit Shift+P to center it.
In this case, the outer circle needs some improvement.
To improve the circular edge around our logo, follow these steps:
- Select the trace with the Pick tool. Holding down the Shift key, double-click the Rectangle tool on the left toolbar, creating a rectangle around your logo.
- Click on the Shape tool in the left toolbar. Holding down the Shift key, drag the corner of your rectangle toward the center of the logo until the rectangle becomes a perfect circle.
- Then, on the interactive toolbar, click Send to back.
![step 8 to convert JPEG to vector is to scale up to avoid losing sharpness]()
- Using the Pick tool, select your trace. Then click Ungroup on the interactive toolbar. Deselect the trace by clicking a blank spot on the page.
- Select the black background areas of the logo individually and click Delete.
- Select the circle outline you created and double-click on the black square in the Color palette on the right-hand side, adding a perfectly circular black background.
- Click and drag around the entire logo to select all the objects, then click Group in the interactive toolbar.
- Select your vector image and drag the corners (holding Shift to keep it centered) to see it scale up and down without losing sharpness on its edges.
Why convert your JPEGs to vector graphics
Vector graphics make it easy to stack and design your assets into larger projects.
The JPEG format is used by 77% of all websites. However, JPEGs require more processing power to display.
A vector graphic is an image file saved with coordinates instead of pixels. Vector images are made of shapes with coordinates, outlines, inner fill, and adjustable vertices. Because the shapes and colors are relative to each other, files are smaller and also 100% safe from both data loss and pixelation from scaling.
Vectors scale for every size of the screen, unlike JPEGs, and never pixelate or lose detail from multi-scaling.

The scalable vector graphics (SVG) format was designed to contain both vector and raster elements, bringing together the best of both worlds.
SVG and other vector formats offer convenient solutions for displaying graphics across devices with various screen sizes and operating systems.
Convert your JPEGs to vector images with CorelDRAW
Ready to convert your JPEGs into new vector-style graphics and SVG files? CorelDRAW has the tools you need for conversion and can enhance your design assets and projects beyond simple file changes. As soon as your image is converted to vector detail, it will become more lightweight, scalable, and layer-design ready.