Watch this step-by-step tutorial to learn how to navigate the CorelDRAW workspace and adjust key interface elements, or follow the written instructions below.
1. Explore the CorelDRAW workspace
The workspace includes all the tools and controls you use to create and edit designs. You’ll find things like:
- The Toolbox with all your drawing and editing tools
- The Property bar with context-sensitive settings
- Dockers, or panels for advanced controls
- The Document window, which is your active design area
CorelDRAW also lets you create multiple workspaces for different tasks, so you can switch between layouts designed for illustration, layout, or production work. You can learn more about how to set up workspaces in this tutorial.
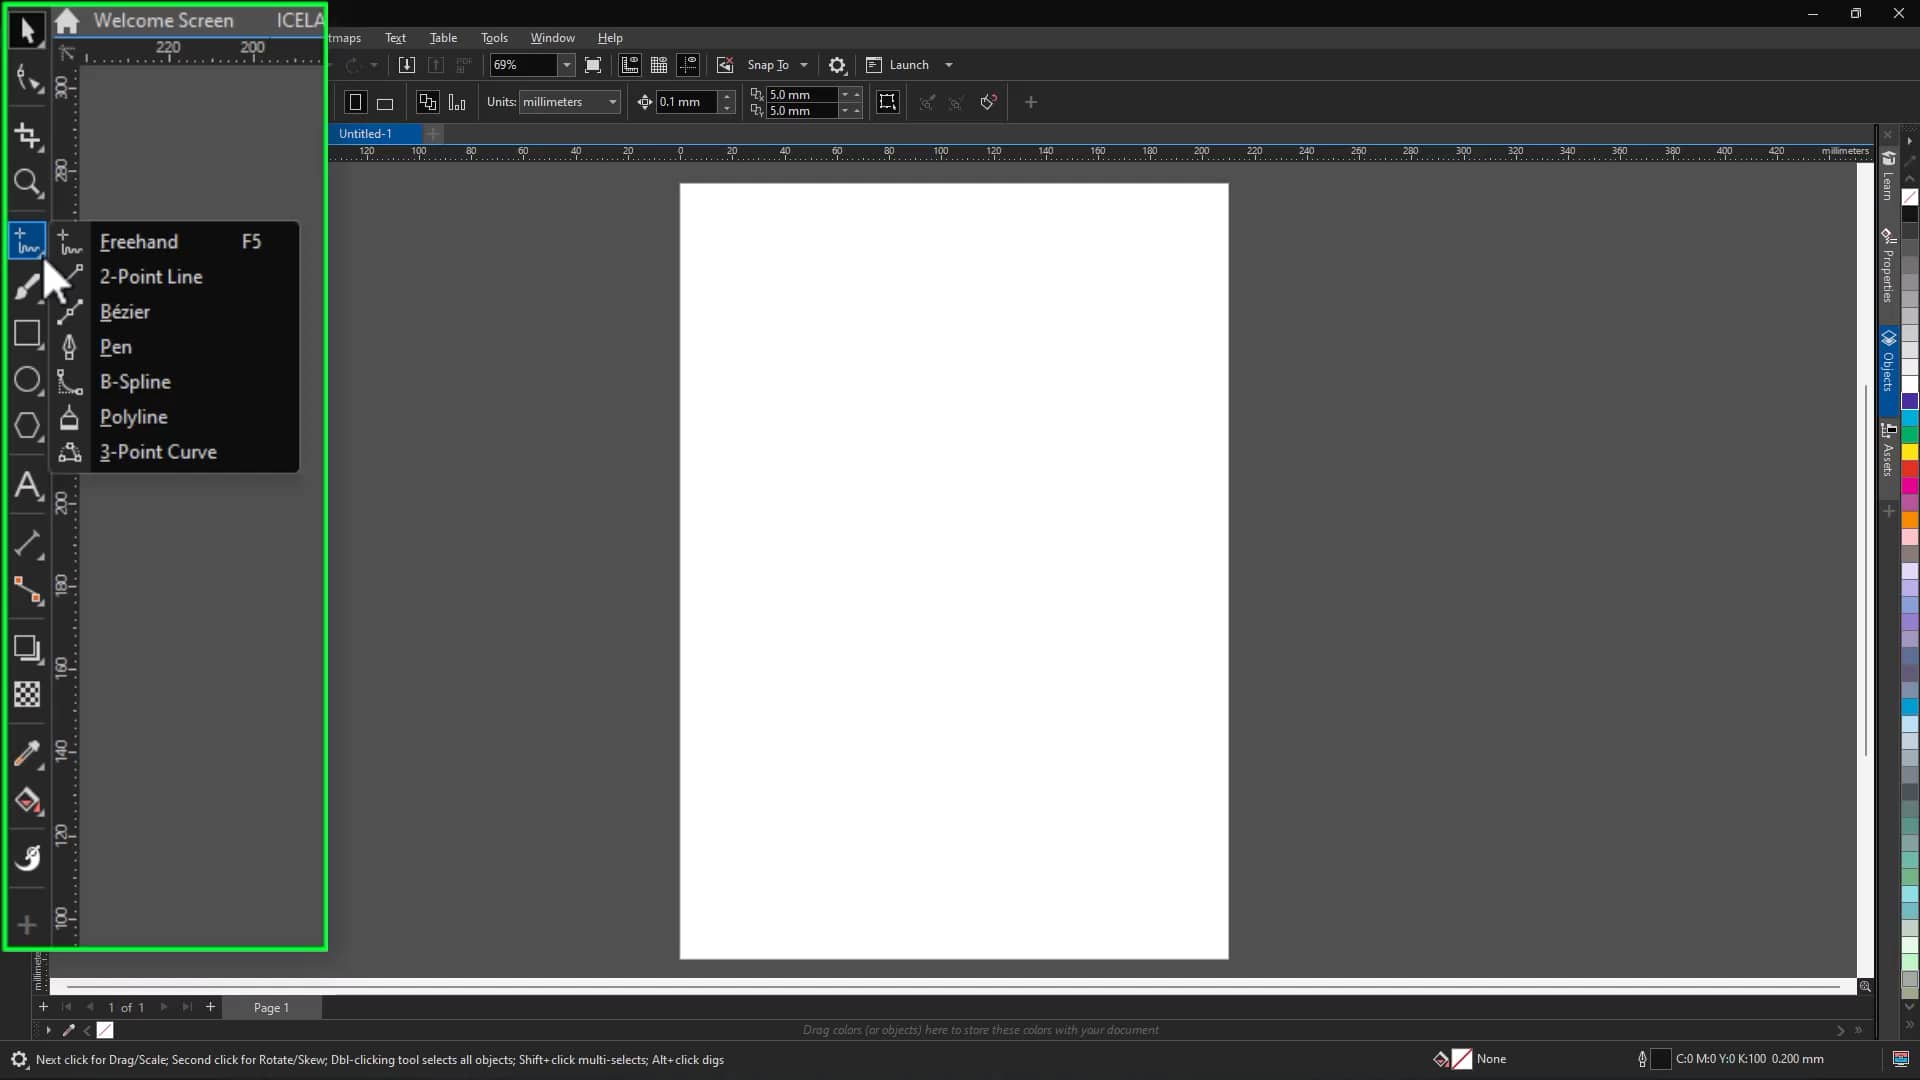
2. Use the toolbox and flyout menus
The toolbox, located on the left side of the workspace, contains the tools you use most often.
- Click a tool to activate it
- Look for small arrows to access flyout menus
- Flyout menus contain related tools grouped together
This helps keep the interface organized while giving you access to additional tools when you need them.
3. Work with documents and windows
CorelDRAW lets you work with multiple documents at the same time.
To switch between documents:
- Click a document tab
To arrange open documents:
- Go to Window
- Choose Cascade, Tile horizontally, or Tile vertically
You can also move a document to another monitor to expand your workspace.
4. Explore key interface elements
Property bar
The property bar changes depending on the active tool or selected object.
For example:
- When using the Text tool, it displays text formatting options
- When selecting an object, it shows object properties
Dockers
Dockers are panels that provide access to features like:
- Object properties
- Layers
- Alignment and transformations
They help you keep commonly used controls available while you work.
5. Work with rulers
Rulers appear along the top and left edges of the workspace and help you position and measure objects.
You can:
- Show or hide rulers
- Move the ruler origin
- Reset the origin by double-clicking
To change ruler settings:
- Go to Tools > Options
- Adjust units, tick marks, and origin settings
You can also configure rulers separately for desktop and tablet modes.
6. Calibrate rulers for accurate measurements
If you need on-screen measurements to match real-world dimensions, you can calibrate the zoom level.
To calibrate rulers:
- Go to Tools > Options > Tools
- Select Zoom/Pan
- Click Calibrate Zoom
- Align the on-screen ruler with a physical ruler
- Adjust until the measurements match
This is useful for print projects that require precise scaling.
7. Navigate pages and colors
When working with your files and documents, you have a few options for navigating between pages and palettes.
Use the document navigator
The document navigator lets you:
- Move between pages
- Add pages before or after the current page
Use the document palette
The document palette displays the colors used throughout your document, helping you maintain consistency.
8. Zoom and navigate your design
When zoomed in, you can use the Navigator to move around your drawing.
- Drag within the Navigator to pan across the page
- Useful when working on detailed areas
9. Use the status bar
The status bar displays information about selected objects, including:
- Size and position
- Fill and outline properties
- Resolution
It may also display shortcut keys for the active tool.
10. Customize your workspace
CorelDRAW lets you customize the workspace to match your workflow.
You can:
- Move or resize dockers
- Show or hide toolbars
- Adjust interface elements for different tasks
Customizing your workspace helps you stay organized and work more efficiently as you create in CorelDRAW.
If you’re new to CorelDRAW, you can explore these features with a free trial.