This tip has been written for CorelDRAW® Graphics Suite X3. While similar features might be available in previous releases the tip will be fully applicable to CorelDRAW Graphics Suite X3 and newer versions only.
Introduction: The miter limit determines whether sharp corners in objects appear pointed or beveled. In CorelDRAW, you can quickly change the miter limit for any object in a project and enjoy the flexibility of having objects with different miter limits.
When an object contains lines that meet at sharp angles, you can determine their corner shape by setting the miter limit. Corners with angles above the miter limit are pointed (mitered); corners with angles below the miter limit are beveled (squared off).
Changing the miter limit affects the appearance of sharp corners.
Since CorelDRAW X3, setting the miter limit is easier than ever. The miter limit is no longer an application setting that applies to all objects in a drawing. Instead, it is now an object's outline property that can be changed in the Outline pen dialog box. This enhancement gives you the flexibility of having objects with different miter limit values in the same project.
You'll draw a star, apply two different miter limit values, and compare the results.
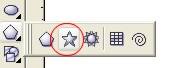
The Star tool is located on the Object flyout.
A star with an outline width of 2.0 pt and a fountain fill applied
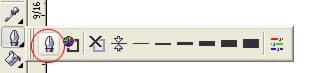
The Outline pen dialog button is located on the Outline tool flyout.
The Outline pen dialog box appears.
Note: Make sure that the first option is enabled in the Corners area as shown above.
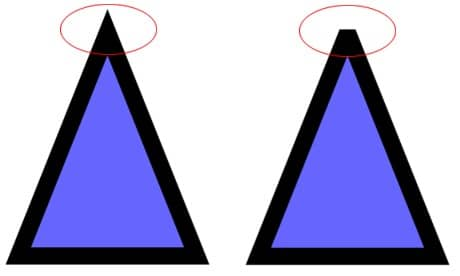
The star with a miter limit of 45° and beveled corners (left); the star with a miter limit of 5° and pointed corners (right).
Continue to experiment with miter limit settings to get the most out of this feature. You'll find that the miter limit can be very useful for controlling the appearance of corners in text objects.