1. Open or upload your photo in CorelDRAW
Open CorelDRAW and upload your photo. If you’re not a user of CorelDRAW, you can try a free trial of CorelDRAW for 15 days.
What if your picture could tell a story? Add a creative lift to your photos with text. Share a message, personalize a photo, or add a storyline to a meaningful image. With CorelDRAW’s photo editing tools, users can add text to images quickly and easily.

Join millions of users across thousands of global organizations who use CorelDRAW.


Open CorelDRAW and upload your photo. If you’re not a user of CorelDRAW, you can try a free trial of CorelDRAW for 15 days.
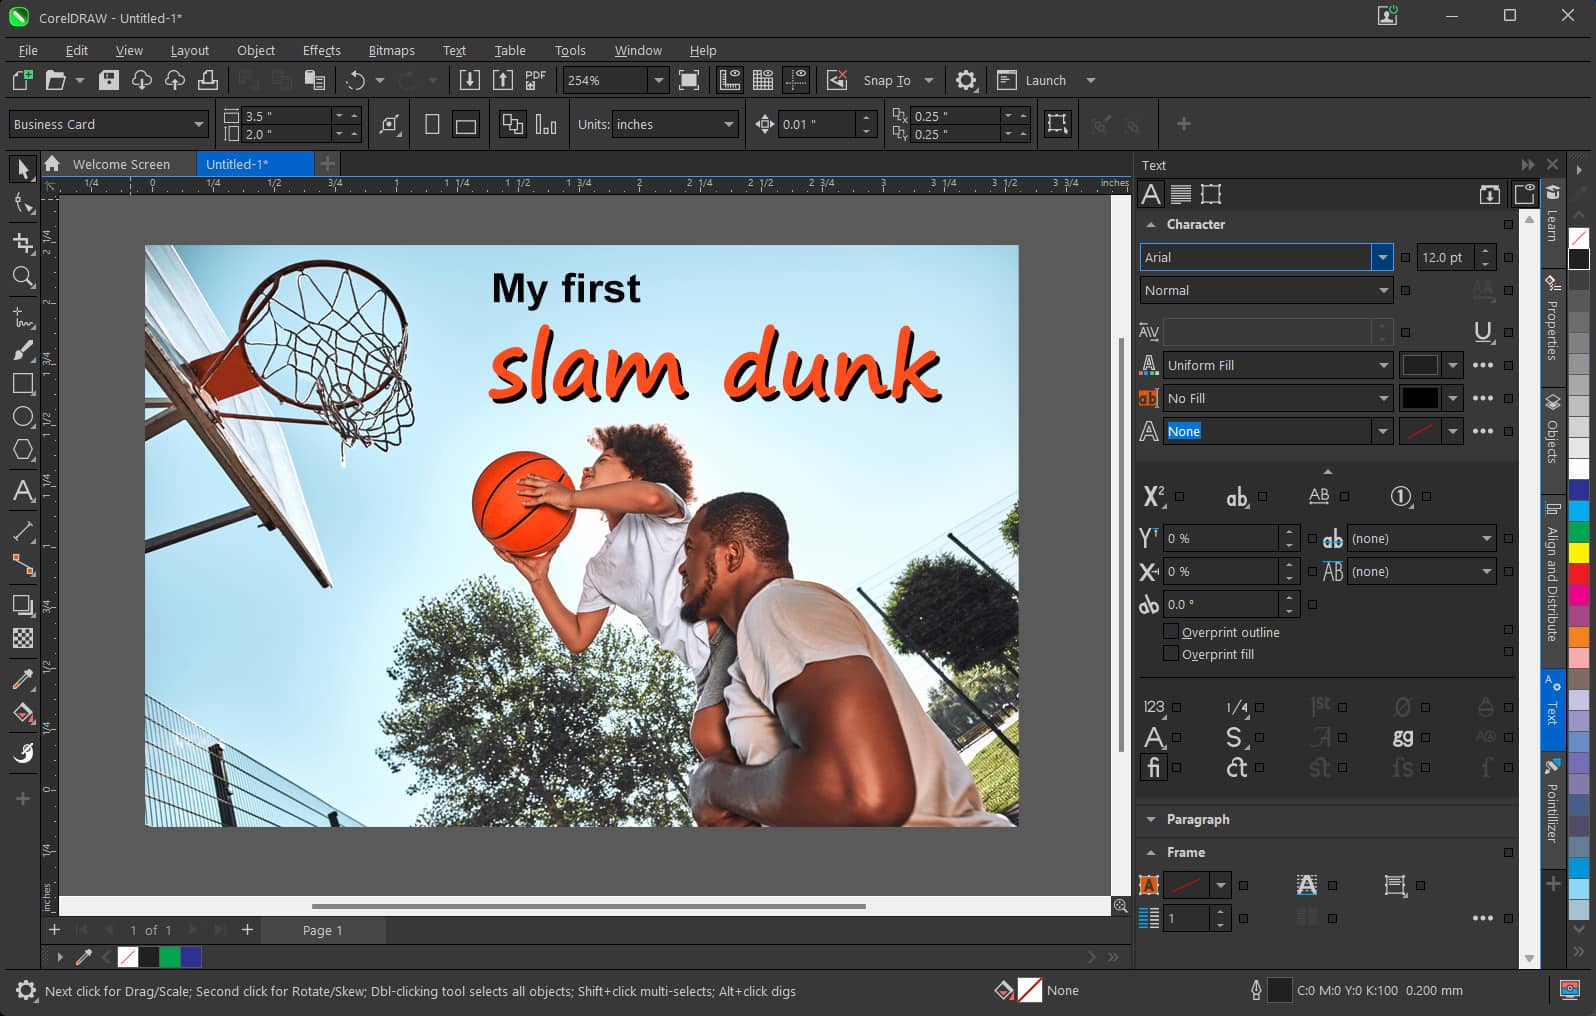
Start by adding the type and length of text you want to add to your photos. You can apply more advanced characteristics to your text, such as sizing, font angle, location, etc.
Choose the spot in your photo where you would like to begin adding the text.
Once you’ve decided what you want to say, you can choose how you want to say it. You can change the font type, size, color, and text placement.
If you’re satisfied with the appearance and location of your text, apply it to the photo and save it. You’re now ready to share your updated photo with text.
As you become more comfortable with the font tools in CorelDRAW, you can customize your text with signature touches. Variable fonts allow you to modify the angle, weight, and width of the font so you can achieve multiple looks from a single font.
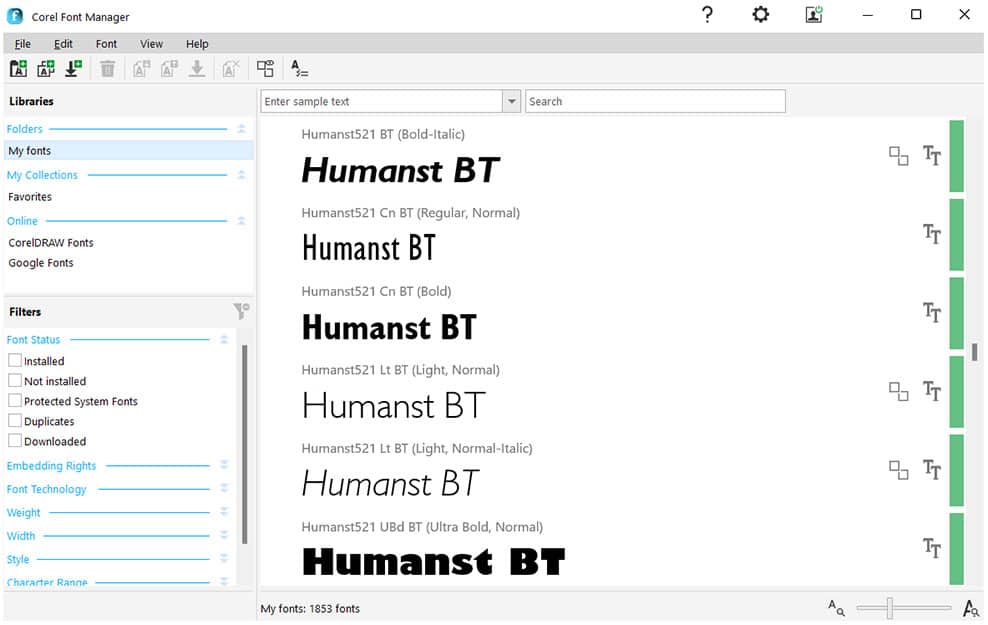
As you’re busy adding text to your photos, you don’t want to waste time searching for your favorite fonts or worrying if they’ll install properly. In CorelDRAW, you can seamlessly organize and manage your fonts. What’s more, you can use your favorite fonts without needing to install them
CorelDRAW includes a complete collection of typography tools that allows you to try new things with text. These tools can add next-level effects like block shadows, contours, and more when incorporating text into photos.
The simple answer is to use the Text tool included in CorelDRAW.
Once you’ve mastered the basics, you can explore more advanced tools like font effects, font management, and font manipulation.
Use the Text tool to place the cursor inside the text frame where you want to import the text. Next, import the file. During the importing and pasting step, you can choose to keep or discard the current fonts and formatting.
Follow these simple steps:
CorelDRAW includes a professional photo editor, Corel PHOTO-PAINT, which includes a collection of tools for basic and advanced image editing.