How To Correct Perspective Distortion
From time to time we may take a photo and discover that we may need to Correct Perspective Distortion. Luckily CorelPHOTO-PAINT make correcting perspective distortion easy.
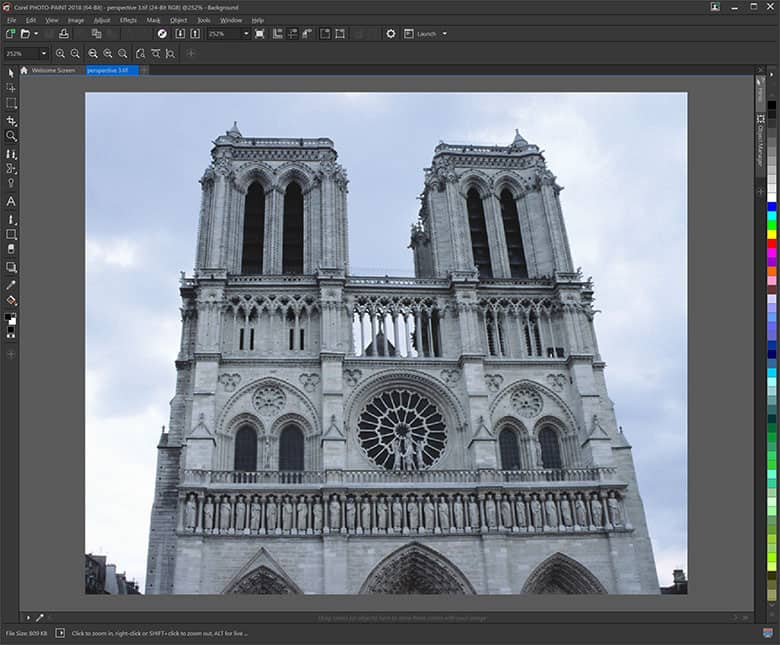
1. Open the Image
There are a couple of ways to open the image. From the Welcome Screen, select Get Started and then click on the button to Open Document, alternatively, from File > Open.
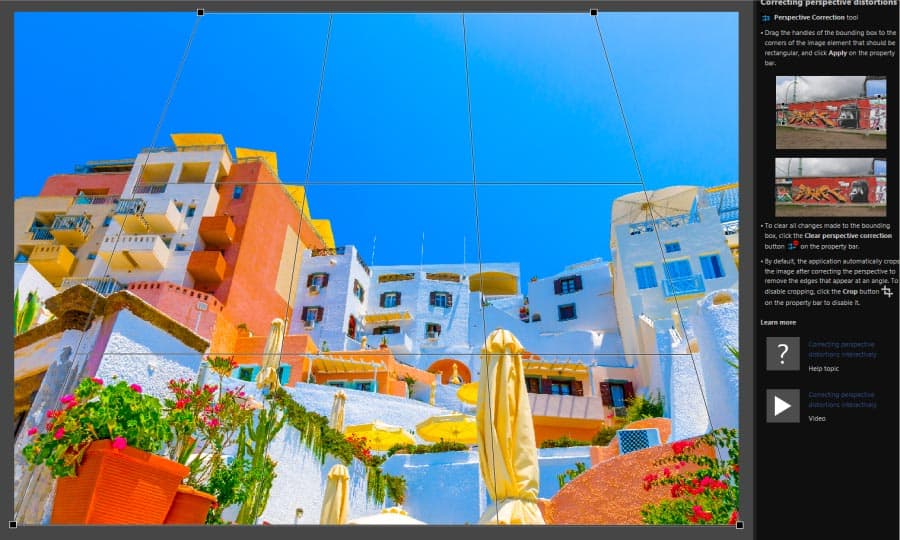
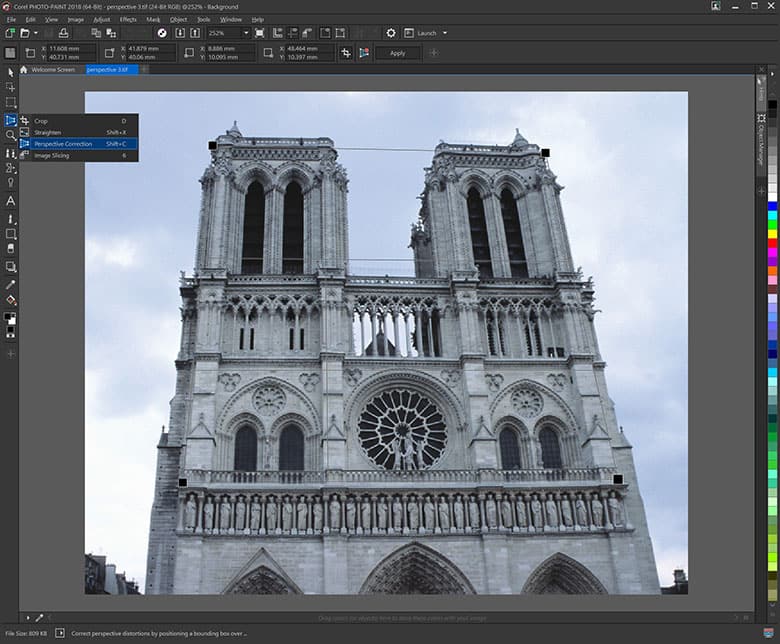
2. Correcting Perspective Distortion
With the image opened in PHOTO-PAINT, from the Toolbox, click and hold the 4th icon down , the crop tool. This will open a fly-out. Select the Perspective Correction tool, Position the four handles so that the lines connecting them run along elements that should be parallel to each other. Once this has been done, click Apply in the Interactive Property bar.
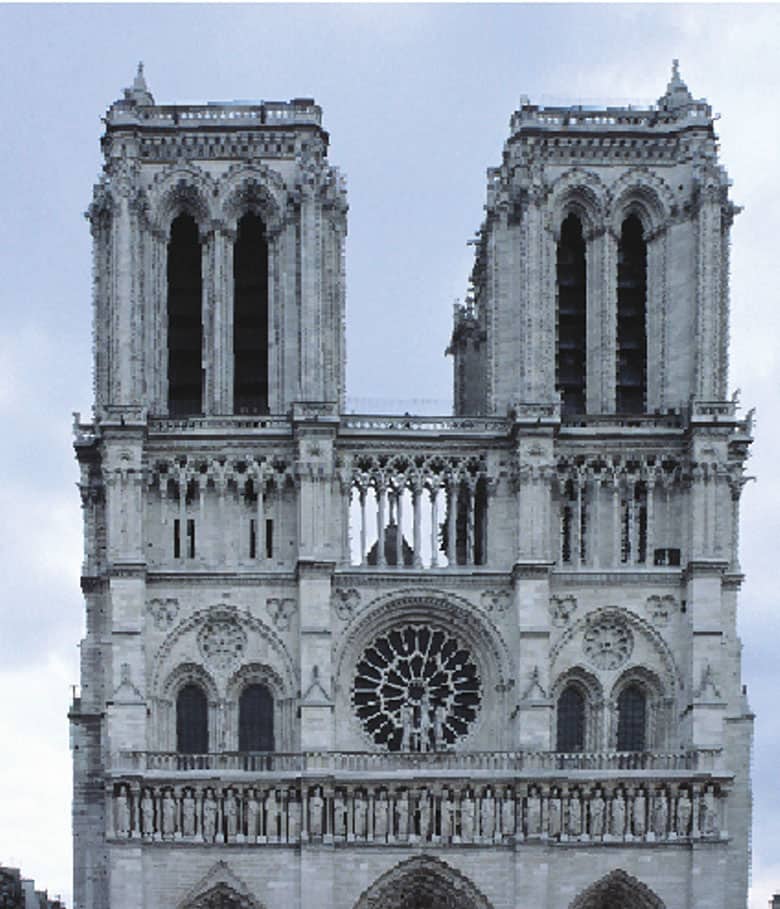
3. Next Steps
Now that the the perspective distortion has been corrected, you can save the file out or continuing to edit your image.
CorelDRAW Graphics Suite does more than just correct perspective distortion
Check out some of the other graphic design features in CorelDRAW Graphics Suite, like How To Use Layers, How To Clone Image, How To Create A Transparent Image Gradient, and more! Create high quality designs in a fun and easy to use graphic design software and make your work stand out more than ever.
 How To Bulk Edit Images
 How To Batch Resize Images
 How To Make A Meme
 How To Make A Quote Picture