How To use Layers
A number of raster editing applications on the market use layers to keep elements separate. In Corel PHOTO-PAINT, we refer to them as Objects. Let's see how we use or create objects in CorelPHOTO-PAINT.
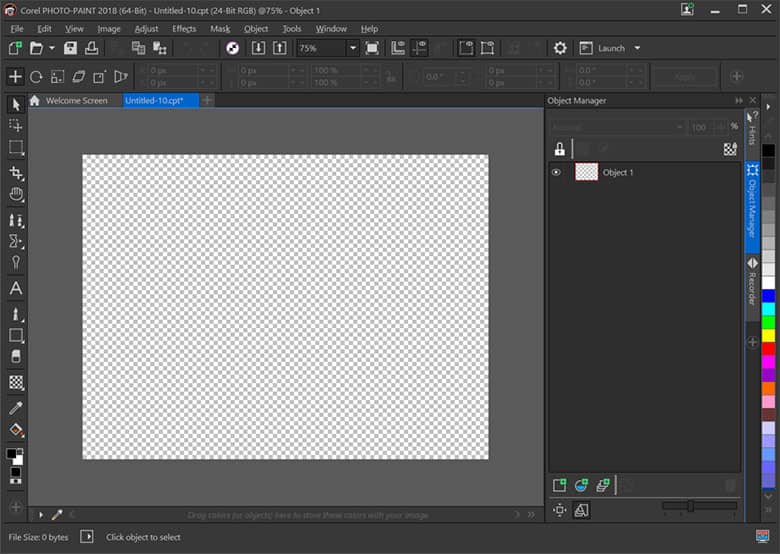
1. Create a New Image
From the Welcome screen, select New Document, Except the defaults and simply click OK. This will add a new transparent background, provided that you have No Background selected and in the Object manager this will show as Object 1.
2. Creating Objects
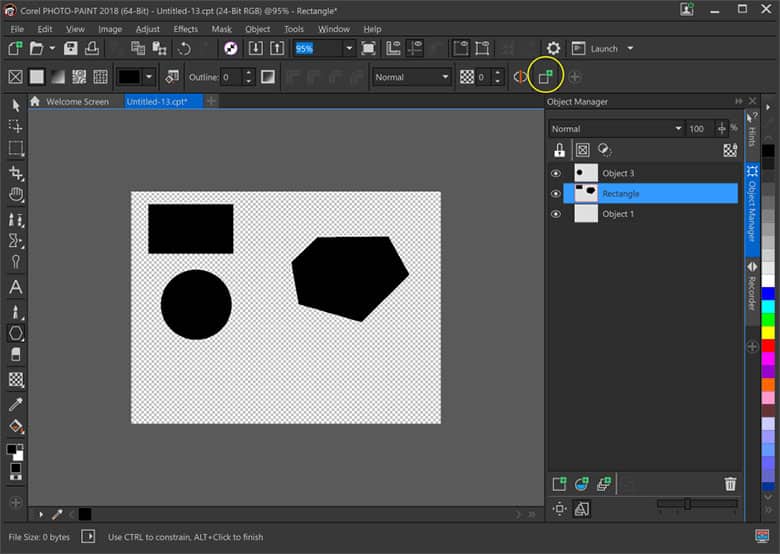
As we have mentioned, In Corel PHOTO-PAINT, they are referred to as Objects, so from this point forward, that is the term we will use. Select the Rectangle tool in the Toolbox and click and drag on the page. You will notice that it has added a new Object in the Object Manager on the right side of the application and called it Object 2. Create an ellipse and in the Object Manager it will be called Object 3. You have the ability to click in the name for the Object and rename it. In the image below I have renamed the Object to to Rectangle. This is an easy way to keep track of elements in the file.
By clicking the last icon on the Interactive property (Circled in the image below), it will allow you create multiple elements on a single object.
3. Next Steps
Now that you have a better understanding of how objects work, it should go a long way to creating well organized designs in Corel PHOTO-PAINT.
CorelDRAW Graphics Suite does more than just allow you to add objects
Check out some of the other graphic design features in CorelDRAW Graphics Suite, like How To Clone Image, How To Create A Transparent Image Gradient, How To Bulk Edit Images, and more! Create high quality designs in a fun and easy to use graphic design software and
make your work stand out more than ever.
 How To Batch Resize Images
 How To Make A Meme
 How To Make A Quote Picture
 How To Blur Background