
How To Preview a Tattoo
Before investing the time and money (and pain!) for a tattoo, take some time to see what it will look like before you go under the needle. As long as you have a photograph of where on your body the tattoo will be placed, CorelDRAW makes it easy to visualize the final result.
In this how-to, we’ll preview a vector image of a back tattoo. But the same technique can also work for a raster image or text.
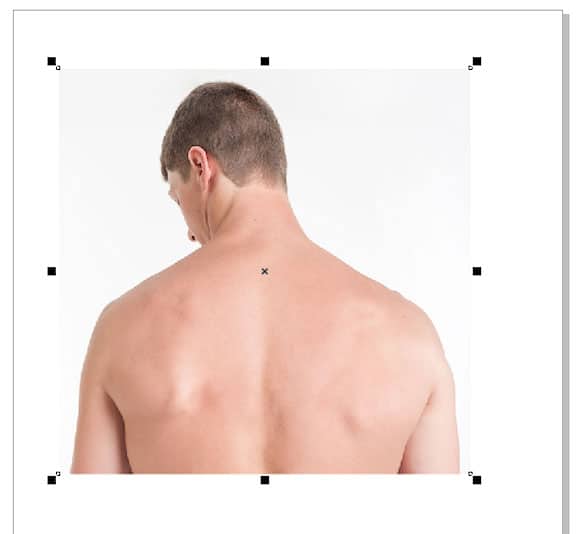
1. Import Body Photo
From (File > New) under Name: type Tattoo. Use the Default RGB page destination.
Bring in the body photo using File > Import, and click and drag to place the photo within the page.
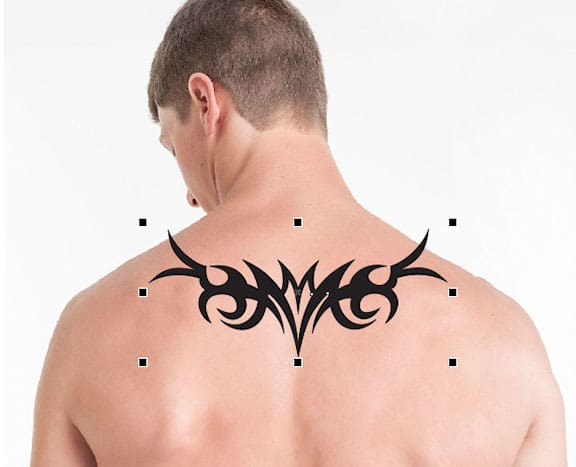
2. Import or Create Tattoo Image
In this example, the tribal tattoo image was brought in from CONNECT. To remove the white-filled curve in the center, press Ctrl + G to ungroup, then Ctrl + L to combine. Then regroup with Ctrl + G.
Place the image approximately where it is to appear on the body, and size or rotate as needed.
If you have the tattoo image in raster format, be sure to give it a transparent background. This can be done in PhotoPAINT, with the following steps:
Select the raster image and click Edit Bitmap, which opens the image in PhotoPAINT. In the Object Manager, create an object from the background. Then select the Color Transparency tool, and click anywhere on the background to remove all pixels of the same color. Click Finish Editing, and you go back to CorelDRAW with the edited image.
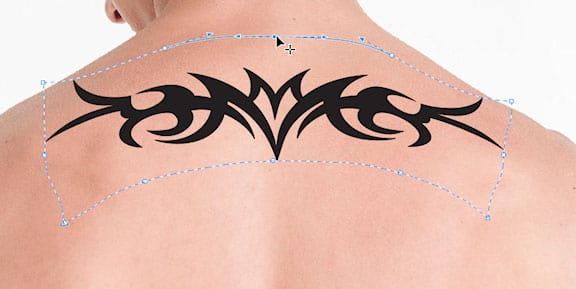
3. Adjust to Follow the Body
With the tattoo image selected, click the Envelope tool, which is part of the Effects toolbox. Click and drag the nodes so that the tattoo follows the contours of the body. You can add more nodes by double-clicking on the envelope itself. And you can also adjust the curvature at each node.
The Envelope tool works the same way for raster images, and can be used on text as well.
4. Blend the Tattoo
For a more realistic view of the tattoo, keep the tattoo image selected and select the Transparency tool. In the Interactive Property Bar, select the Uniform transparency option. Adjust the level of transparency to your liking.
Finally, use File / Save As to save out the file to send to your tattoo artist, or simply print out a copy to bring in.
CorelDRAW does more than just allow you to preview tattoos
Check out some of the other graphic design features in CorelDRAW Graphics Suite, like How To Create Your Own Logo, How To Make A Letterhead, How To Make Business Cards, and more! Create high quality designs in a fun and easy to use graphic design software and make your work stand out more than ever.
 How To Make A Monogram
 How To Make An eCard
 How To Make A Web Banner
 How To Create A Newsletter