
How To Make a Letterhead
What is a letterhead? Letterhead is a heading printed on a paper that usually contains a person or company’s name and address. It can also include logos and background images. If you are looking to make your own letterhead, it is a relatively simple process and is completely customizable to suit your business need.
1. Set the page size
When creating your letterhead, in North America we will use the letter size page (A4 for European countries
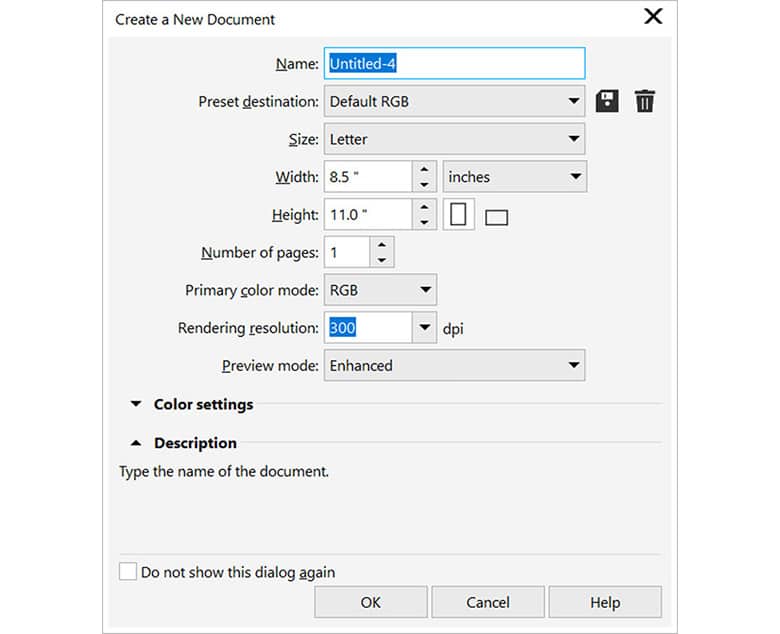
In CorelDRAW we will set the page size using the Preset destination of Default RGB. Set the Size as Letter. In European countries, you may want to select A4 for the size. The Rendering resolution can stay at 300. Click OK. To ensure that when designing, objects remain within the printable area, we will want to show it. From the View menu go to Page > Printable Area. This information is picked up from the default printer driver that you have installed
2. Adding the logo and text
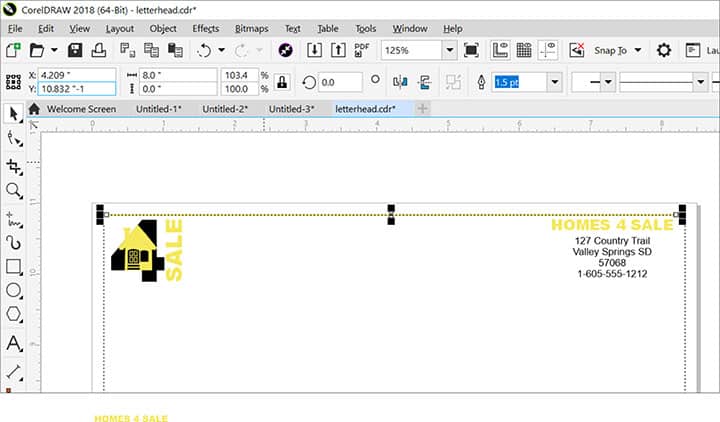
Now that we have the page setup it is just a matter of adding the logo and some text. We will start by importing the logo. File > Import and browse to where your logo is located. When you see the import cursor, position it in the upper left corner and drag it to size. Next, select the Text tool from the Toolbox on the left. Click on the page and type in the company name and set it to 15pt from the Interactive Property bar.
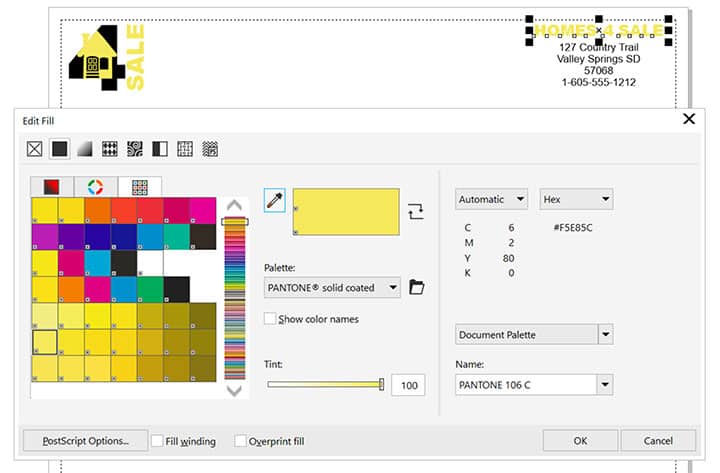
For the company name, we are using PANTONE 108C. To change a color from RGB or CMYK to a spot color, with the object selected, double-click on the fill swatch in the Status bar. In the Edit Fill dialog click on the Palettes tab and then select the Palette drop-down list and locate Pantone Solid Coated. This will automatically change the selected object to a spot fill.
Next, with the text tool still selected, type the address and phone number. Set the point size to 10 pt and make it PANTONE Black 6C. Position the text blocks in the upper right corner
3. Add embellishments
Now that we have the important information on the page, we can add a couple of embellishments to make it a bit more professional looking. Using the Freehand tool (F3) create a horizontal line that is 8” long. As a tip, when drawing the line, if you hold down the Ctrl key, it will constrain the line and allow you to create parallel to the top of the page. Color this line with using PANTONE 2347C. Position the line along the top edge of the printable area and now we are going to move it down exactly 1”. To do this, in the “Y” position box, after the value that is there, type -1”. This will move it down. Do a Ctrl + D to duplicate this line and align it up with the bottom of the printable area. Now in the “Y” position box type in +.5” This will move the line up 1/2 inch. The final step here is to type the tagline using Artistic text. Select the Text tool and click on the page. Type “Helping you is what we do best!”. Center this below the bottom line on the page. You are done.
CorelDRAW does more than just letterhead design
Check out some of the other graphic design features in CorelDRAW Graphics Suite, like How To Make Business Cards, How To Make A Monogram, How To Make An eCard, and more! Create high quality designs in a fun and easy to use graphic design software and make your work stand out more than ever.
 How To Make A Web Banner
 How To Create A Newsletter
 How To Make A Facebook Cover