How To Straighten a Photo
From time to time we may take a photo of a landscape shot or some other subject and then when we bring it onto the computer, we discover that our great shot is crooked. CorelPHOTO-PAINT makes it very easy to straighten that shot.
1. Open the Image
There are a couple of ways to open the image. From the Welcome Screen, select Get Started and then click on the button to Open Document, alternatively, from File > Open.

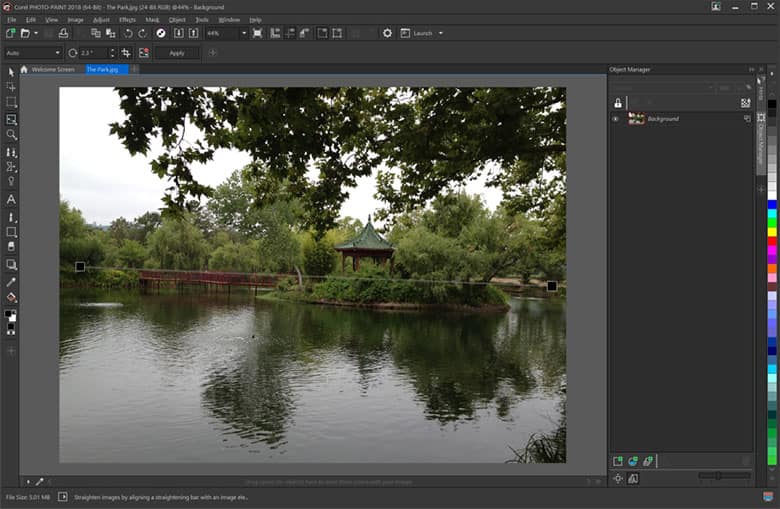
2. Select the Straightening Tool
From the Toolbox on the left side of the screen, Press and hold on the fourth tool down. This is the crop tool. You will see a flyout and then select Straighten (Shift+ X). This will bring up the straighten tool. Now, using the handles on each end, drag the line so that it is parallel to an object in the image that should be horizontal. In our image, I have used the bridge as a guide. Once you have done this, click Apply on the Property bar.
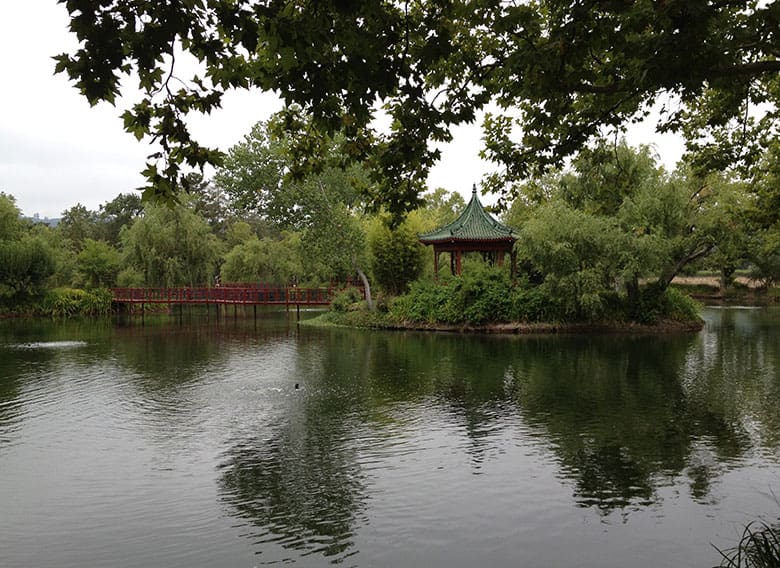
3. Next Steps
Now that the image has been straightened, you can save the file out or continuing to edit your image.
CorelDRAW Graphics Suite is more than just a photo straightener
Check out some of the other graphic design features in CorelDRAW Graphics Suite, like How To Watermark Photos, How To Make An Image Black And White, How To Add Lens Flare Effect, and more! Create high quality designs in a fun and easy to use graphic design software and make your work stand out more than ever.
 How To Use Photo Masks
 How To Add Color Splash
 How To Add Vignette Effect
 How To Make Vintage Photos