
How To Use a Photo Mask
When we look at using a Photo mask, what we are actually doing is using a clipping mask. These terms are interchangeable. So, let's take a look how we can use a photo to add it to a clipping mask on text.
For this guide we’ll be using Corel PHOTO-PAINT, included in the CorelDRAW Graphics Suite.
1. Create a New Document with Text
From the New Document dialog box (File > New), in the Name: field type the name of the file as ‘Photo Mask’. Next, we will set the page size to 1024 x 768 . For this the size is really not that critical. Set the Resolution is 150 dpi and ensure that there is a check in the No Background check box. Click OK.
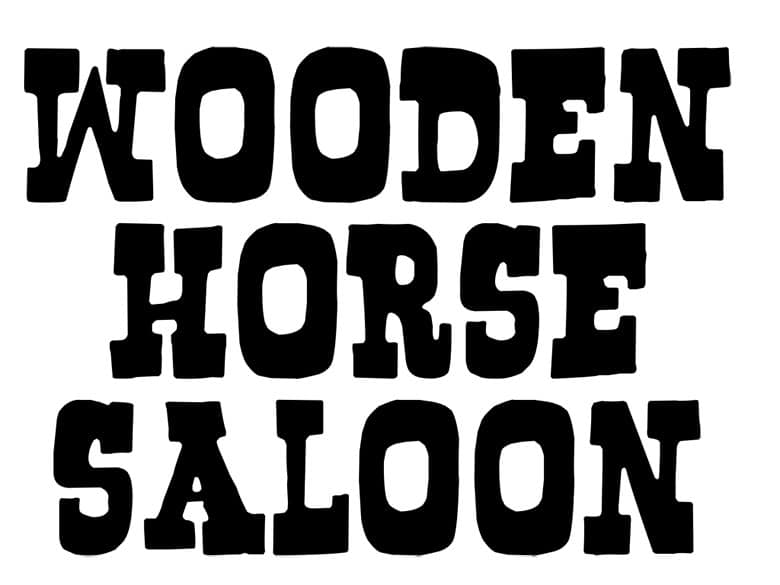
Adding Text to the document is fairly straightforward. Select the text tool and click on the page. I have typed ‘Wooden Horse Saloon’ and set the font size to 24 pt.
2. Creating a Mask from an Object
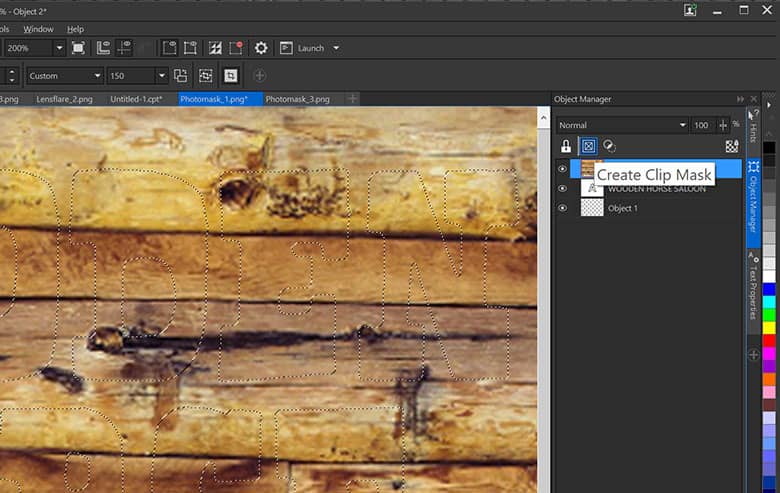
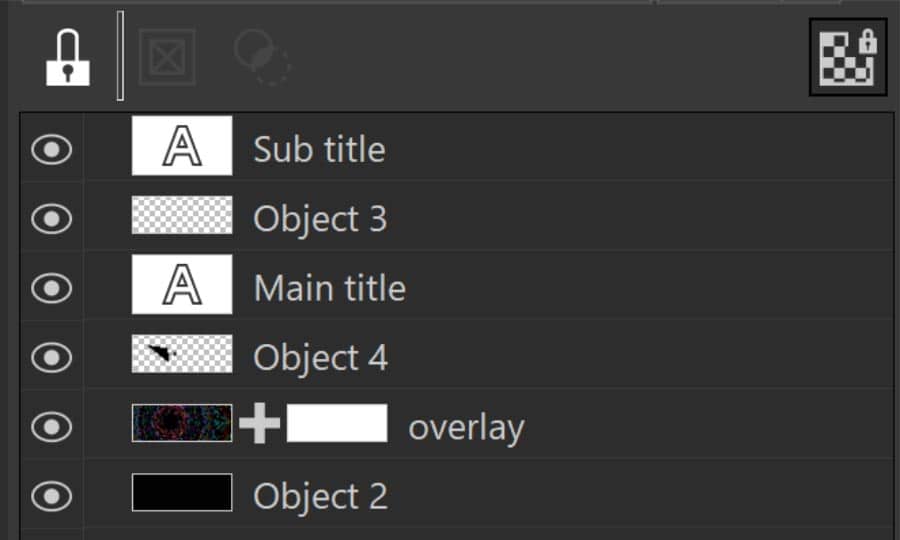
Once you have your text or other elements that you would like to us, with it selected, from Mask > Create > Mask from Object. Next, from File > Import and browse to the image that you want to use. Select the image and bring it into PHOTO-PAINT and size it a bit larger than your document. The final step is to click on the Create Clip Mask in the Object Manager
3. Next Steps
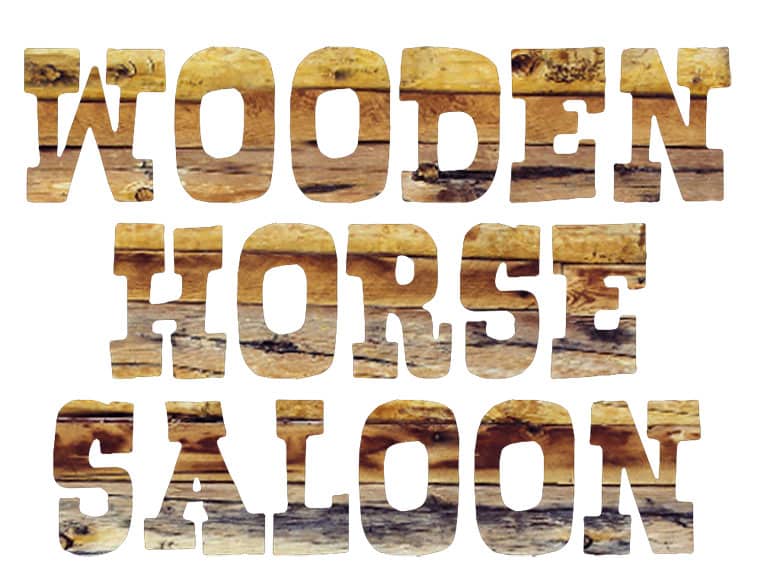
Now that you have applied the effect, you can save the file out or continuing to edit your image in other ways.
CorelDRAW Graphics Suite does more than just allow you to create a photo mask
Check out some of the other graphic design features in CorelDRAW Graphics Suite, like How To Add Color Splash, How To Add Vignette Effect,
How To Make Vintage Photos, and more! Create high quality designs in a fun and easy to use graphic design software and make your work stand out more than ever.
 How To Correct Image Perspective
 How To Correct Perspective Distortion
 How To Use Layers
 How To Clone an Image