How To Add Lens Flare
When we take photos of people or landscape, one thing that we usually try to avoid is lens flare. This is caused when a bright light (such as the sun) is shon into the lens. It can cause an unwanted effect however it can sometimes add an artistic element to your image.
For this guide we’ll be using Corel PHOTO-PAINT, included in the CorelDRAW Graphics Suite.
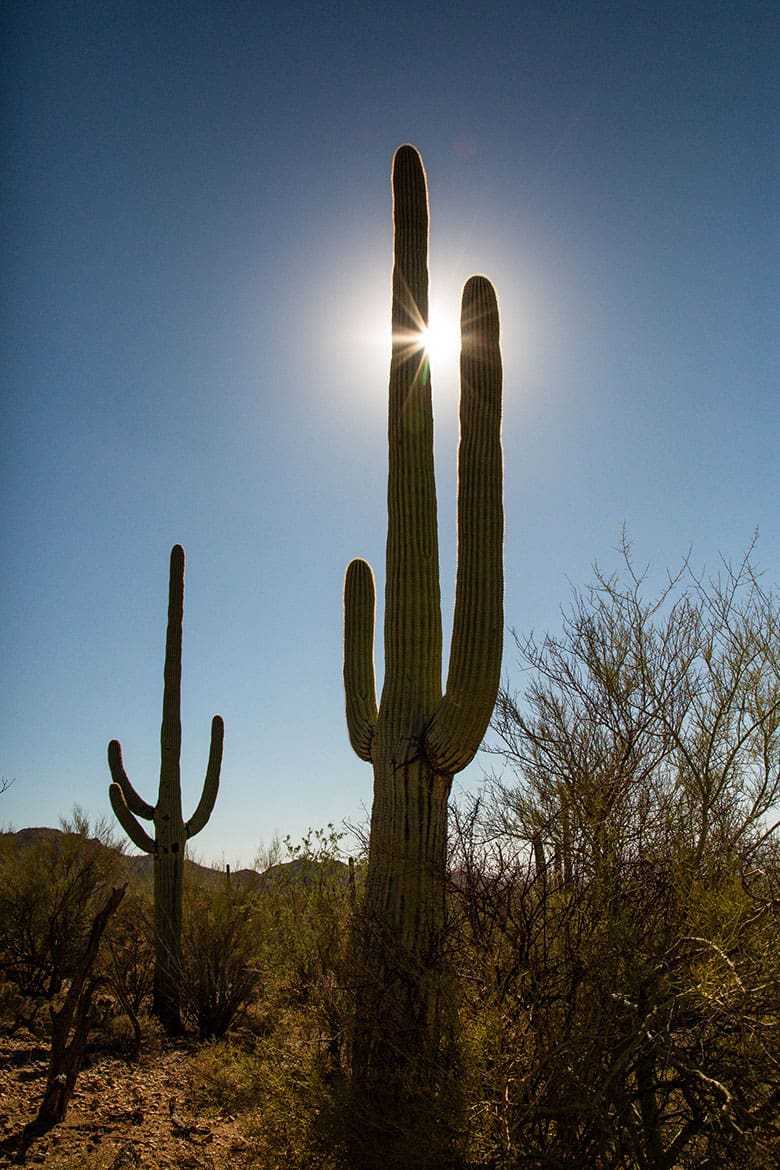
1. Open your image
From File > Open this will open your image into a new document.
2. Creating a Mask from an Object
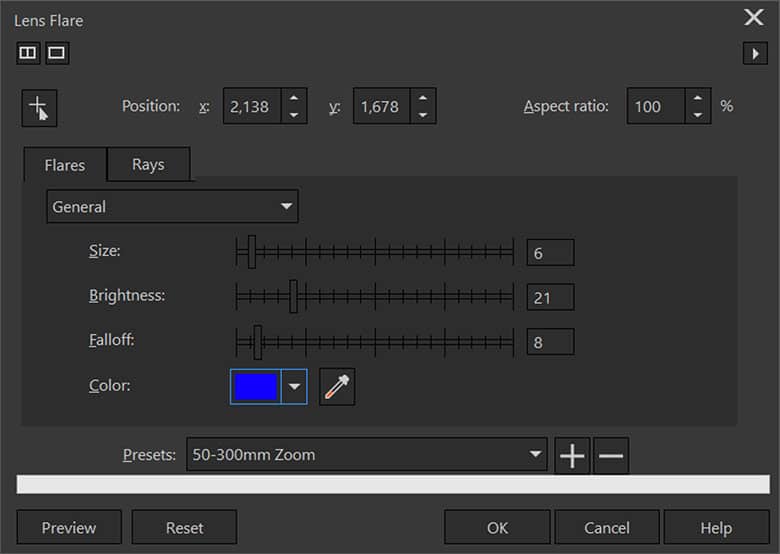
To add the lens flare to your image is quite straightforward. Effects > Camera > Lens Flare. Starting in the upper left, you have the ability to set the Flare position and Aspect Ratio. There is also the ability to dictate how the lens flare will look. Then on the Ray tab, you can control the size, brightness and color of the Rays. If you are not sure what might look good, there is always the Presets. These make a good starting point that you can tailor to your liking. Once you have customized your lens flare effect, click OK.
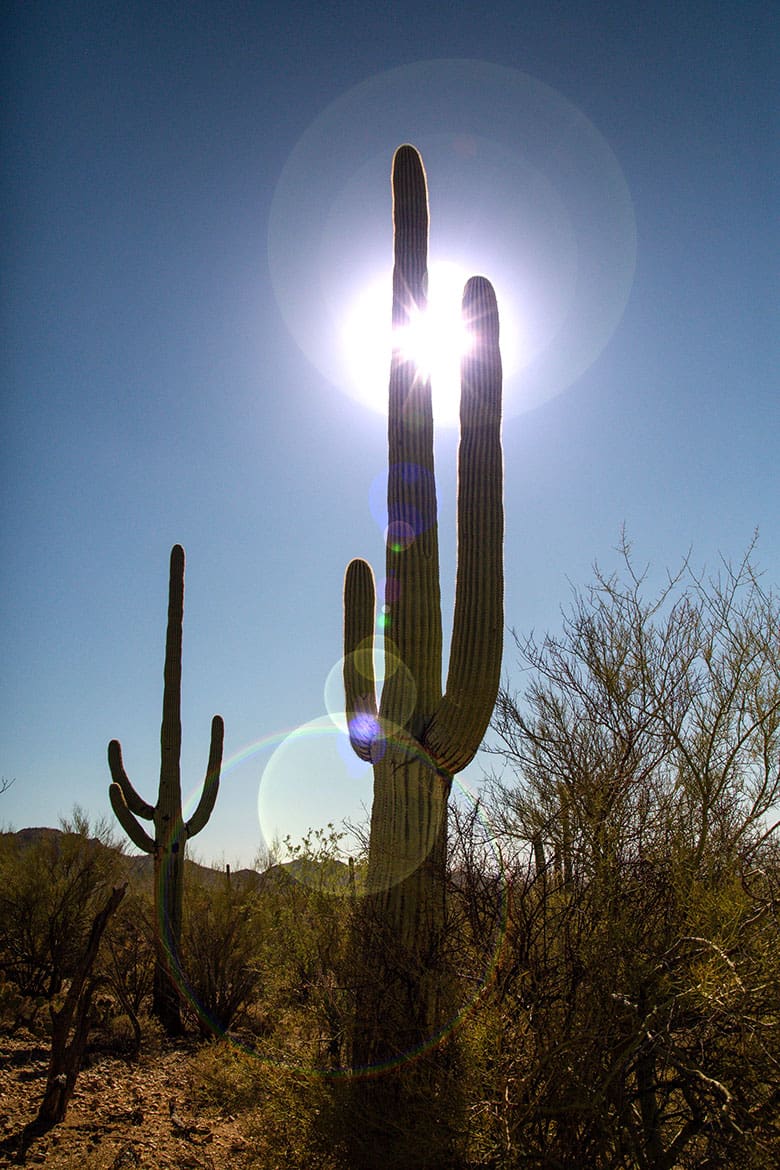
3. Next Steps
Now that you have applied the effect, you can save the file out or continuing to edit your image in other ways.
CorelDRAW Graphics Suite does more than just allow you to add lens flare to your photos
Check out some of the other graphic design features in CorelDRAW Graphics Suite, like How To Use Photo Masks, How To Add Color Splash, How To Add Vignette Effect, and more! Create high quality designs in a fun and easy to use graphic design software and make your work stand out more than ever.
 How To Make Vintage Photos
 How To Correct Image Perspective
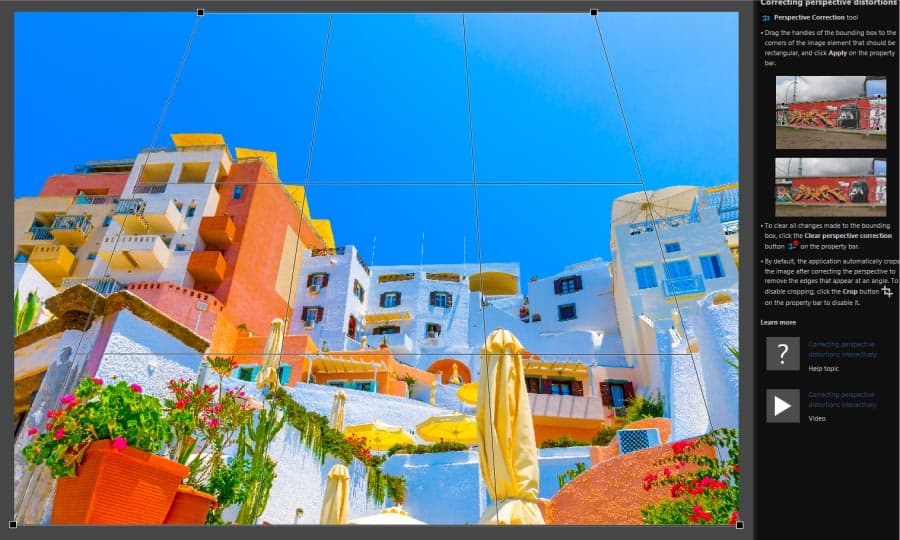
 How To Correct Perspective Distortion
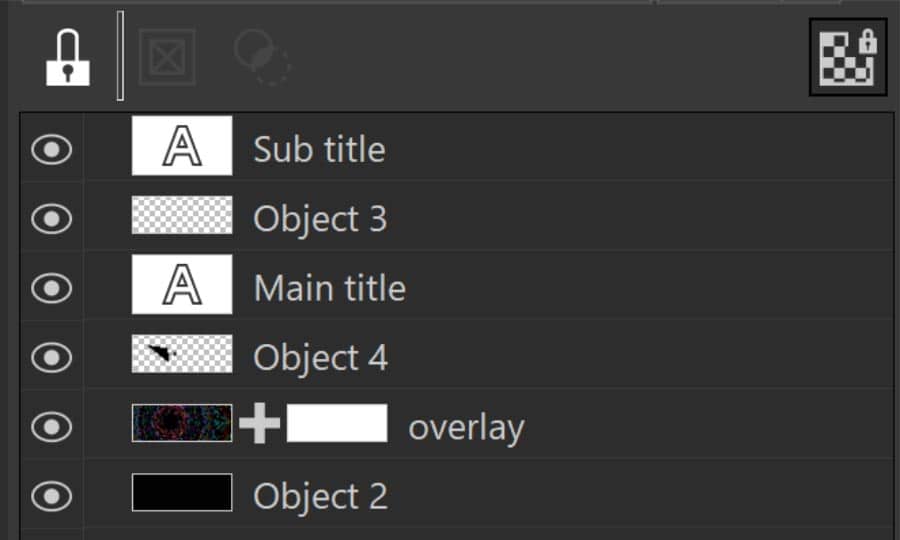 How To Use Layers