How To Make a Vintage Photo from your Image
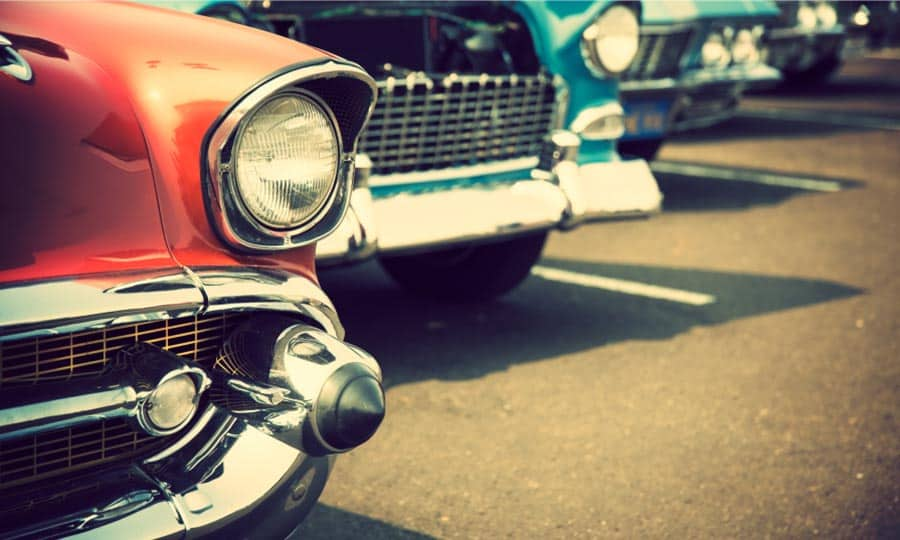
If you are looking to take one of your images and make it look like it was taken in the last century, it is quite easy to do in Corel PHOTO-PAINT. When I think vintage photographs, I think of old cars. Let’s take a look and see how easy it is.
1. Open the Image
There are a couple of ways to open the image. From the Welcome Screen, select Get Started and then click on the button to Open Document, alternatively, from File > Open.

2. Getting the right tone
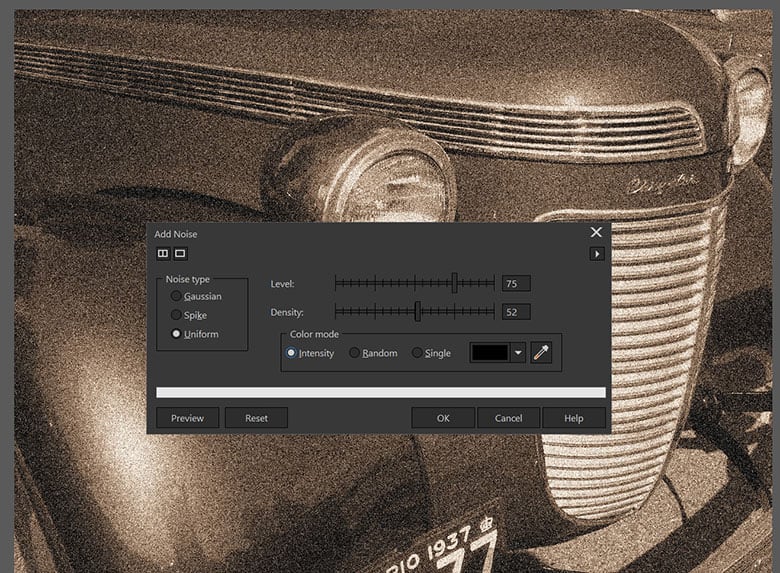
The first step is to convert the image to what is referred to as a sepia toned image. This is done by going Effects > Camera > Sepia Toning. In the Sepia Toning dialog, I have set the Amount to age at 60 and then click OK.
The next step is to add noise to the image. This will give the appearance f an old grainy picture. From Effects > Noise > Add Noise. In this dialog box feel free to play with the settings. What I have used is Noise type > Uniform, Level > 75, Density > 52 and for Color mode > Intensity. Finally, click OK.
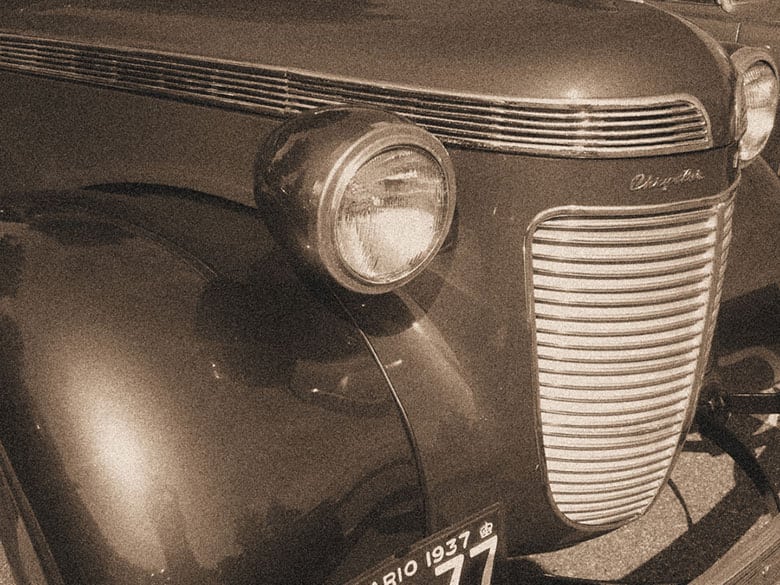
3. Next Steps
Now that you have applied the effect, you can save the file out or continuing to edit your image in other ways.
CorelDRAW Graphics Suite does more than just allow you to add a vintage appearance to your photos
Check out some of the other graphic design features in CorelDRAW Graphics Suite, like How To Correct Image Perspective, How To Correct Perspective Distortion, How To Use Layers, and more! Create high quality designs in a fun and easy to use graphic design software and make your work stand out more than ever.
 How To Clone an Image
 How To Create A Transparent Image Gradient
 How To Bulk Edit Images
 How To Batch Resize Images