How To Make a Schematic Diagram
CorelDRAW makes it easy to create your own symbols and store them in libraries, to be used anything you want to design something like a schematic.
Once you’ve created the symbols for your library, you can bring them in to draw schematics, pairing them with connector lines.
In this how-to, we’ll create symbols and use them to draw a simple circuit.
1. Create the First Symbol
From (File > New) under Name: type Schematic. For Preset destination, select Default RGB, which gives us a letter-size page to work with.
The library of symbols included with CorelDRAW (Ctrl + F11) depends on the fonts you have installed; most fonts include some symbols in addition to letters, numbers, and special characters. But for specialized schematic drawings like circuits, you’ll probably want to create your own symbols.
We’ll start with the battery symbol, which is four straight lines.
Select the 2-Point Line tool, and increase the Outline width to 3pt. This will become the default width for all future objects created with this tool. Drag out two lines, one long and one shorter. Pressing Shift while dragging keeps the lines horizontal. Don’t worry about exact placement.

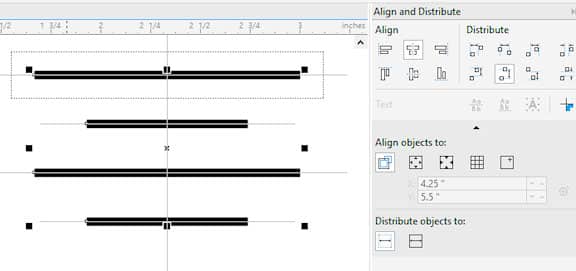
Use the Pick tool to select both lines, and press Ctrl + D to duplicate them. Move the copied lines a bit below the originals.
Then select all four lines, open the Align and Distribute docker, and use the options to both center horizontally and distribute vertically.
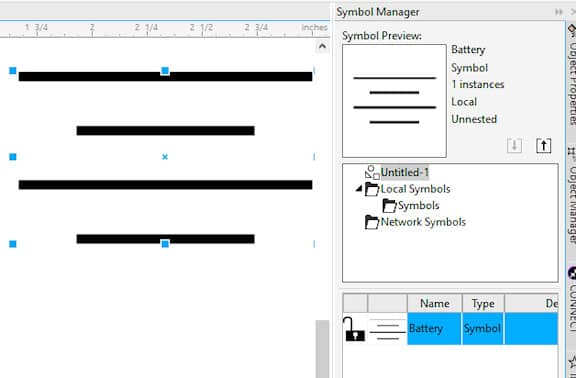
Right-click on the selected lines and select Symbol > New Symbol. Name it “Battery.” The new symbol now appears in the Symbol Manager docker.
The symbol on the page is no longer needed, so you can delete it, or leave it if you like.
2. Add More Symbols
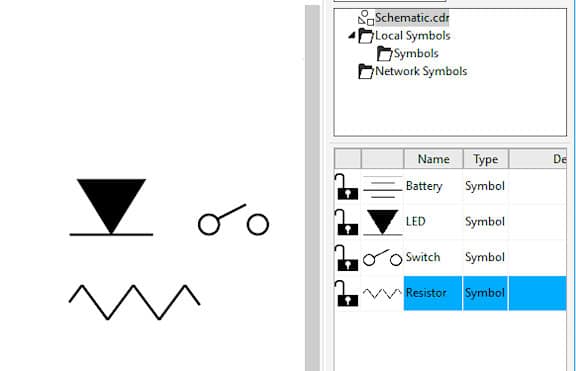
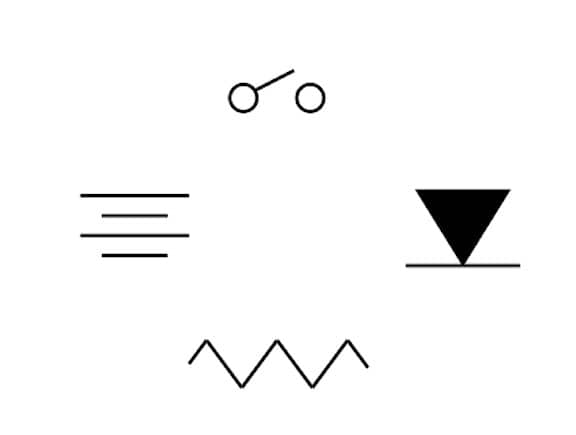
In this example, three more symbols are needed.
- For “LED,” the triangle can be created with the Polygon tool, using three sides and black fill. Add a single centered line below.
- “Switch” consists of two circles (Ellipse tool) and one diagonal line.
- “Resistor” involves a few more steps: start with a diagonal line, and mirror-copy it using the Transformations docker options. Duplicate the pair of mirrored lines as needed, attaching copies where their nodes meet. The half-lines on either side can be shortened copies.
3. Lay out the Symbols
Now that the symbols are prepared, you can bring them to your page by dragging from the Symbol Manager.
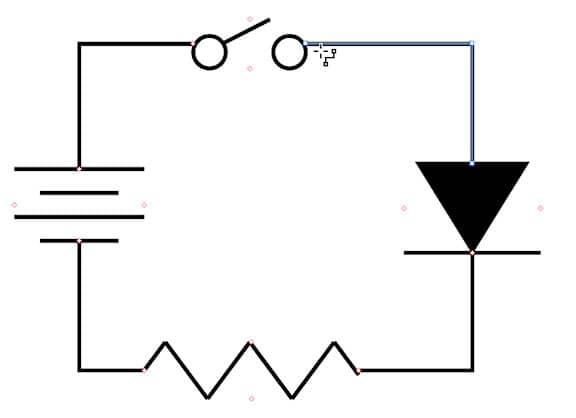
4. Connect the Circuit
Select the Right-Angle Connector tool. The connector nodes for each symbol are highlighted, and all you have to do is click and drag from a start point to an end point. Repeat until the circuit is complete.
The great thing about connector lines: if you move one of the symbols, the connectors follow.
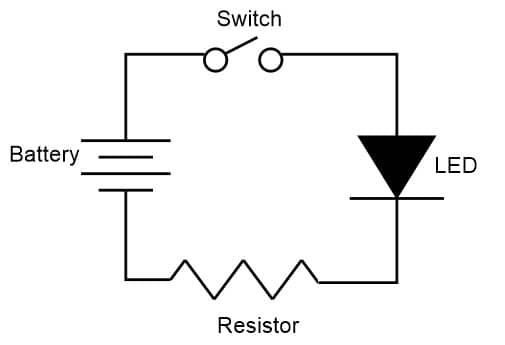
5. Add Text
All that’s left is to use the Text tool (F8) to label what each symbol is.
CorelDRAW is more than just schematic program
Check out some of the other graphic design features in CorelDRAW Graphics Suite, like How To Vectorize An Image, How To Test Your Tattoo, How To Create Your Own Logo, and more! Create high quality designs in a fun and easy to use graphic design software and make your work stand out more than ever.
 How To Make A Letterhead
 How To Make Business Cards
 How To Make A Monogram
 How To Make An eCard