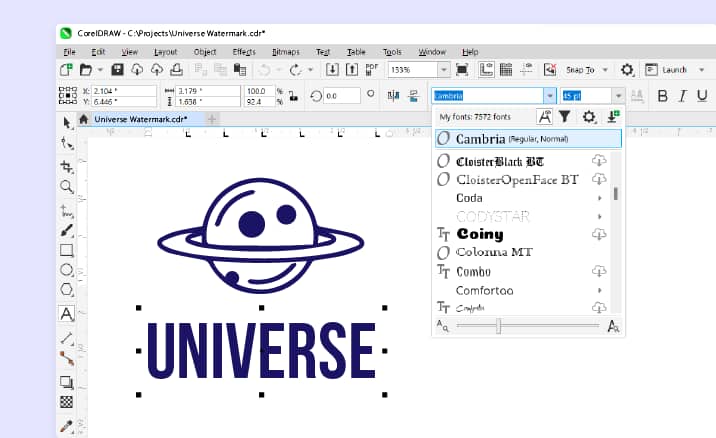


1. Design your watermark
Open CorelDRAW or download a free trial. Design your custom watermark from scratch with a legible font that’s easily read as semi-transparent text on different images.
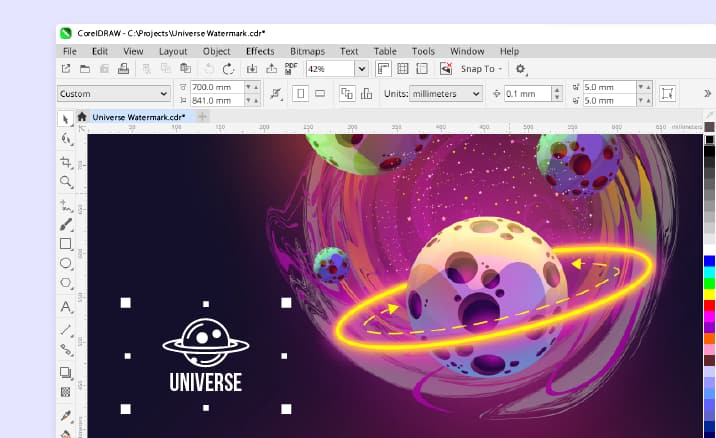
You can also open an existing image with CorelDRAW that you want to use for your watermark.