Try CorelDRAW for free
View all customer stories
Want to convert bitmaps to vectors? How about apply effects or adjust images? You can learn all of this and so much more in these step-by-step tutorials.
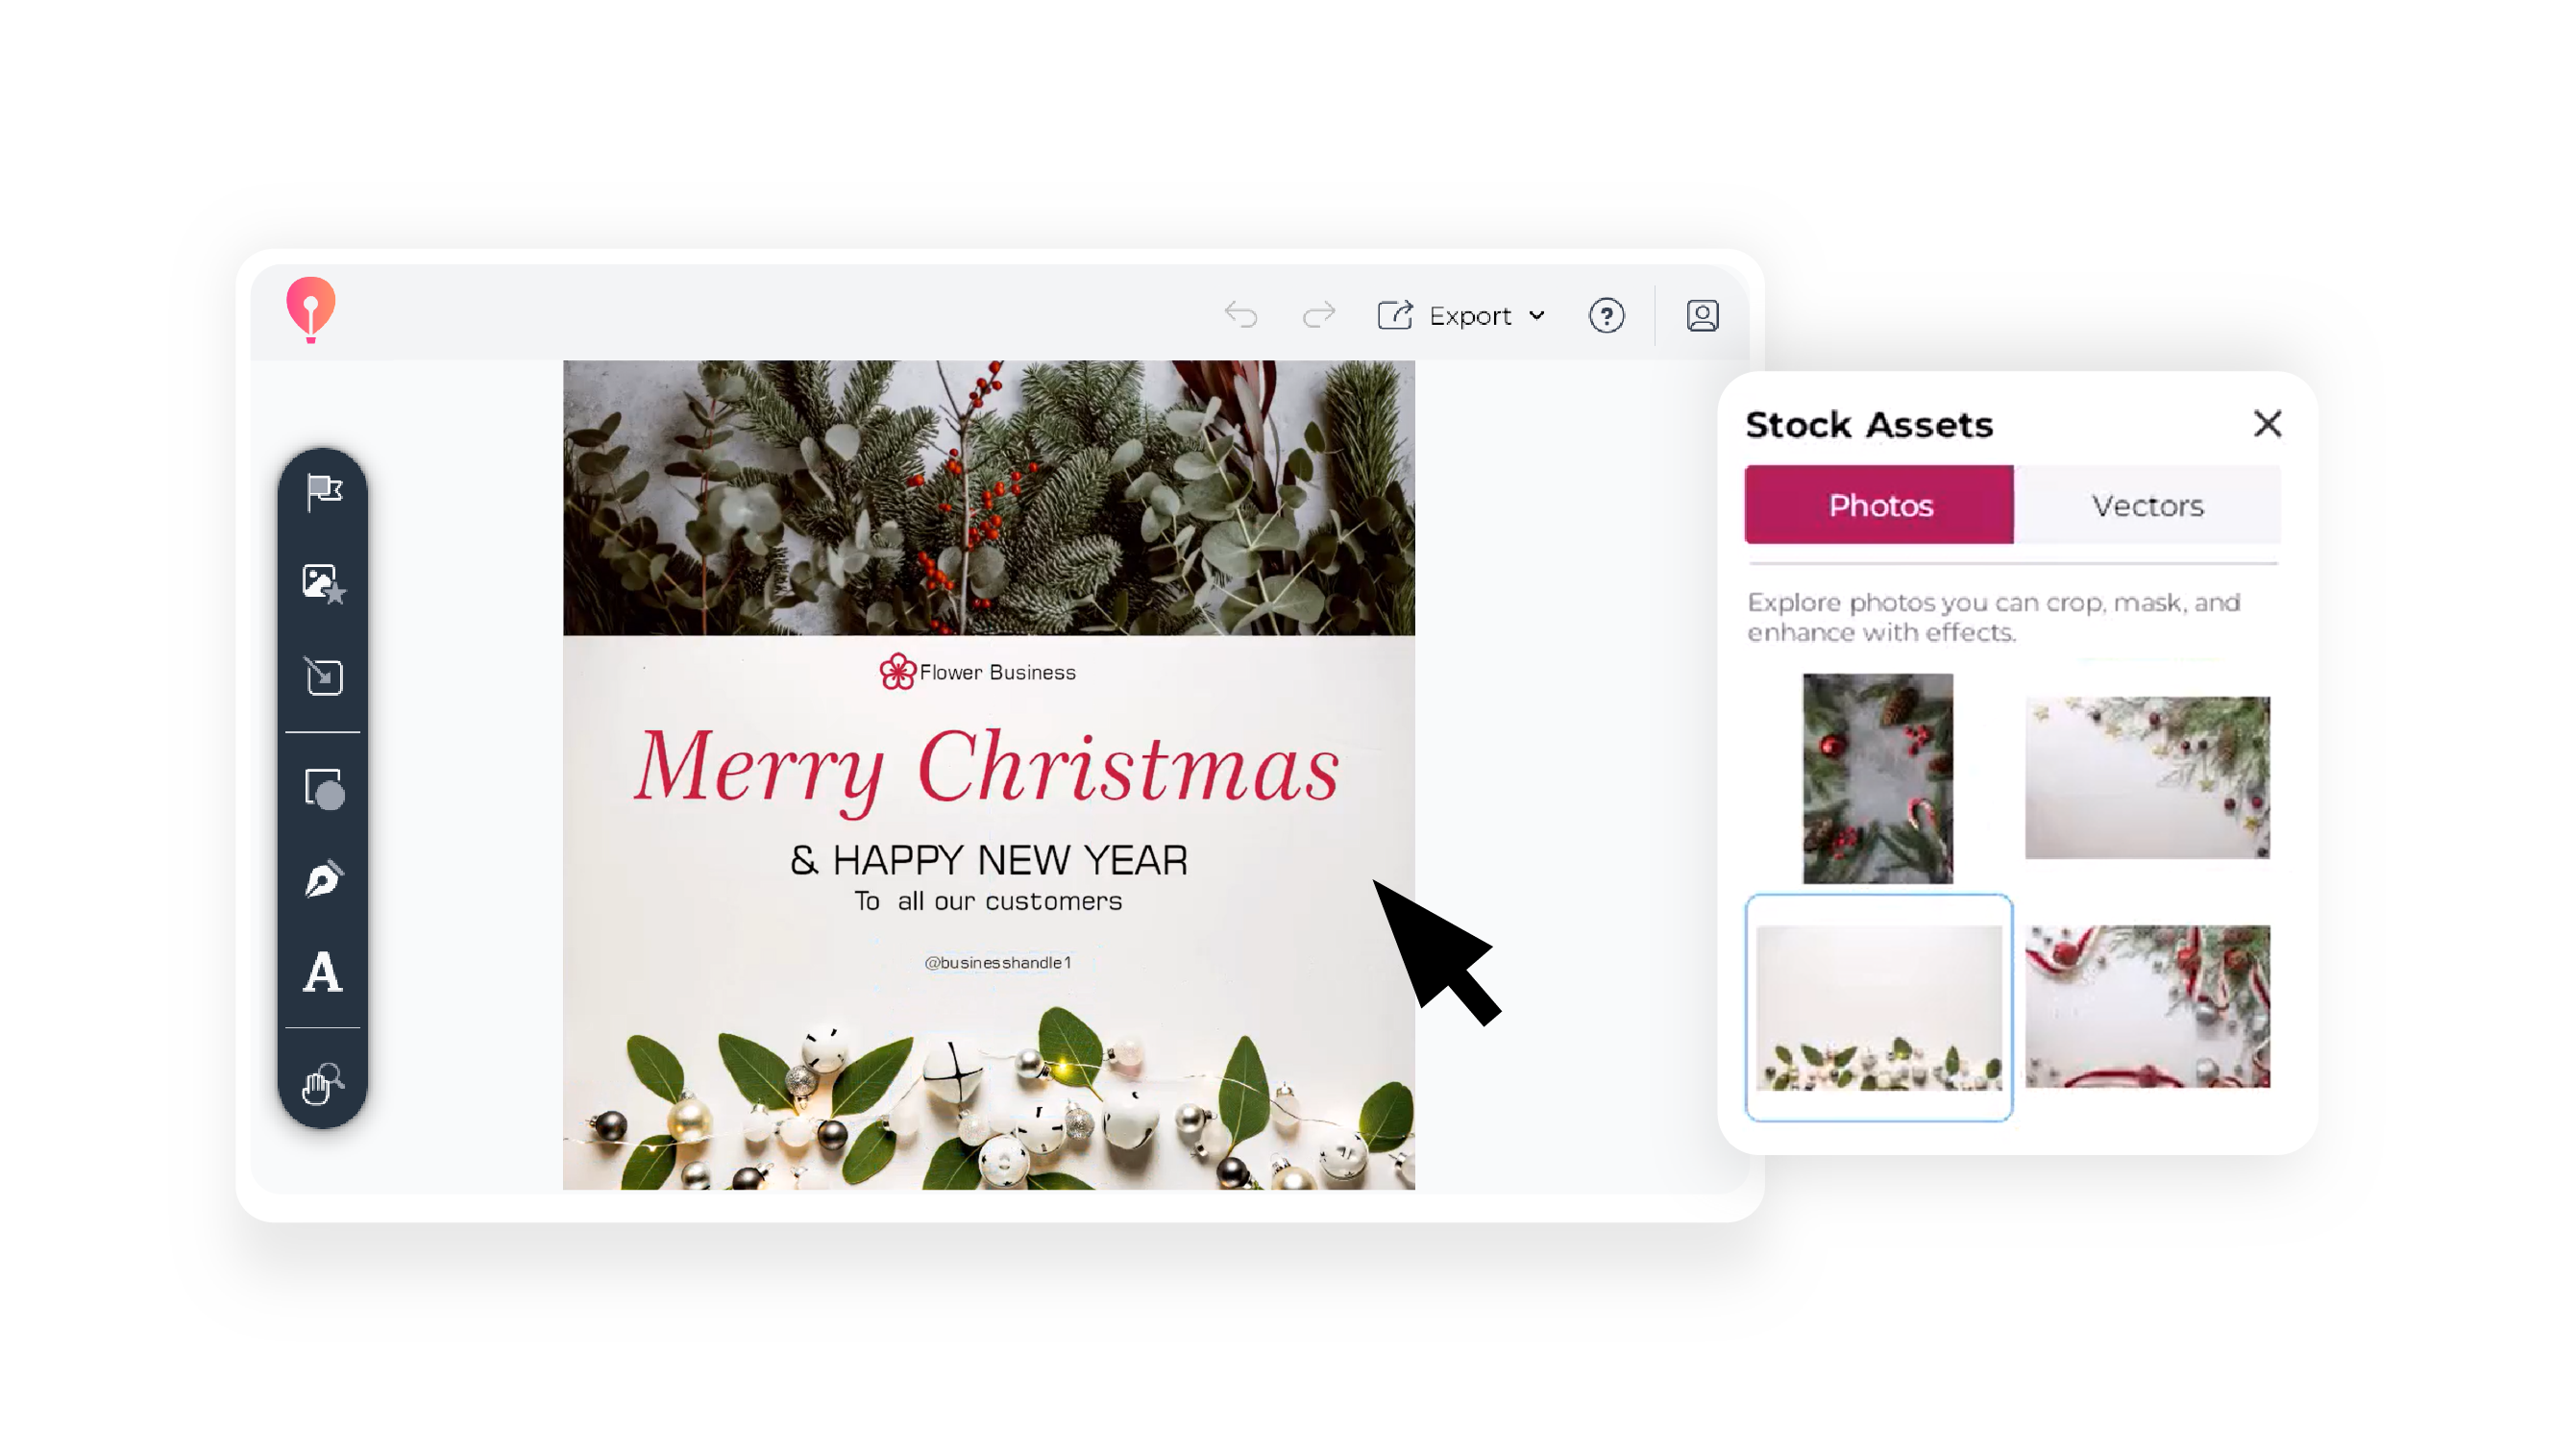
How to use stock assets in CorelDRAW Go
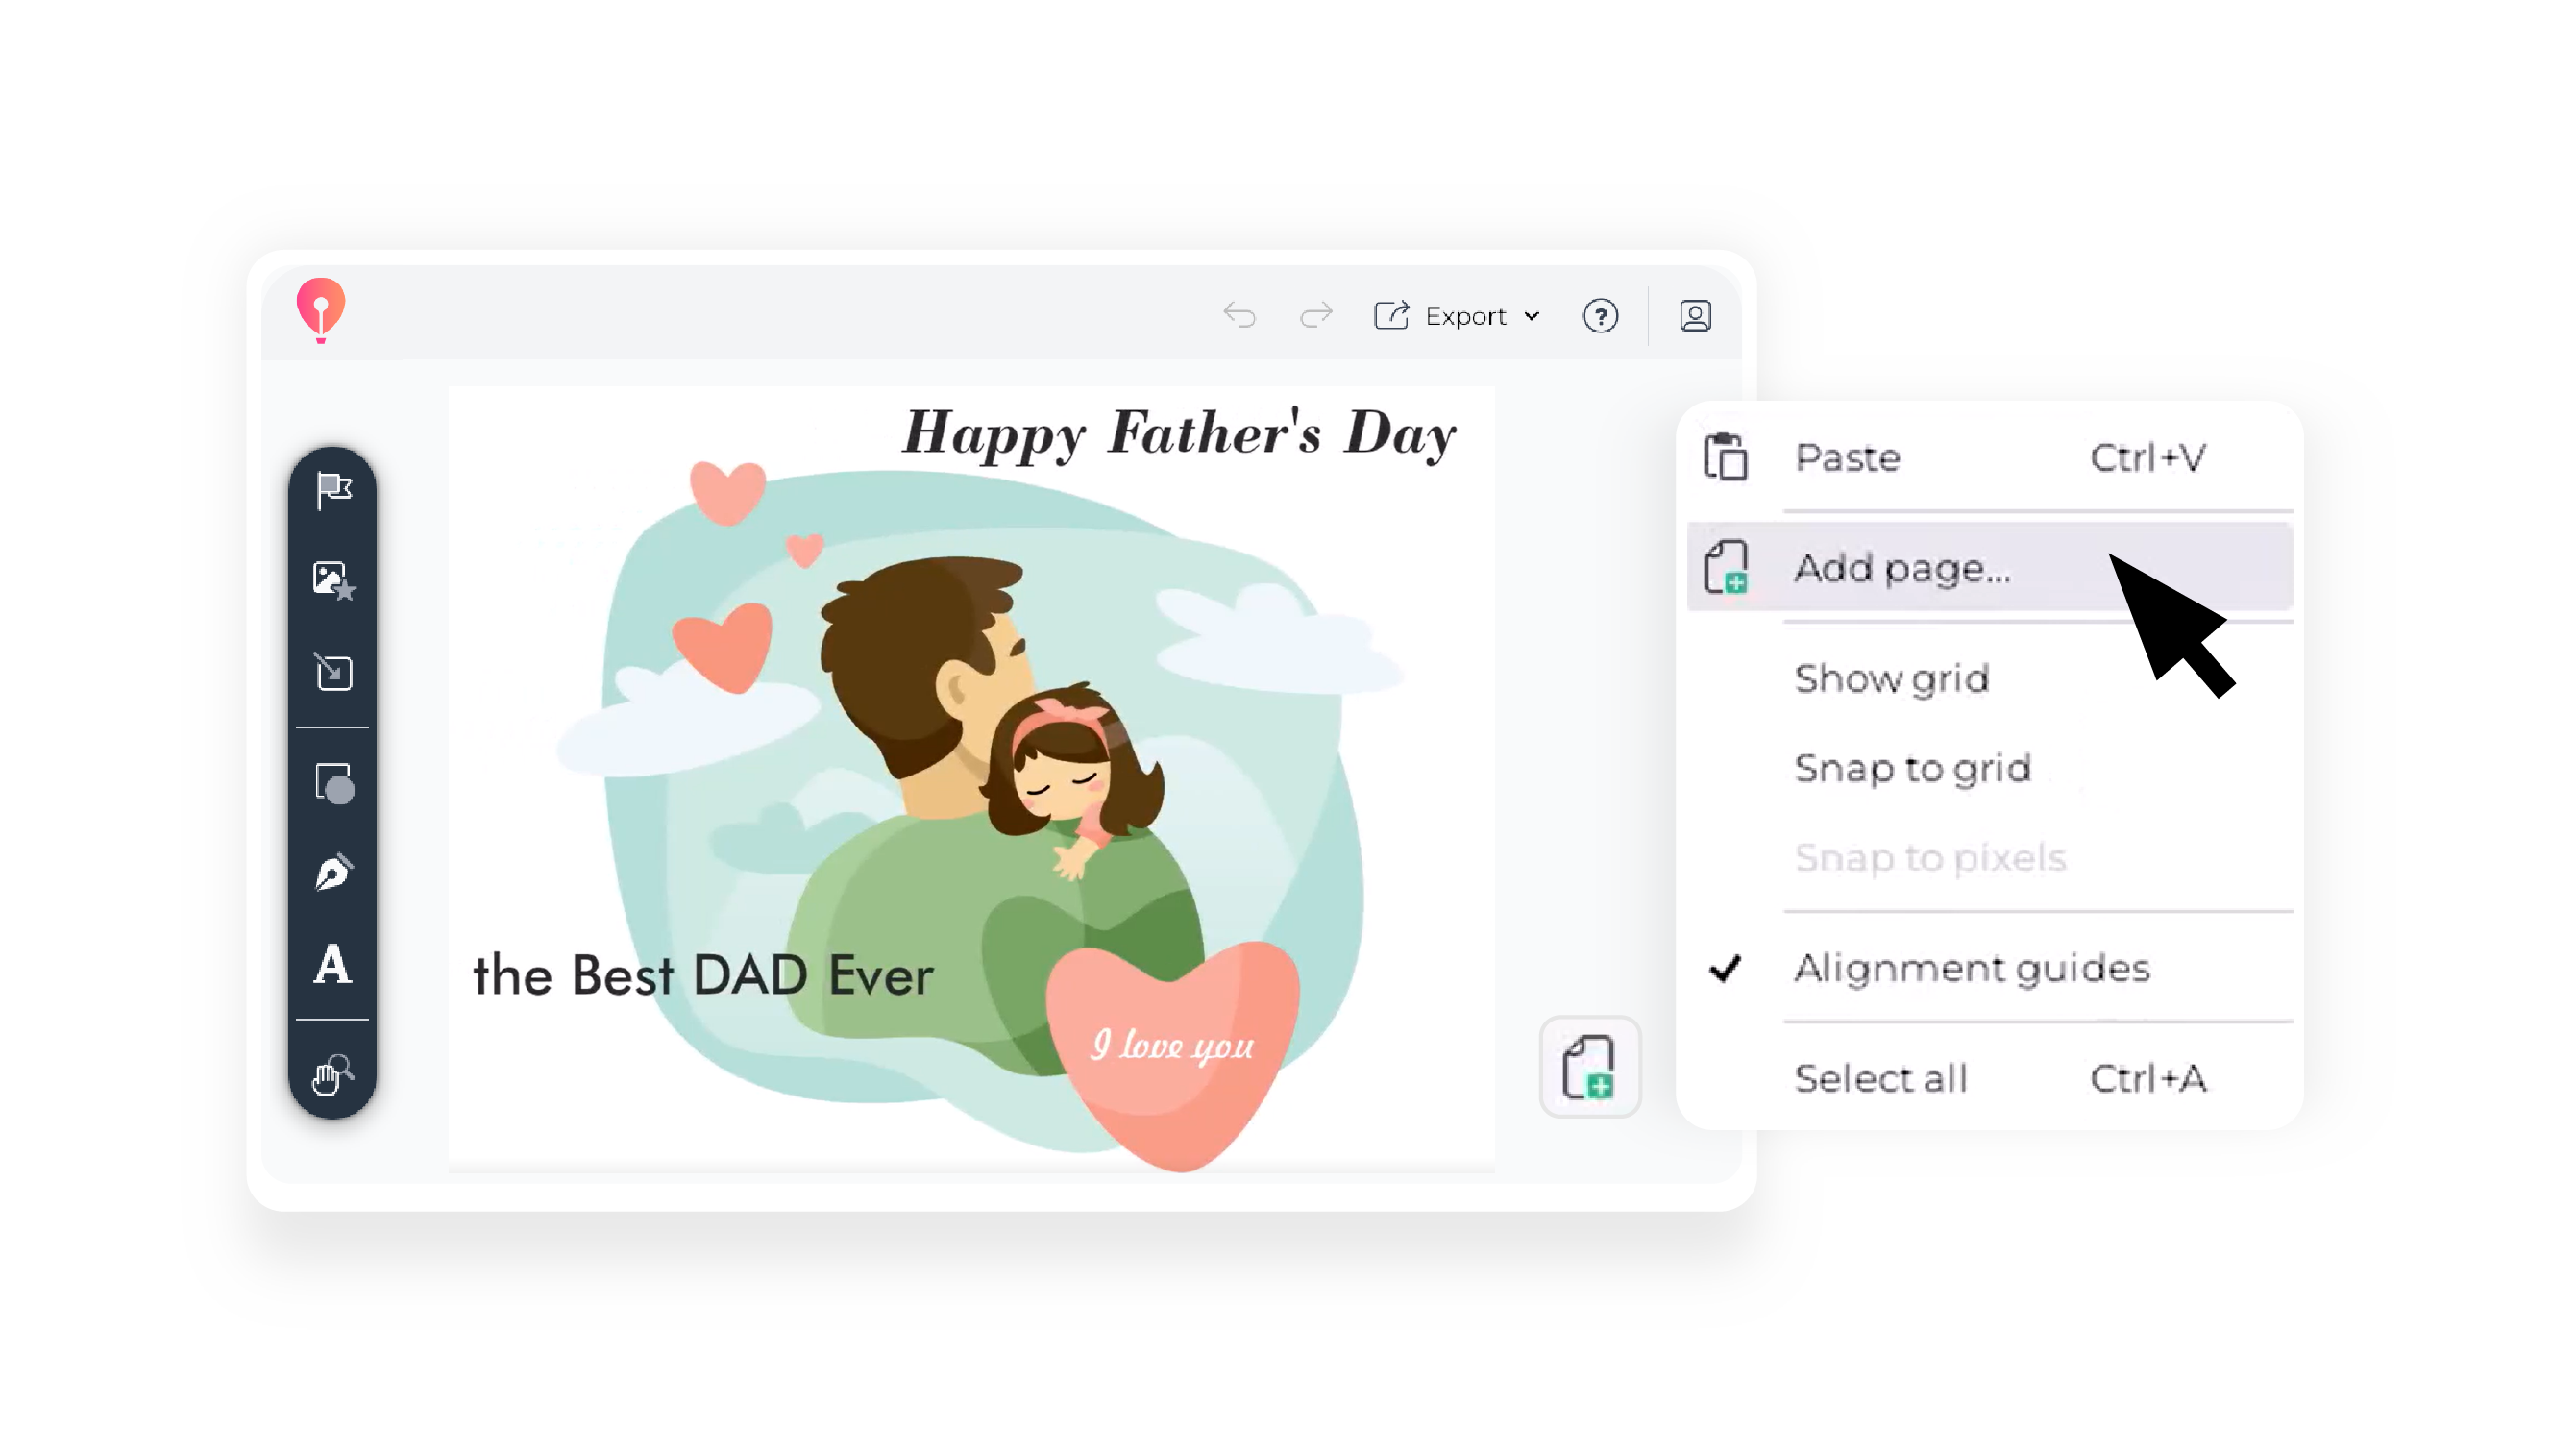
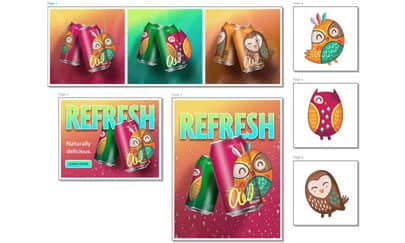
How to create multi-page documents in CorelDRAW Go
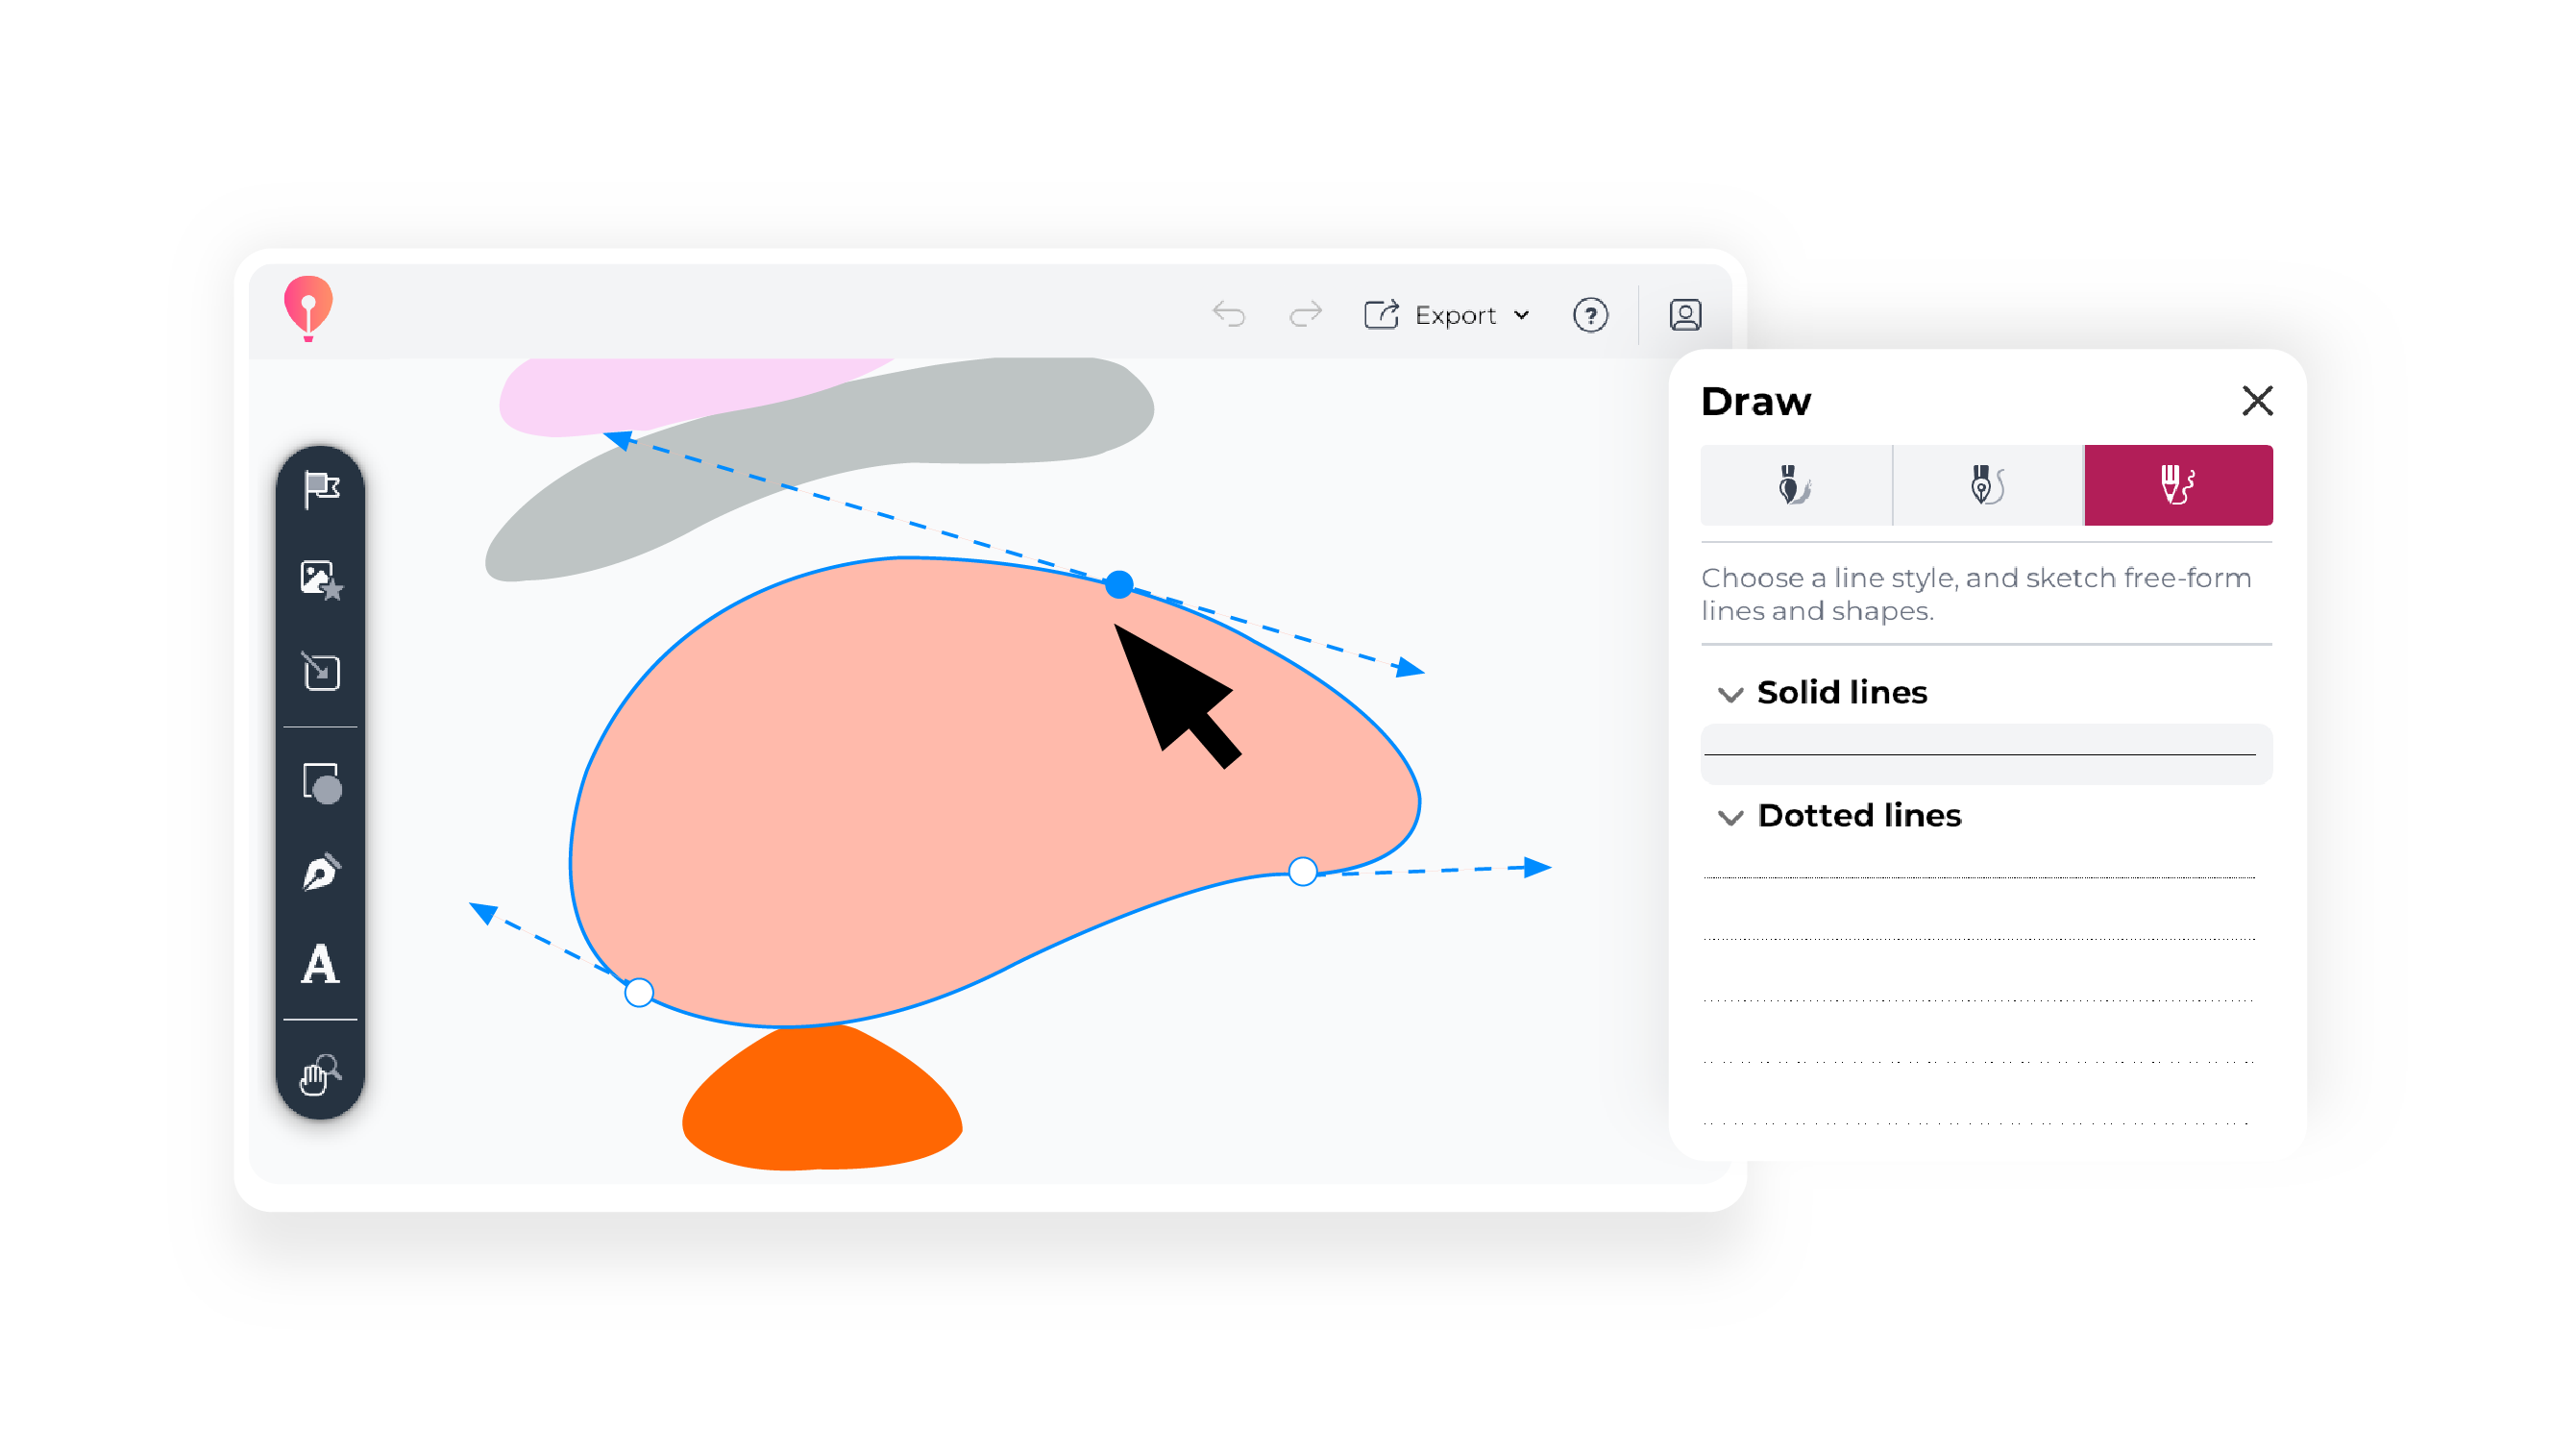
How to use realistic brushes and textures in CorelDRAW Go
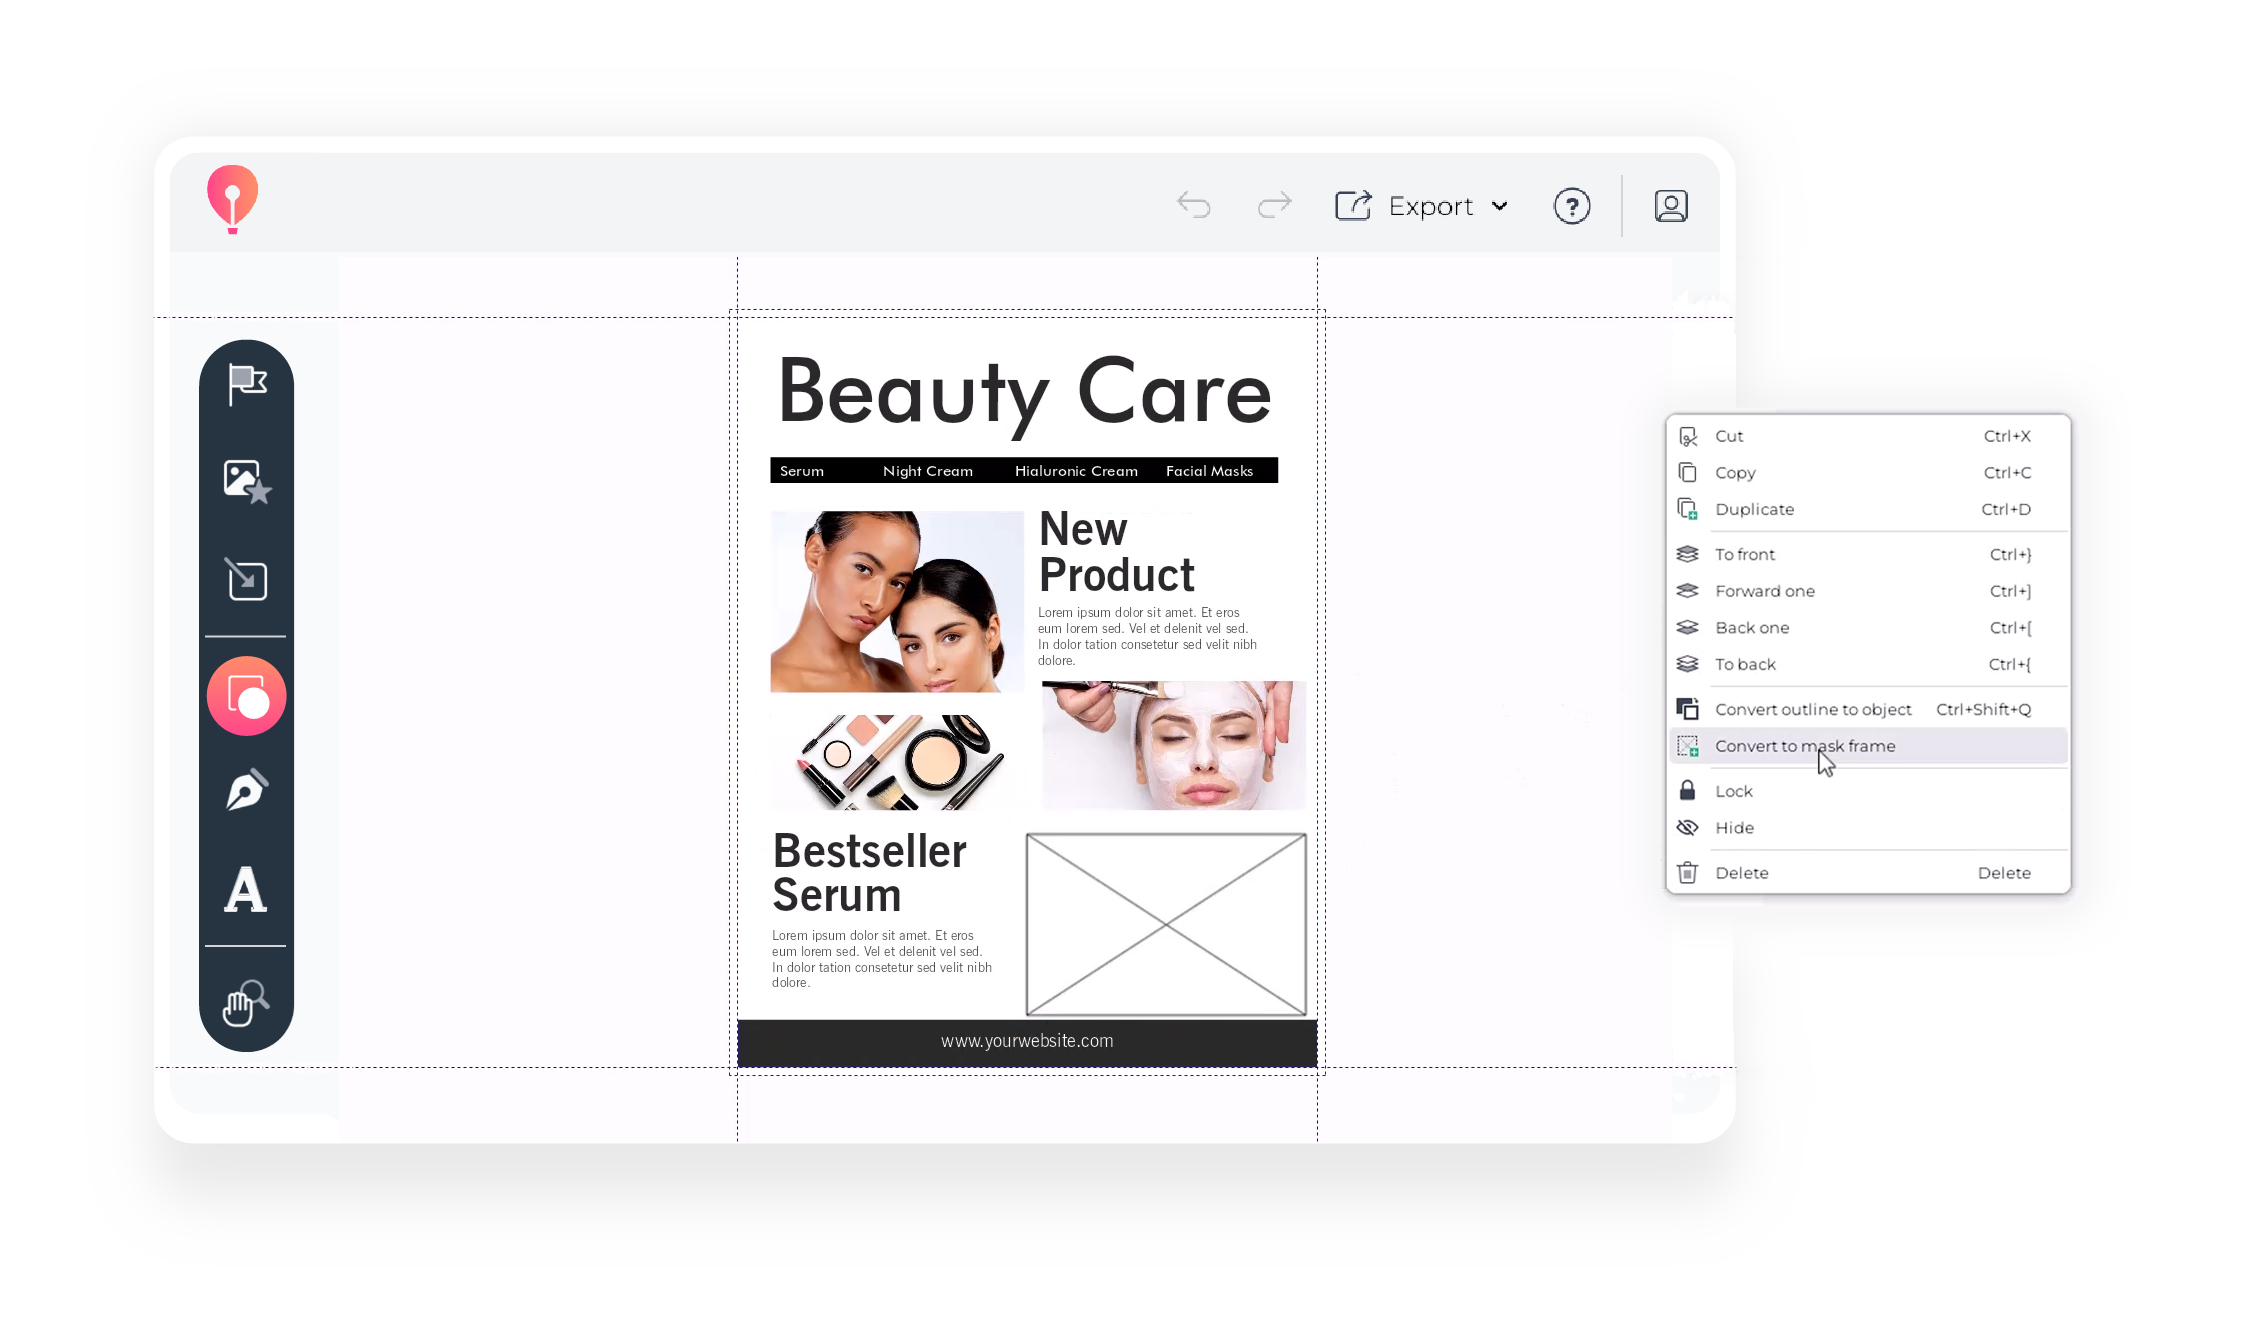
How to create image frames in CorelDRAW Go
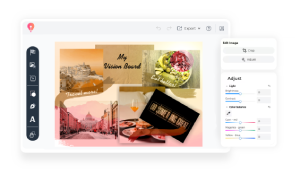
How to edit photos in CorelDRAW Go
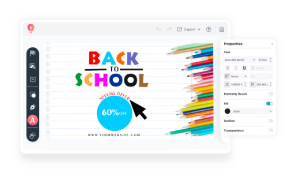
How to add and customize text in CorelDRAW Go
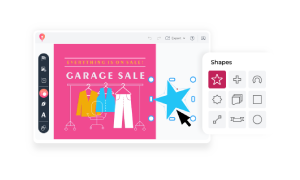
How to create shapes in CorelDRAW Go
How to use CorelDRAW Go to transform shapes
How to use fills, gradients, and shadows in CorelDRAW Go
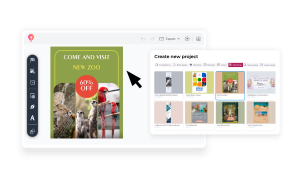
How to edit templates in CorelDRAW Go
How to manage your CorelDRAW business licenses
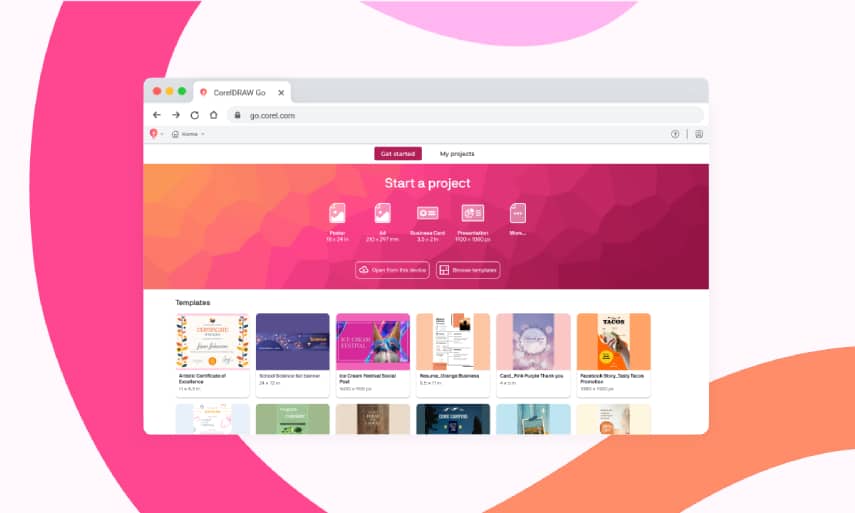
Getting started with CorelDRAW Go: The ultimate guide
What's new in CorelDRAW in 2025
Introducing CorelDRAW Web
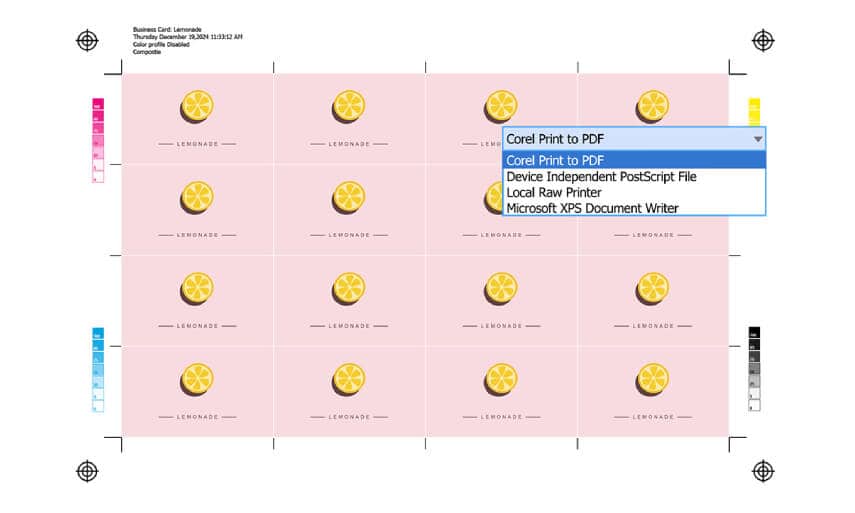
Create printer-ready PDFs in CorelDRAW Graphics Suite
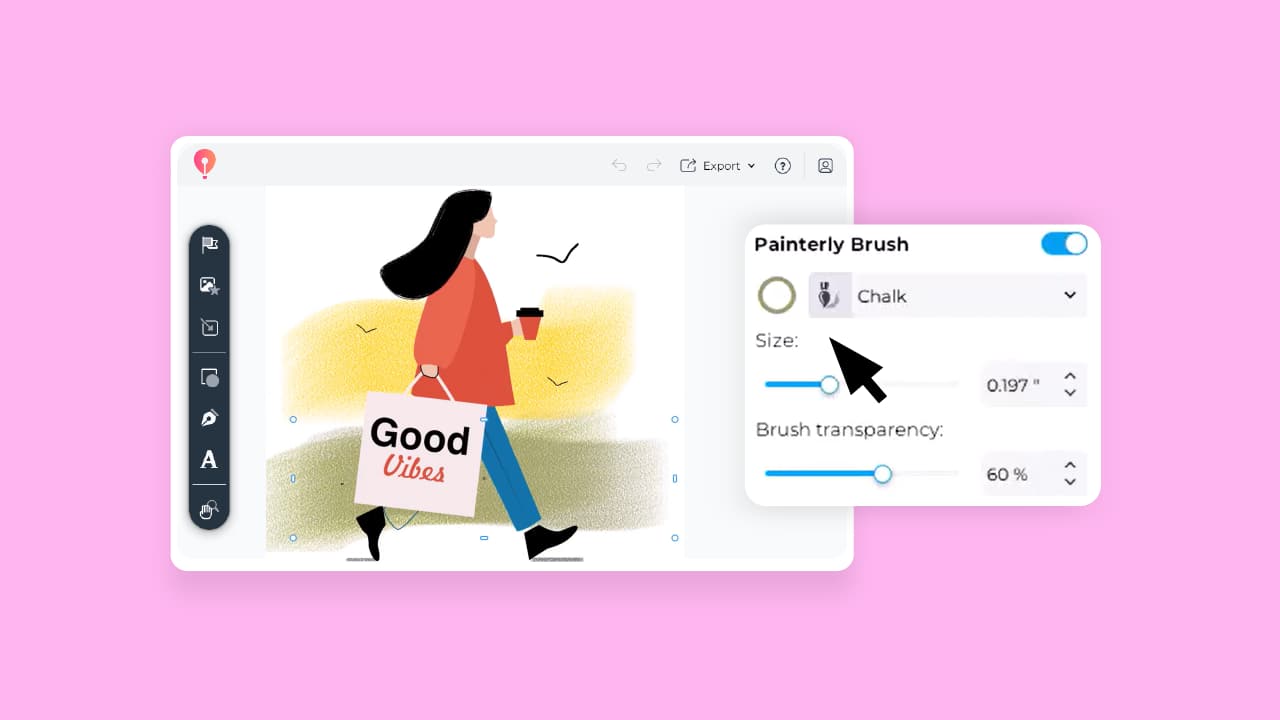
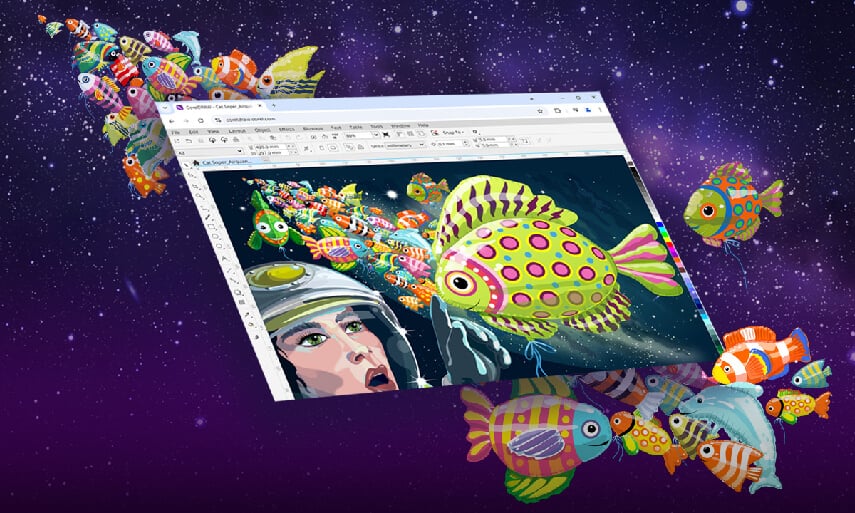
Discover CorelDRAW’s Painterly Brush tool
Discover CorelDRAW’s Block Shadow tool
Installing free creative content in CorelDRAW Graphics Suite
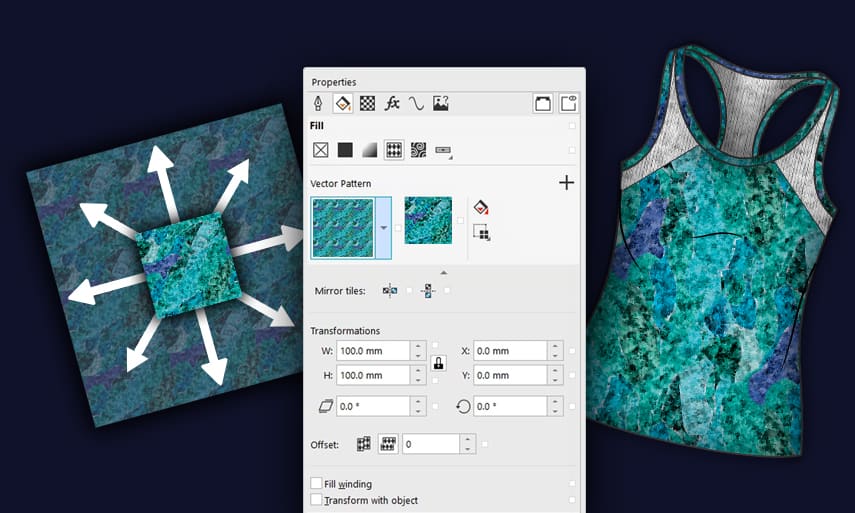
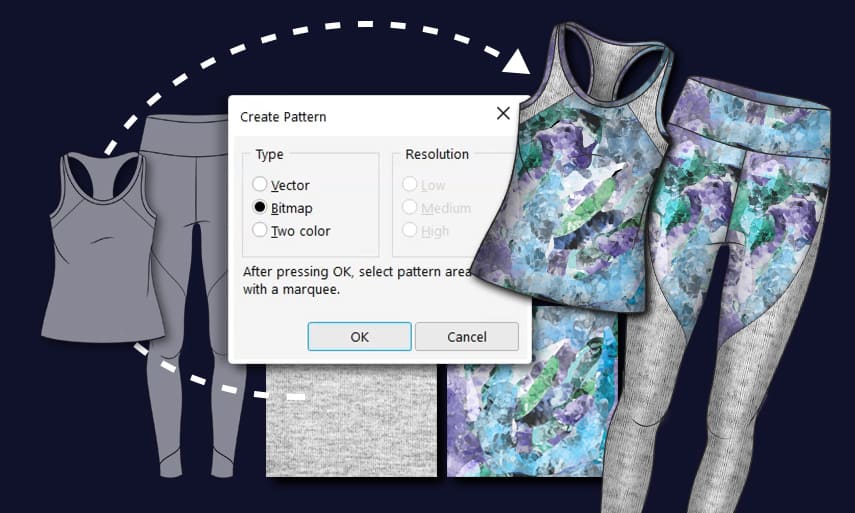
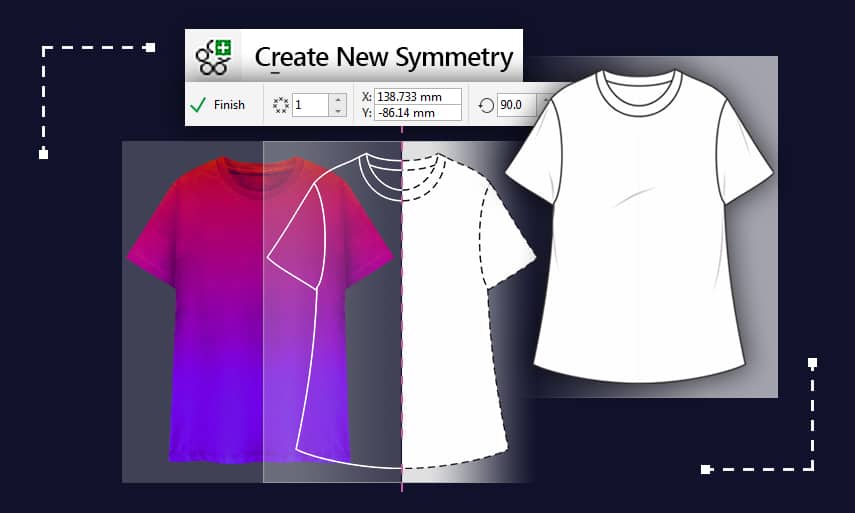
Apparel design: repeat patterns
Apparel design: adding pattern, texture, and shading
Apparel design: drawing techniques
Learn how to use Focus Mode
Advanced variable data printing in CorelDRAW
How to open a DXF file in CorelDRAW
How to open a BMP file in CorelDRAW
How to open a TIFF file in CorelDRAW
How to open a DWG file in CorelDRAW
How to open a CDR file in CorelDRAW
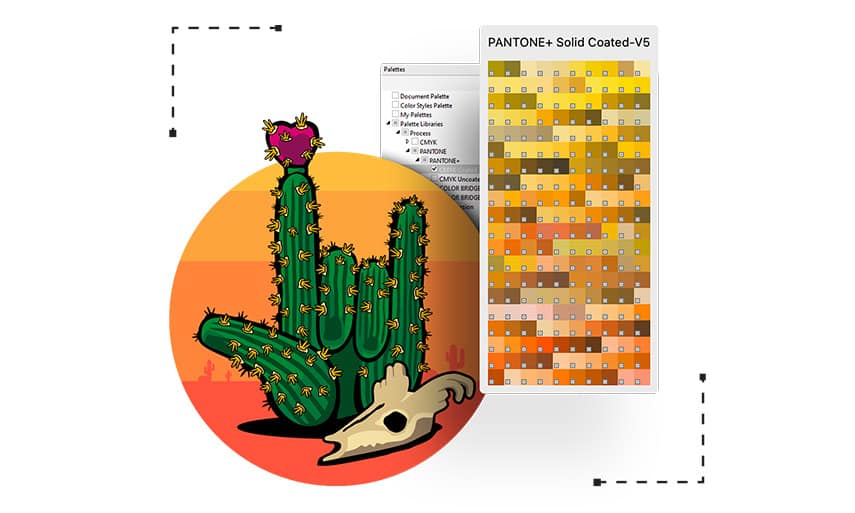
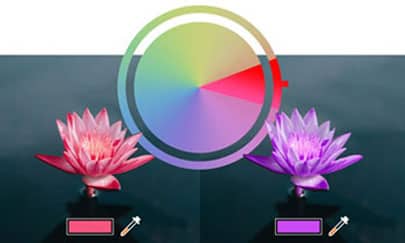
Understanding color palettes
How to open an PNG file in CorelDRAW
How to open an JPEG file in CorelDRAW
How to open an PSD file in CorelDRAW
How to open an AI file in CorelDRAW
Learn how to create variable-width outlines
How to use CorelDRAW templates
Discover CorelDRAW's personalized learning tools
How to convert JPEG to vector image in CorelDRAW
How to open an SVG file in CorelDRAW
How to open EPS file in CorelDRAW
How to open PDF file in CorelDRAW
Learn how to use Multipage View to your advantage
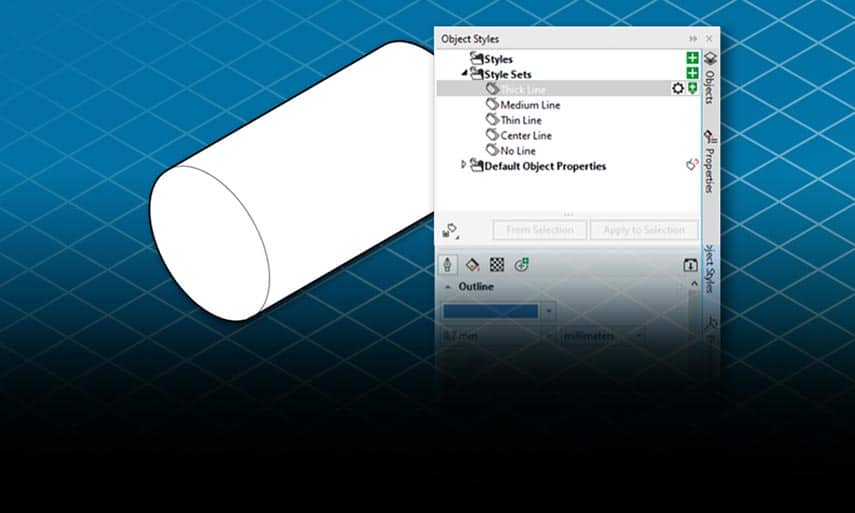
Working with style sets in CorelDRAW Technical Suite
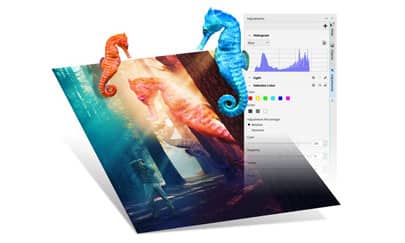
Making the most of the Adjustments inspector
Making the most of the Adjustments docker
How to export multiple assets at the same time
20 tips to improve your productivity in CorelDRAW
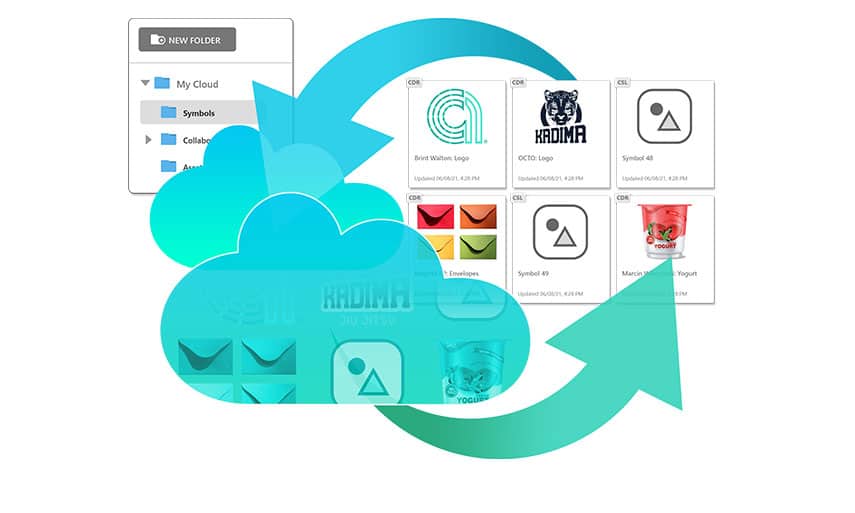
How to Sync and Share Symbols
How to Draw in Perspective
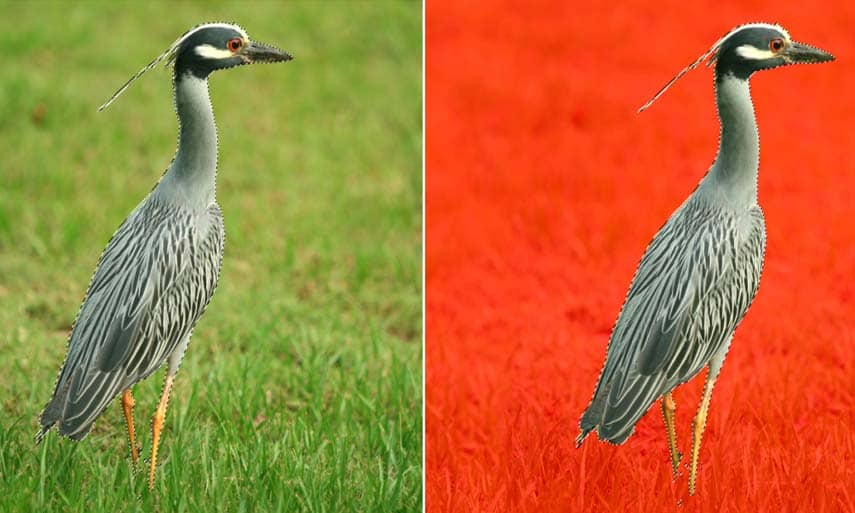
How to use the Replace Color filter for precise image editing
How to import a font database
Creating Duotone and Monochrome Images in CorelDRAW and PHOTO-PAINT
Removing the background from images with CorelDRAW and PHOTO-PAINT
Creating a Certificate with Print Merge in CorelDRAW
Creating Realistic Objects with Mesh Fill
Printing color separations
Get top 10 tips for screen printers
Creating a t-shirt design & mockup
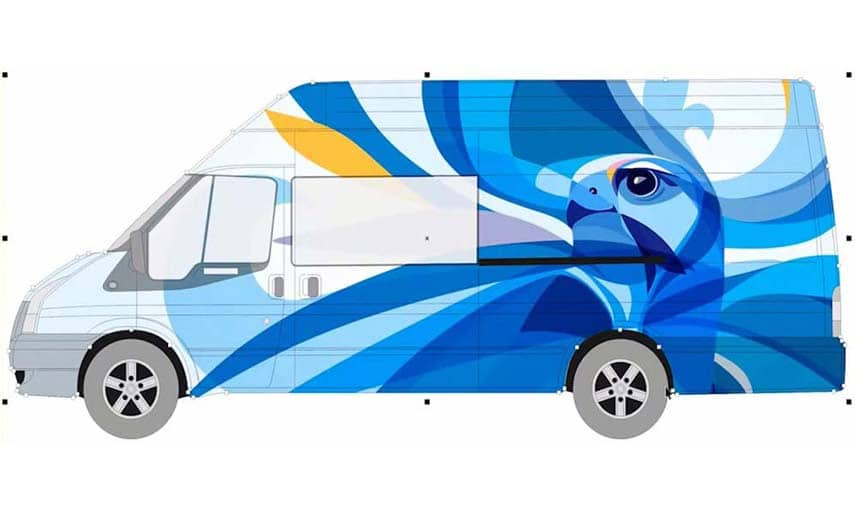
Design a vehicle wrap with free templates
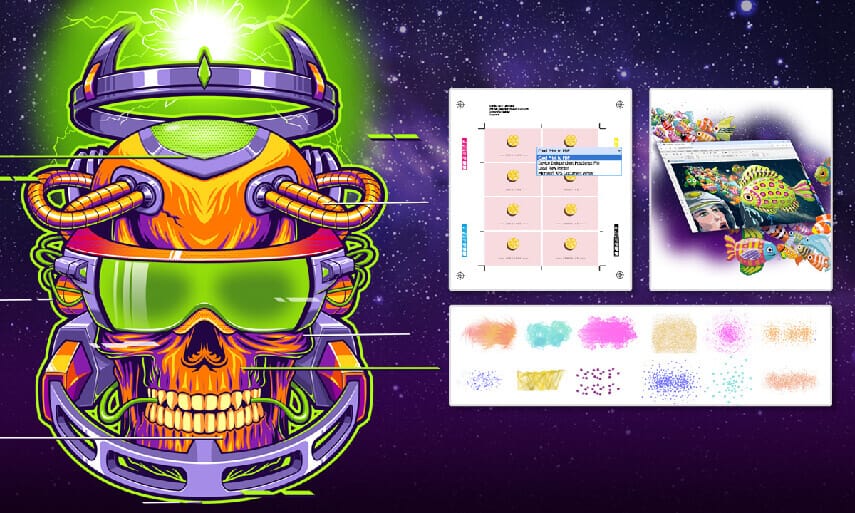
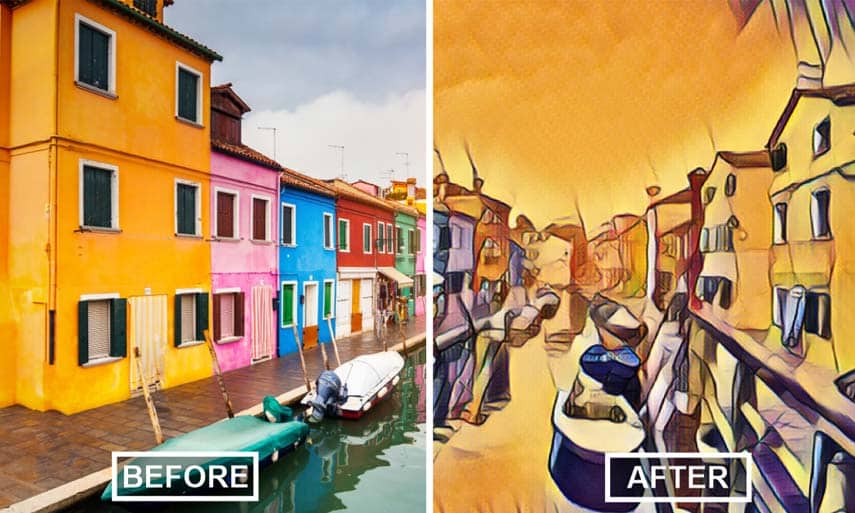
Apply AI-based effects to bitmaps and vectors
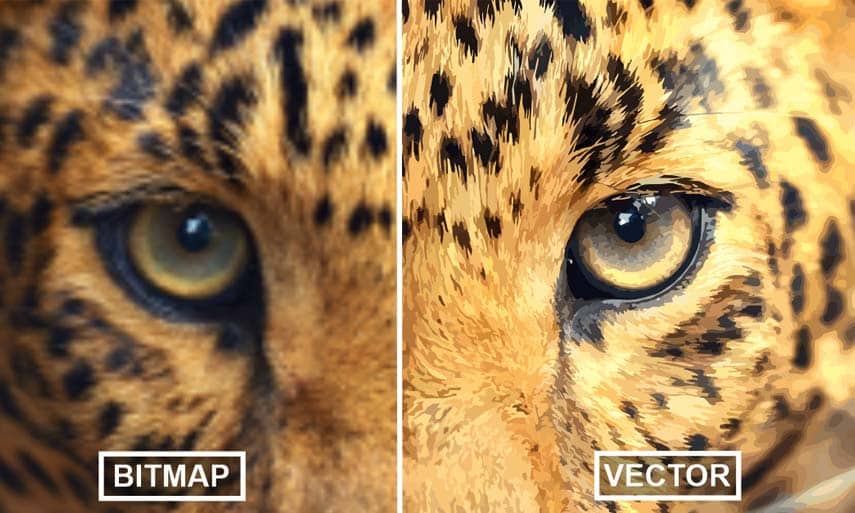
Get impressive bitmap-to-vector trace results
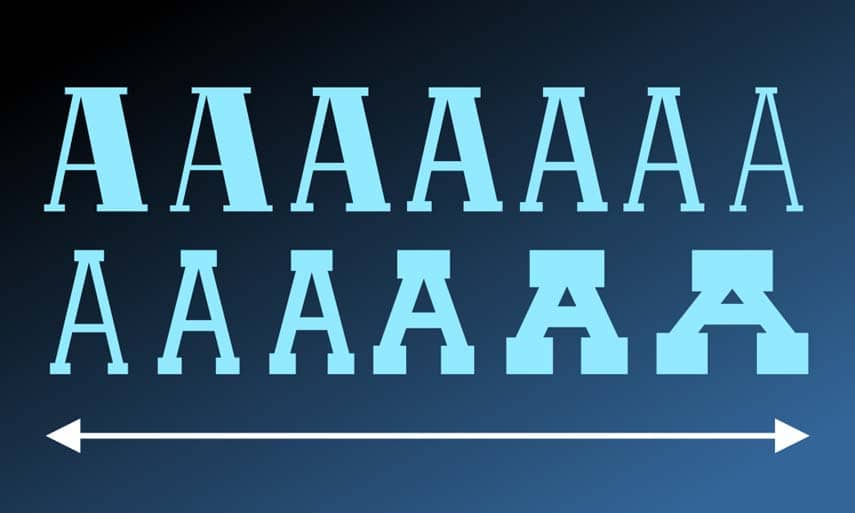
Fine-tune type responsively with variable fonts
Add depth with shadows
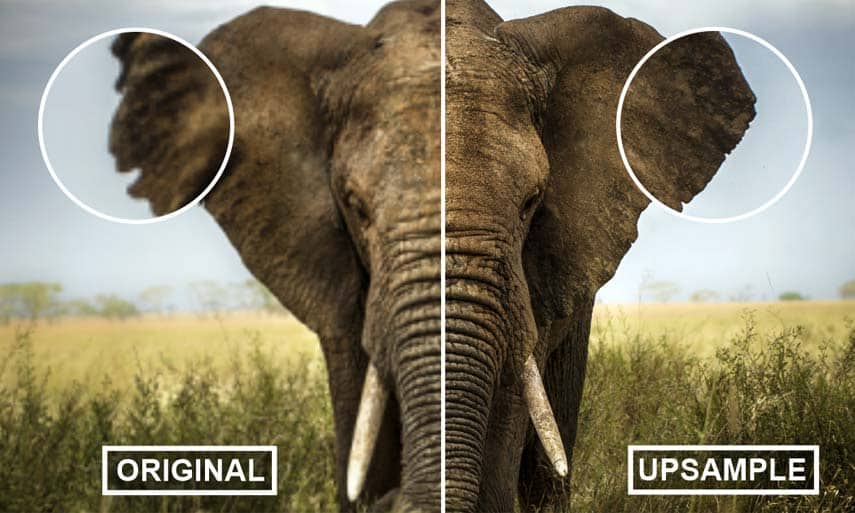
Improve the size and quality of images
Apply effects in Corel PHOTO-PAINT™
Using masks in Corel PHOTO-PAINT™
Apply bitmap effects as lenses
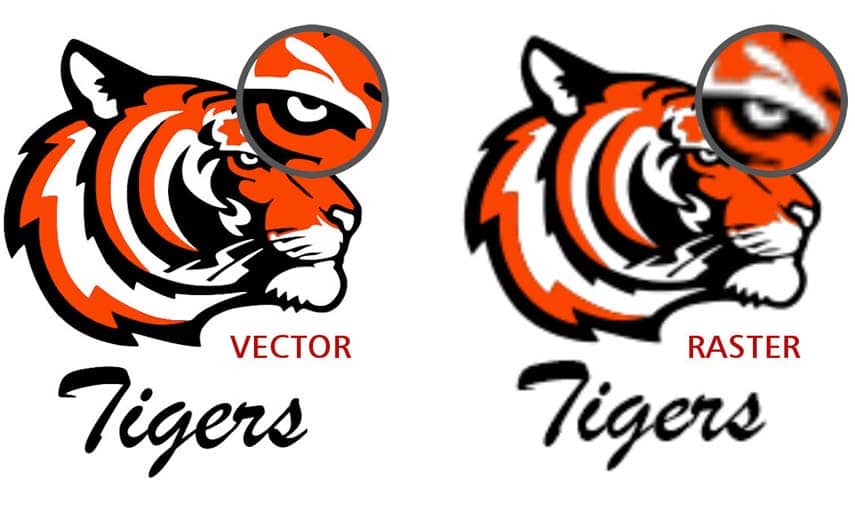
Vector art vs. raster art